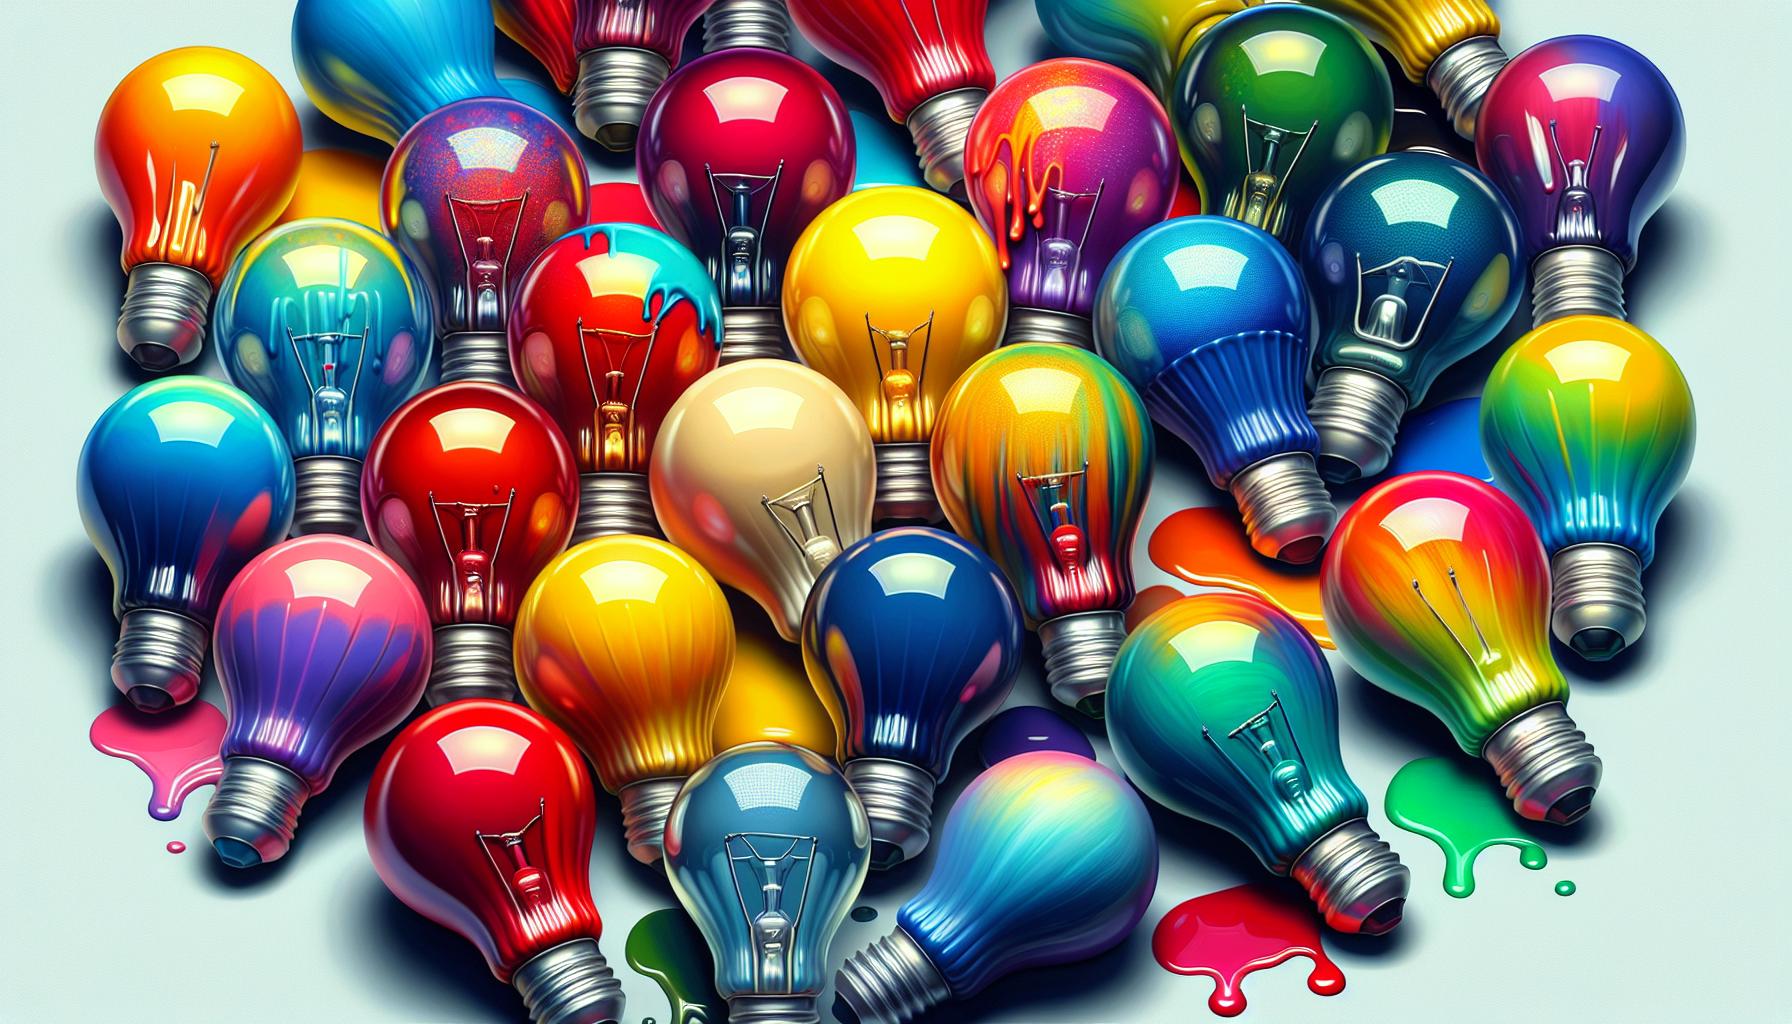
Ever wondered if you could give those plain old light bulbs a colorful twist? Well, you’re in for a treat because painting light bulbs isn’t just possible; it’s a fun way to add a pop of color to your space!

Before you grab that paintbrush, there are a few things you should know to ensure your safety and achieve the best results. After all, we’re dealing with electricity here, and a beautiful outcome requires a bit of know-how.
Can Light Bulbs Be Painted?
Absolutely! You’ve got a flair for DIY projects and a keen eye for lighting aesthetics, so it’s no surprise you’re exploring this creative endeavor. Painting light bulbs can infuse your space with a splash of color, and yes, it’s both possible and practicable. But to ensure your project shines—quite literally—there are some key points to keep in mind.
Firstly, when you’re choosing paint, it’s crucial to select the right type. High-temperature paint is a must since regular paint may not withstand the heat emanating from the bulb. This kind of paint is designed to survive the high operating temperatures that bulbs can reach, ensuring longevity for your newly-colored beacons.
Before starting, you’ll want to clean the bulb with a damp cloth. It should be completely dry to avoid any moisture mixing with the paint, which could lead to undesirable results. Additionally, remember to cover the metal base of the bulb with painter’s tape to keep it paint-free.
- Apply a thin coat of paint
- Allow adequate drying time
- Apply additional coats if necessary
Furthermore, LED and fluorescent light bulbs are generally safer to paint since they don’t get as hot as incandescent bulbs. If you decide to paint an incandescent bulb, you’re taking a risk that the paint may crack or the bulb might be damaged due to the high heat. Stick with LEDs for a worry-free experience.
Keep in mind that painting a light bulb can alter the light quality it emits. Darker colors will result in dimmer light, potentially changing the ambiance of your room. Ensure that the effect aligns with your interior design goals. By following these steps, you can confidently add a touch of creativity and color to your lighting scheme while maintaining a safe environment. Isn’t it exhilarating to think about how these little modifications can wholly transform the character of a space?
Safety Considerations Before Painting Light Bulbs
Before you grab that paintbrush, it’s vital to focus on safety. Light bulbs, after all, are electrical devices and they can be dangerous if handled improperly. First and foremost, ensure that the light bulb is turned off and cool to the touch. It’s easy to forget but managing heat is crucial – you’re dealing with objects designed to produce light, and often, that means heat as well.
Next, consider the workspace where you’ll be painting your bulbs. Ideally, choose a well-ventilated area to avoid inhaling fumes from the paint. This is especially important if you’re using a spray paint that can disperse fine particles into the air. If you’re sensitive to chemicals or working in a space without adequate airflow, wear a mask.
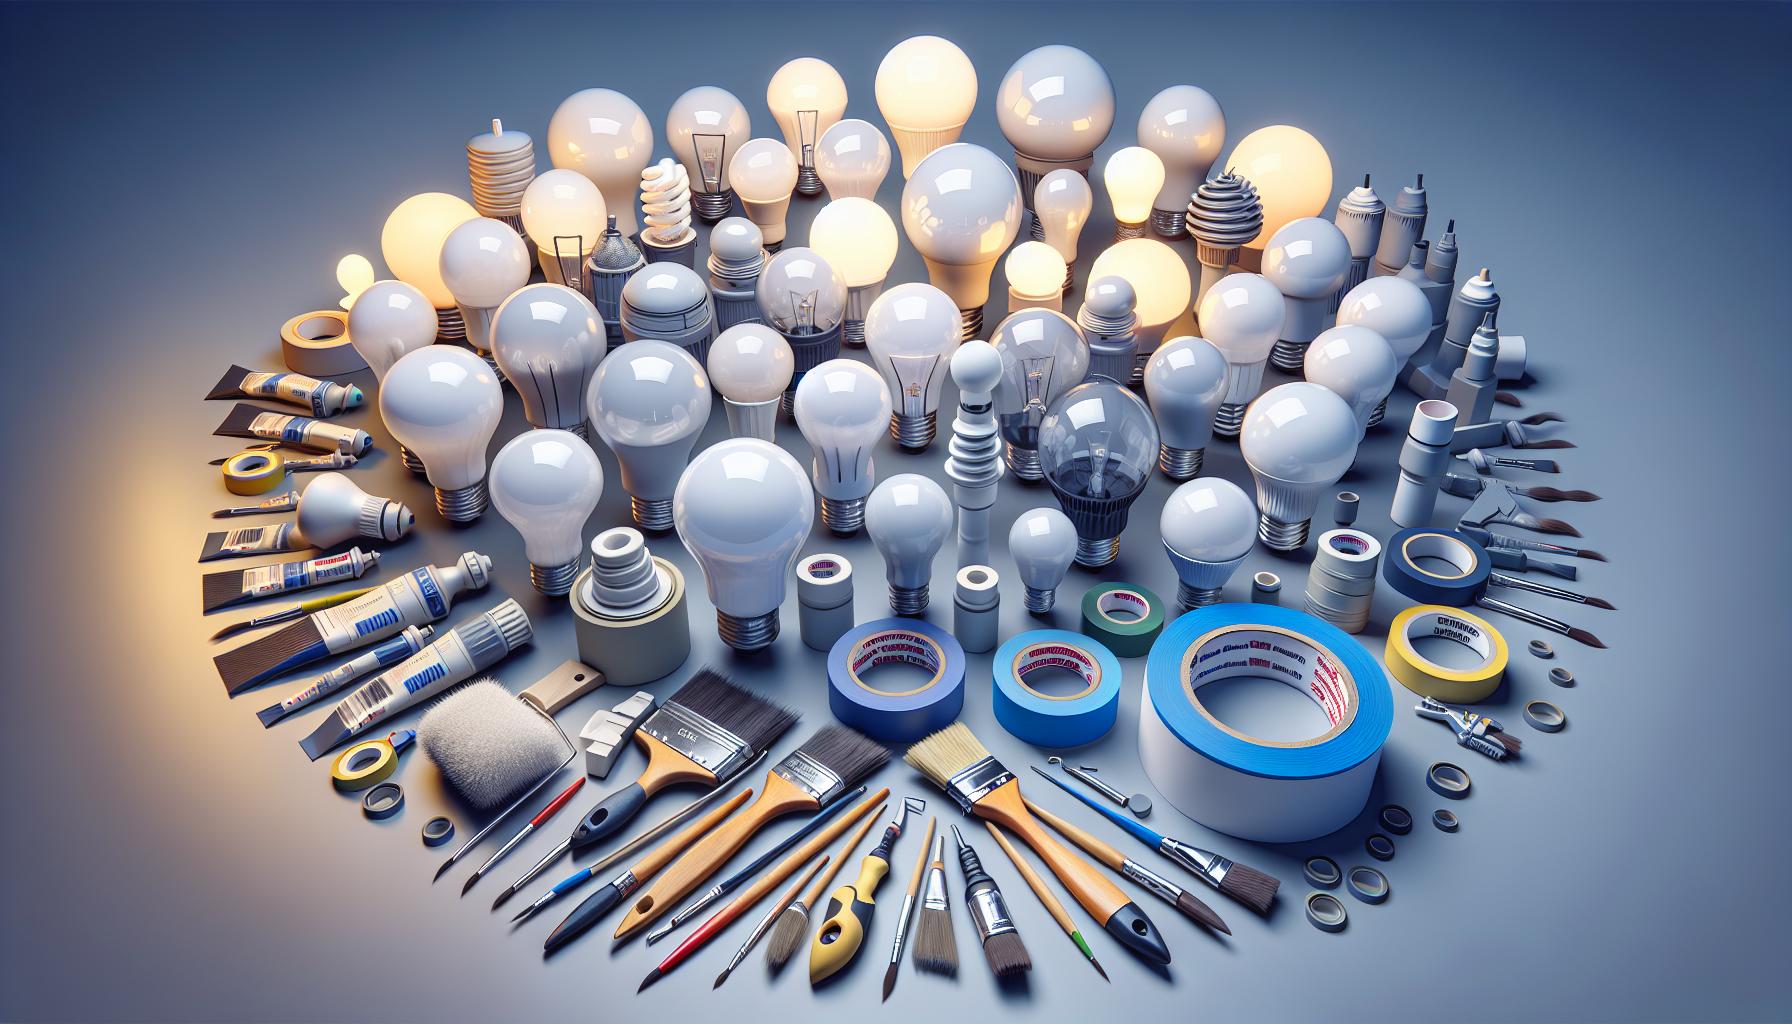
When you’re ready to handle the bulb, remember to gently hold it by the base or use a soft cloth to prevent any oils from your hands transferring onto the glass. This could affect the adherence and finish of the paint. Have all your materials ready so once you start, you can proceed without interruption:
- Painter’s tape
- Small paintbrush or sponge
- The chosen paint
Always double-check the type of paint you’re using. You need paint that can withstand high temperatures if used on a bulb that generates heat. Some paint might have specific curing times or methods, so reading the product instructions is not a step you’ll want to skip.
If you’re painting an LED or fluorescent bulb, the risks may be lower due to less heat output, but don’t let that make you complacent. You’re still altering an electrical element, so treat it with the respect it deserves.
Remember, painting light bulbs isn’t just a creative endeavor; it’s a careful balance between art and safety. Keep these safety tips in mind as you add that pop of color to your room’s lighting.
Types of Paint Suitable for Light Bulbs
« What Light Bulbs for Chandeliers? The Ultimate Guide to Stunning & Eco-Friendly Lighting
What Size Light Bulbs for Ceiling Fans: Shine Bright & Save Energy »
When you’re gearing up to add a splash of color to your bulbs, your choice of paint is pivotal. Not all paints are created equal when it comes to adhering to glass and withstanding the heat emitted by light bulbs. Here’s where your DIY enthusiasm pays off, because the right paint can make your project both creative and durable.
Acrylic Paints are a popular choice for light bulb painting. They’re readily available and come in a wide range of colors. Plus, they’re known for their fast-drying qualities and ease of use. However, make sure you’re opting for acrylics that are labeled as “multi-surface” or “glass-friendly.” These formulations are designed to better bond to the glass surface.
- Quick-dry formulas are ideal
- Go for non-toxic versions, especially if you’re sensitive to chemicals
High-Temperature Paints are the heavy hitters in the world of light bulb art. These paints are engineered to withstand high temperatures, making them perfect for incandescent bulbs that tend to heat up. High-temperature paints are typically used in automotive and industrial settings, but they’re also an excellent choice for light bulbs due to their heat-resistant properties.
- Shake the can well before use for even application
- Apply in thin coats to prevent chipping
Stained Glass Paints offer a translucent finish that can mimic the look of actual stained glass. These specialized paints allow light to pass through while adding a tint of color to the bulb, creating a warm, ambient effect. It’s a unique approach that pairs art with illumination.
- Follow the manufacturer’s directions for curing
- Use a paintbrush or sponge for application
Remember, whichever paint you decide to use, it’s important to prep the bulb surface for painting. Clean the bulb with rubbing alcohol and let it dry completely to ensure the paint adheres properly. Always apply the paint in well-ventilated areas, and allow ample drying time before handling the bulbs or fitting them back into fixtures. The more patient you are with preparation and application, the more stellar the results will be.
Steps to Paint Light Bulbs
Alright, you’ve got your paint ready and you’re eager to transform that plain bulb into a glowing piece of art. Here’s how you dive in:
Gather Your Materials
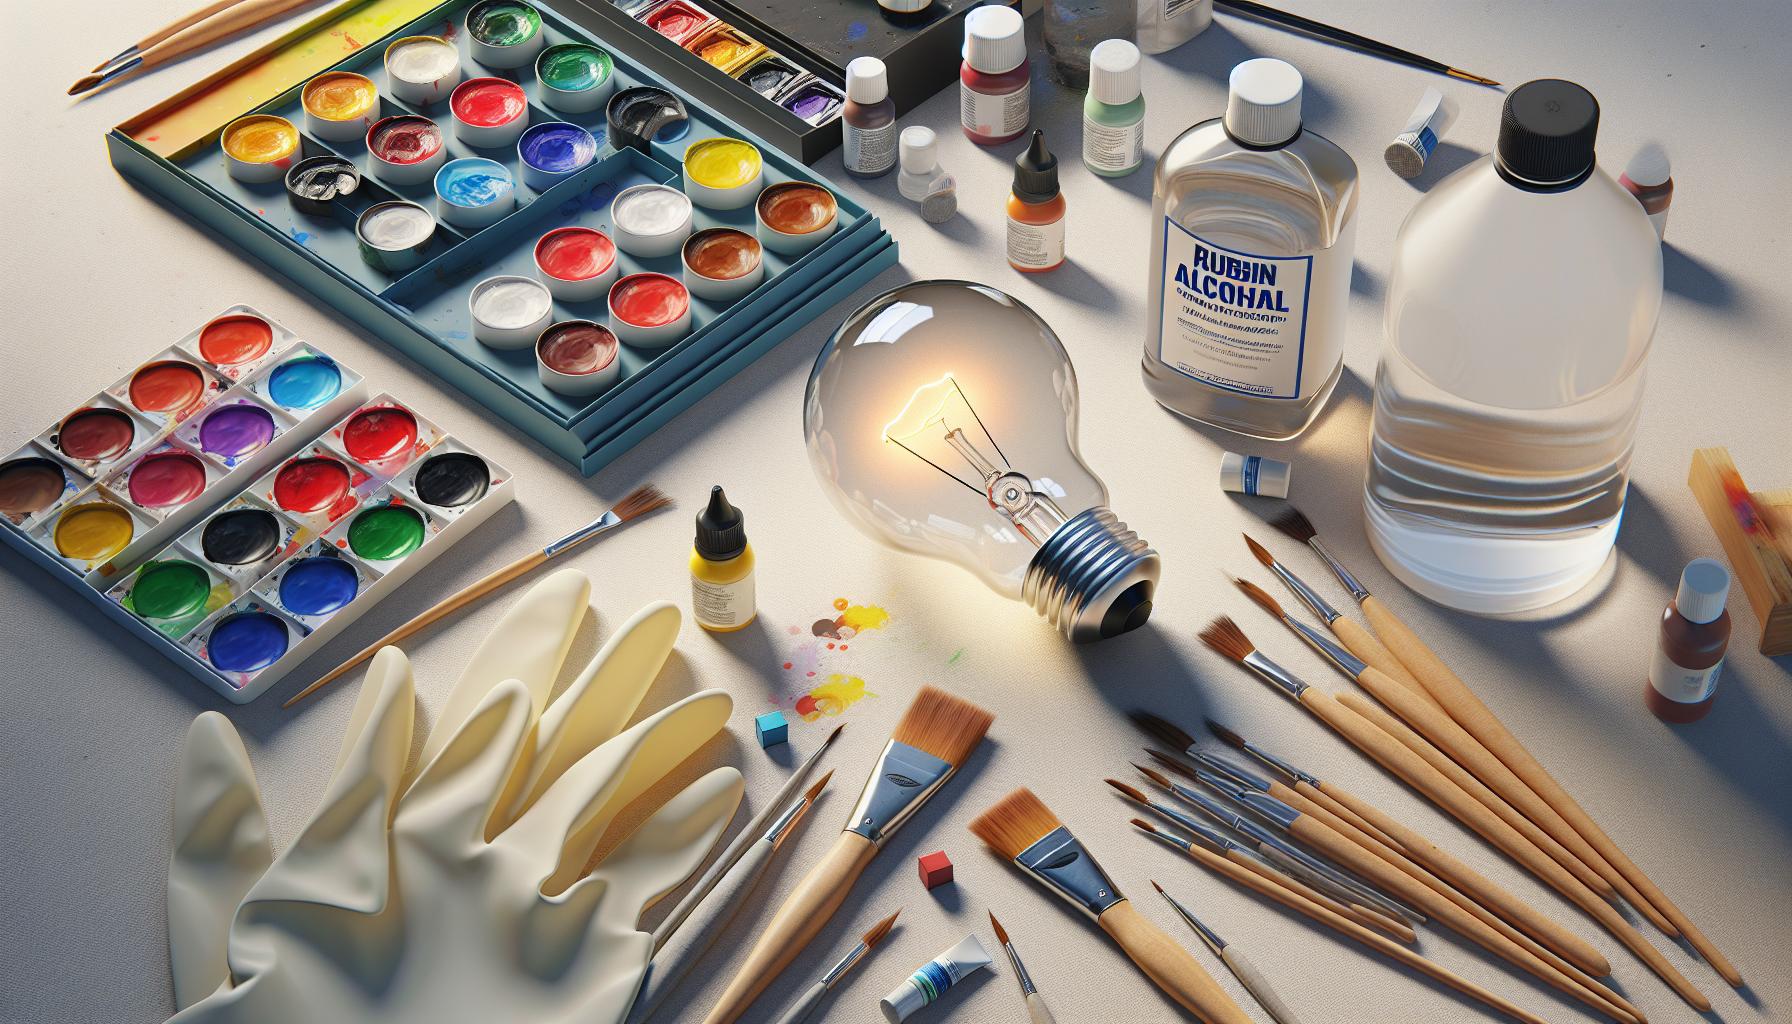
First things first, assemble all the necessary supplies. You’ll need:
- Your chosen light bulb
- Multi-surface or high-temperature paint
- Small paintbrushes or sponges
- Rubbing alcohol
- Paper towels
- Protective gloves
- A well-ventilated workspace
Clean the Bulb
Before you unleash your creativity, it’s crucial that the light bulb is spotless to ensure the paint adheres properly. Put on your gloves, dampen a paper towel with rubbing alcohol, and thoroughly wipe the bulb’s surface. Allow it to dry completely.
Paint with Care
The fun begins. Dip your brush or sponge lightly into the paint; it’s better to start with less paint and add layers than to go on too thick from the get-go. Use gentle strokes or dabs to apply the color. If you’re going for a design, sketch it out with a pencil first or use stencils to guide you.
Pro tip: Keep the paint off the metal threads at the base of the bulb, as this can affect how it screws into the socket.
Dry and Cure
After you’ve applied the first coat, let it dry. If additional coats are needed, make sure each layer dries before adding the next one. Follow the paint manufacturer’s directions for curing time—this could involve air drying or baking in the oven.
Once dried, you’re ready to see your handiwork illuminate! Remember, safety is paramount; use your painted bulbs in fixtures that are compatible and always consider the wattage and heat output. Your painted light bulbs are not just sources of light now; they’re unique expressions of your personality shining through your home’s lighting.
Precautions When Painting Light Bulbs

Safety should be your top priority when you decide to embark on a DIY project like painting light bulbs. First and foremost, ensure the light bulbs are completely cool and unplugged before you start handling them. A hot bulb not only poses a burn risk but also won’t hold paint effectively.
Work in a well-ventilated area to protect yourself from inhaling any fumes that can emanate from the paint, especially if you’re using spray paints or high-temperature varieties. Donning a mask would add an extra layer of protection against potential respiratory irritants.
While you might have experience with all sorts of DIY projects, working with light bulbs requires a gentle touch. The glass can be fragile, and a little too much pressure could result in a break. Always handle the bulb with care, ideally wearing protective gloves to prevent oils from your hands from transferring onto the glass, which could impede the paint from sticking.
When selecting paints, it’s imperative to choose options that are suitable for high temperatures. Regular acrylic or oil-based paints could melt or even catch fire, posing a serious safety hazard. Check the labels for multi-surface or high-temperature paints that are specifically formulated to withstand the heat emitted from a lit bulb.
Avoid painting the metal socket or threads of the light bulb, as this could prevent proper electrical contact or create a fire risk. Instead, focus on the glass part of the bulb, starting with a thin coat of paint to maintain transparency and light diffusion. Respect the curing time recommended by the paint manufacturer to ensure that the paint adheres properly and has diminished volatility by the time you use the bulb.
Remember, the wattage and heat output of a painted bulb might differ from its unpainted counterpart. Values could alter, affecting not just the luminosity but also the energy consumption and heat radiation. Keep that in mind as you work, considering how the change might impact the ambiance and functionality of your room.
By keeping these precautions in mind during your project, you’ll not just achieve a great result but will also maintain the safety and durability of your painted light bulb.
Conclusion
So you’re all set to add a splash of color to your lighting! Just remember to prioritize safety and the right materials for a smooth and successful DIY project. Keep in mind the changes in light output and heat resistance with your newly painted bulbs. With these tips in hand, you’re ready to brighten up your space in a whole new way. Happy painting!
Frequently Asked Questions
Can I use any type of paint to color light bulbs?
No, you should use high-temperature resistant paints that are specifically designed for use on light bulbs to ensure safety and durability.
Is it necessary to paint light bulbs in a well-ventilated area?
Yes, it’s important to paint in a well-ventilated space to avoid inhaling any harmful fumes from the paint.
Should I wear gloves while painting light bulbs?
Wearing protective gloves is recommended to protect your skin from paint and to ensure a clean, smudge-free application.
Can I paint the metal socket or threads of the light bulb?
No, you should avoid painting the metal socket or threads, as this can prevent the bulb from functioning properly and may pose a safety risk.
How might painting a light bulb affect its performance?
Painting a light bulb can change its wattage, heat output, and functionality, so it’s essential to consider these potential changes before deciding to paint.


