Ever found yourself wrestling with a light bulb that just won’t budge from its socket? You’re not alone. Stuck bulbs can be a real headache, often leaving you wondering if you’ll ever see the light at the end of the tunnel.

But don’t worry, there’s good news on the horizon. With a few simple tricks up your sleeve, you can say goodbye to the twist-and-shout routine with stubborn light bulbs. Let’s shed some light on how to keep your bulbs from sticking, ensuring a smooth change every time.
Why light bulbs stick in sockets
You’ve been there: you’re trying to change a light bulb, and it just won’t budge. It’s stuck! But why does this happen? Corrosion and over-tightening are the usual culprits behind this annoying phenomenon.
When electricity flows through the light bulb, it generates heat. Over time, this heat can cause the metal base of the bulb to expand and contract. This constant cycle can lead to a form of welding called cold welding, where the bulb’s base and the socket fuse together slightly.
Moisture also plays a role. Your home’s humidity can introduce moisture into the light socket, leading to corrosion or rust, which in turn increases friction and makes the bulb stick. The sockets in areas with higher humidity, like bathrooms or kitchens, are particularly susceptible.
Then there’s over-tightening – the eager twist you give a bulb to make sure it’s secure. While your intentions are good, overdoing it can deform the bulb’s base, making it much harder to remove later on.
Recognize these potential pitfalls:
- Heat Cycling: The natural expansion and contraction of the bulb’s metal base can cause it to stick over time.
- Moisture: Increases the risk of corrosion, leading to a greater likelihood of the bulb getting stuck.
- Over-tightening: Can warp the shape of the bulb base, increasing the difficulty of removing it.
It’s vital to be mindful of how you’re installing and maintaining your light fixtures. A bit of care goes a long way in preventing a bulb from becoming stuck in the first place. With this comprehension, you’re now armed with the knowledge to keep your bulbs freely moving, safeguarding against the frustration of a stubborn socket.
Common causes of stuck light bulbs

When you’re deep into your home DIY projects, the last annoyance you want is a lightbulb that just won’t budge. You might be wondering why such a simple task can turn into a full stop. Let’s shed some light on the causes.
Corrosion is one of the main villains. It’s the result of a chemical reaction between the metal base of your bulb and the socket, often exacerbated by factors like moisture. When you screwed in that bulb, you might not have thought about the tiny enemies at work. Over time, corrosion can cause significant damage, and that’s when your simple twist becomes a battle of wills.
Another common cause is none other than over-tightening. It’s easy to get carried away when you want to make sure the bulb is secure, but too much of a good thing can lead to trouble. Over-tightening can deform the base of the bulb, meaning it’ll fit a little too well into that socket of yours.
Let’s talk about the effect of moisture. Most sockets are located in places prone to dampness – think bathrooms and kitchens. Moisture doesn’t just play a role in corrosion; it can also cause the base to expand slightly, creating extra friction.
What about changes in temperature? Each time you flip the switch, the bulb gets warm and then cools down when turned off. Repeated Expansion and Contraction from the heat can lead to what’s known as cold welding. It’s a bit like the metal of the bulb and the socket decide to become one, which is sweet for metals, but not so sweet for you when you’re trying to change the light.
Armed with this knowledge, you’ll be better equipped to prevent bulbs from becoming permanent roommates with their sockets. Remember, the right techniques and a touch of patience will light up your world more smoothly.
Safety precautions before removing stuck bulbs
What Light Bulbs Help with Depression? Discover the Best Options for Mood-Enhancing Lighting »

Before you tackle a stuck light bulb, it’s crucial to put safety first. Approaching this task without the necessary precautions can lead to injury or further damage to your light fixture.
Ensure the Power Is Off
Electricity is no joke. Even a task as simple as changing a bulb can expose you to potential electric shocks. Always turn off the power at the circuit breaker or fuse box before attempting to remove the bulb. Try switching on the light to confirm that the power is indeed off.
Use Proper Equipment
A sturdy stepladder gives you stable footing and helps you reach overhead fixtures without overreaching. Never stand on chairs or other unstable surfaces—that’s an accident waiting to happen.
Secure the Surroundings
Clear the area around the light fixture. Remove any objects that can cause you to trip or that might be damaged if the bulb breaks and falls. If the bulb is above a hard floor, consider putting down a soft cloth to catch any potential fragments.
Wear Protective Gear
Shards of glass can cause serious cuts, so wearing gloves and safety goggles is a smart move. Opt for cut-resistant gloves if available, and ensure your goggles have side shields for maximum eye protection.
Handle With Care
If the bulb has been on, wait for it to cool down completely before touching it. Light bulbs can get extremely hot, and you don’t want to burn your fingers.
Know Your Limits
If at any point you feel unsafe or unsure about the task at hand, it’s okay to seek help. There’s no shame in asking a more experienced DIYer for assistance or calling in a professional. Your safety is always the top priority.
By keeping these safety tips in mind, you’re setting the stage for a successful and injury-free light bulb change. Remember, patience and caution are your best tools in preventing problems when dealing with stuck light bulbs.
Method 1: Cool down the bulb and socket

Dealing with a stuck light bulb can be tricky, but you might have heard of the old trick to cool down the bulb and socket. It’s a method grounded in simple physics – as materials heat up, they expand, and as they cool, they contract.
Start by turning off the fixture and allowing the bulb to cool completely. This might take some time, but your patience will pay off. Sometimes simply letting the bulb cool down can make it easier to unscrew because the contraction may break the seal that’s causing the bulb to stick.
After the bulb has reached room temperature, try unscrewing it with a gentle grip. Don’t use too much force; instead, apply a steady, even pressure as you twist. If the bulb still doesn’t budge, you’ll want to cool it down even further.
Here’s a trick you may not know – using a hairdryer on a cool setting can come in handy. Aim the hairdryer around the base of the bulb and the socket. The flow of cool air may help contract the metal just enough to ease the bulb out. Be sure to handle the bulb lightly, as it’s more fragile than you might think.
In some instances, cooling alone might not do the trick, and you might have to pair it with other methods. If the temperature adjustment doesn’t work, applying a lubricant such as WD-40 to the base of the bulb (being careful not to get it on the glass) might just give you the extra help you need. Always remember to wipe away any excess lubricant to prevent it from becoming a safety hazard.
Remember, working with light bulbs and fixtures always requires a delicate touch. You’re dealing with glass and electrical components, so always prioritize your safety as you try this but ensure you’ve taken the precautions mentioned earlier. Keep steady, don’t rush, and handle each step with care.
Method 2: Use a rubber glove or cloth for grip
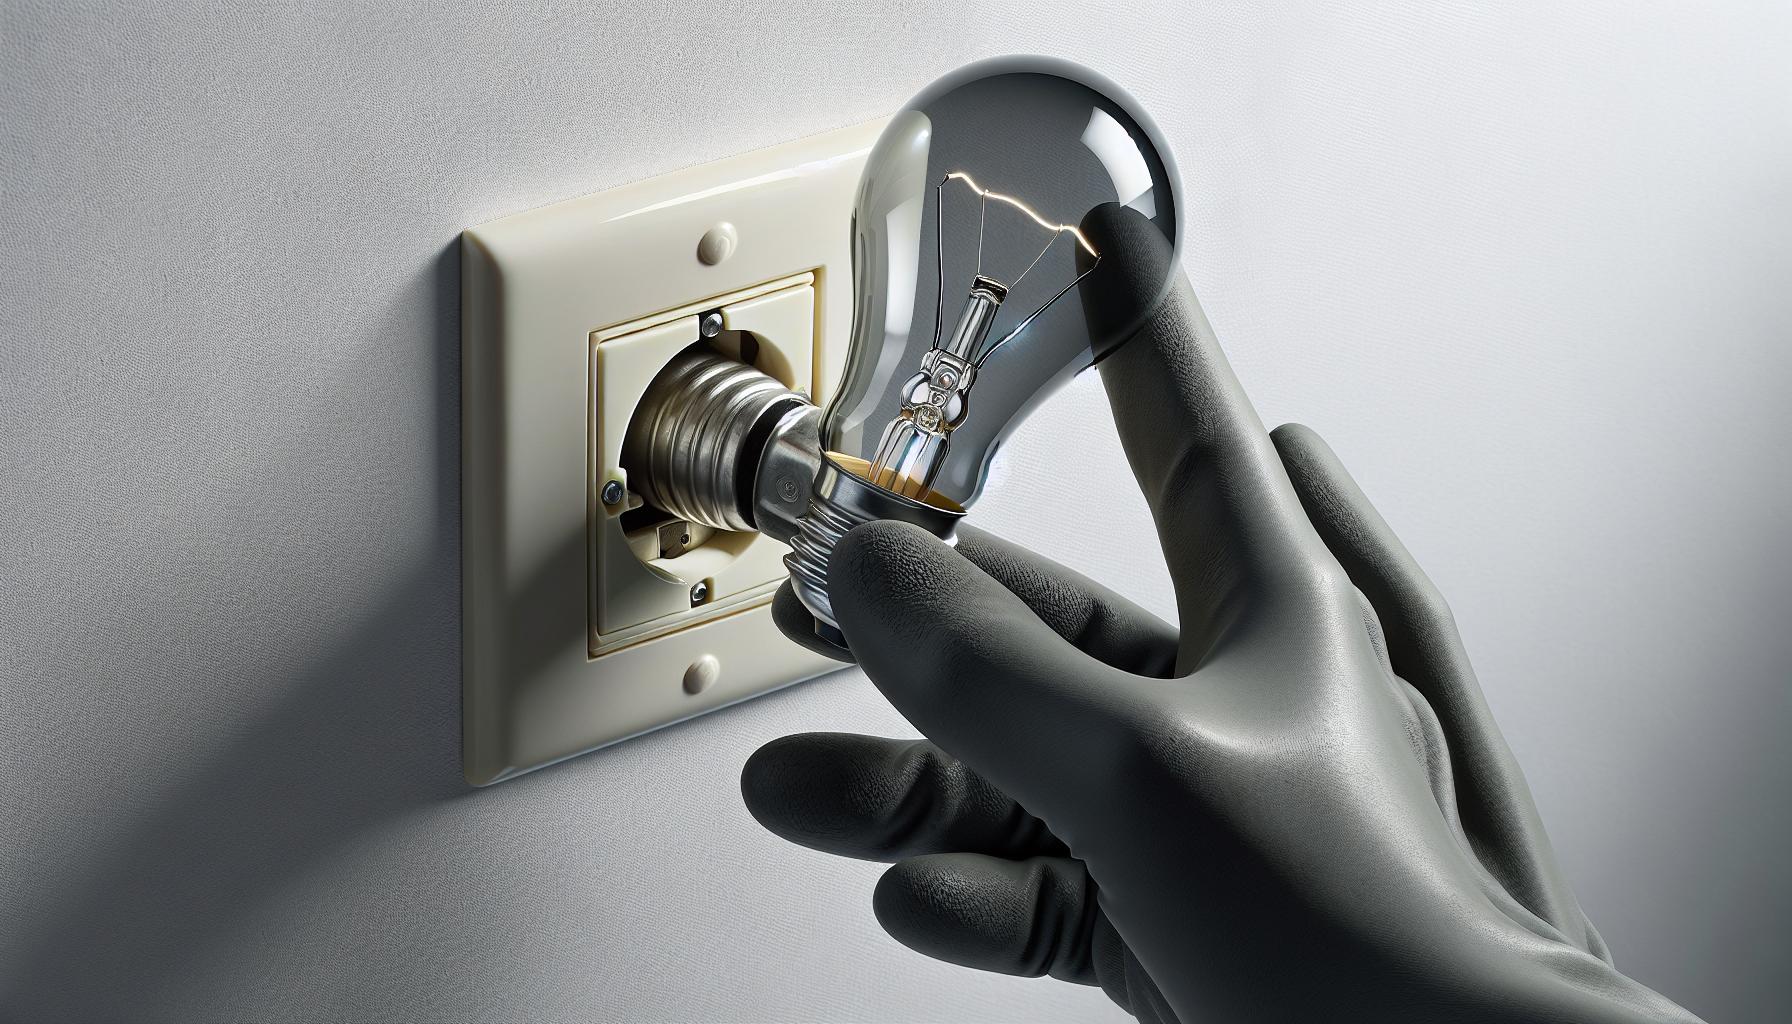
Sometimes the simplest tools — like a rubber glove or a piece of cloth — can give you the leverage needed to remove a stubborn light bulb. The additional grip they provide can make all the difference in loosening a bulb that’s stuck due to overheating or overtightening.
When you’re reaching for a glove, make sure it’s made of a thick, rubber material. Rubber gloves not only enhance your grip but also offer a bit of protection against any accidental breakage. It’s like a layer of armor for your hands, giving you the confidence to tackle the task.
Here’s how you do it:
- Turn off the light switch and allow the bulb to cool.
- Slip on a rubber glove or wrap a cloth around the bulb.
- Gently grip the bulb with your gloved hand or cloth.
- Apply steady pressure and turn counterclockwise.
For bulbs that are tougher to crack, the combination of your trusty rubber glove and gentle but firm wrist action may be just the ticket. It’s kind of like opening a tough jar lid — a little bit of elbow grease, and suddenly, success!
If the bulb remains resistant, consider wrapping a thick cloth around it for an added layer of grip. This also helps cushion the bulb, protecting it and your hands from potential shards should the glass give way.
Remember to maintain steady pressure while turning the bulb. Keep in mind that bulbs are delicate by nature, so patience is key. If the bulb starts to give, continue turning slowly until it’s completely loose. Never force it: if you feel like you’re applying too much pressure, take a step back. Assess the situation and try a different method if necessary.
Employing a glove or cloth in your bulb-removal repertoire is a testament to the power of simplicity. Even in our high-tech world, sometimes it’s these low-tech solutions that save the day.
Method 3: Use a lubricant
Before you find yourself wrestling with another stuck bulb, consider a preventative measure – lubricate the socket. By doing this simple step during installation, you’re ensuring an easier removal process when the bulb eventually needs replacing.
Dielectric grease is a popular choice for this purpose. It’s a non-conductive silicone grease that’s designed to protect electrical connections from moisture and corrosion, but it can also prevent the metal base of your light bulb from getting jammed in the socket. Now, you don’t need much; a thin layer applied to the base of the bulb thread is enough.
Here’s how you go about it:
- Start with a clean socket and bulb base; any debris or residue could complicate matters.
- Apply a small amount of dielectric grease onto a Q-tip or a small brush.
- Gently rub the grease around the threads of the light bulb, avoiding any on the electrical contact at the bottom.
- Carefully screw in the bulb, ensuring it’s snug, but don’t overtighten.
If you’re hesitant about using dielectric grease, there are alternatives. Petroleum jelly, though not as effective as dielectric grease, is an option some DIYers use for the same purpose. Whether or not it’s as good is up for debate, but it’s certainly better than having no lubricant at all.
Just be mindful not to use too much lubricant, whatever your choice may be. Excess grease can attract dust and dirt, potentially leading to poor electrical contact over time.
Next time you tackle a bulb change, remember that a little bit of lubrication could save you a whole lot of hassle down the road. Keep those light projects shining bright and your frustrations dim by applying this straightforward technique. After all, a smoothly running home is your sanctuary, and every little effort you put into maintenance keeps it that way.
Method 4: Use a potato to grip the bulb
You might find it odd, but a raw potato can be your saving grace when you’re dealing with a stubborn light bulb. Potatoes provide a surprising amount of grip and stability, making them quite effective for this purpose. Now, before dismissing it as an old wives’ tale, here’s why this method is endorsed by lighting enthusiasts and DIY aficionados alike.
First, you’ll want to grab a large, uncooked potato that is big enough to cover the bulb’s circumference. Cut the potato in half crosswise so you’ll have a flat surface to work with. Make sure to turn off the power to the light fixture before you go any further to ensure your safety.
Next, press the cut side of the potato firmly against the bulb. Apply slow, steady pressure and try to twist the bulb counterclockwise. The raw potato’s flesh should grip onto the bulb and provide enough traction to turn it. As you’re doing this, keep a firm hold on the base of the light fixture with your other hand to avoid damaging it.
Here are a few tips to get the best results:
- Choose a potato that’s slightly larger than the bulb to ensure a good grip
- If the potato starts to slip, cut a fresh slice off to expose a new gripping surface
- Don’t push too hard to avoid breaking the bulb
In conjunction with other methods like using rubber gloves or applying a lubricant, the potato trick can add another layer of efficacy to your attempts at removing a stuck bulb.
Remember, always prioritize safety when trying unconventional approaches. And while some may chuckle at the thought of using a kitchen staple in electrical work, never underestimate the humble potato’s prowess in DIY light bulb removal. The key is gentle persistence and a dash of creativity—something you’re already well-equipped with.
Method 5: Seek professional help
When you’ve tried every trick in your DIY arsenal but that stubborn light bulb still clings to its socket like a scared kitten to a tree, it’s time to call in the pros. You might feel inclined to muster through on your own, but sometimes seeking professional help is the most prudent move to make.
Electricians understand the nuances of different fixtures and bulbs, ensuring they can address the issue without causing damage. They’re equipped with specialized tools and possess a keen understanding of lighting systems that allow them to swiftly resolve what might seem like an intractable problem.
Since safety is always your top priority, bringing in an expert can prevent the risk of electrical accidents. A seemingly simple task of removing a stuck bulb can lead to unexpected complications. Electricians are trained to handle these situations by implementing safe electrical practices and leveraging their extensive knowledge.
When choosing a professional, look for:
- Licensed electricians who can ensure a code-compliant job
- Reliable local services with positive customer reviews
- Someone who offers a guarantee or warranty on their work
Simply reach out, explain your issue, and let them take care of it while you take a back seat. Remember, there’s no shame in seeking help; it’s all about getting the job done safely and efficiently. Plus, as they work their magic, you can take mental notes and pick up new tricks that might come in handy for your next intractable DIY project.
Conclusion
So there you have it—you’re now equipped with a variety of tricks to tackle those pesky stuck light bulbs. Remember, while it’s great to have these DIY methods up your sleeve, safety should always come first. Don’t hesitate to call in the pros if you’re ever in doubt. With a little patience and the right technique, you’ll keep your lights shining bright and your bulbs easy to change. Happy unscrewing!
Frequently Asked Questions
How can I remove a stuck light bulb safely?
Turn off the power and let the bulb cool first. Then, using a rubber glove or cloth, try to grip and twist it counterclockwise. If it’s still stuck, apply a non-conductive lubricant and attempt again.
What’s a unique way to remove a stuck light bulb?
One unique method is to use a raw potato. Cut the potato in half and press it onto the bulb. Then twist counterclockwise. Ensure the bulb is cool and power is off before attempting this.
When should I call an electrician for a stuck light bulb?
If you’ve tried the aforementioned methods and the bulb remains stuck, it’s best to call a licensed electrician. They have specialized tools and experience to handle such situations safely.