Ever found yourself wrestling with a light bulb that just won’t budge? You’re not alone. Stuck light bulbs are a common annoyance, but thankfully, there’s a trick or two to prevent this from happening.

Knowing how to keep your bulbs from sticking means you can change them easily and safely when the time comes. Let’s shed some light on simple preventative measures that’ll save you from the twist-and-shout routine next time around.
Why Do Light Bulbs Stick?
Ever twist a light bulb only to find it won’t budge? You’re not alone. The frustration is all too familiar, but understanding why it happens can help you sidestep the issue in the future.
Light bulbs get stuck mainly due to the high temperatures they generate. When turned on, they heat up and expand. Once switched off, they cool and contract. This continuous cycle can lead to thermal expansion where the base of the bulb fuses slightly with the socket. It’s particularly common in lamps left on for extended periods or in enclosed fixtures with poor ventilation, making the heat issue worse.
Another culprit is corrosion. Over time, the metal base of the bulb can react with the brass tab in the socket, especially in areas with high humidity or when tiny electrical arcs occur. This causes a slight weld of the two metals, making it challenging to unscrew the bulb without extra effort.
Then there’s over-tightening. You might think giving that bulb an extra turn ensures it’s secure, but in reality, it’s a one-way ticket to stick-town. The excess force can deform the bulb’s base or the fixture’s socket, leading to a stubborn grip.
Let’s not forget dust and debris. Over time, these can accumulate in the socket and on the bulb’s threads. Although seemingly insignificant, these gritty particles can cement the connection between bulb and fixture when combined with the heat and minute electrical arcing.
Understanding these causes arms you with the knowledge to prevent future light bulb lock-ups. So next time you’re installing a bulb, consider these factors. It might just save you from a battle with a stubborn bulb down the line.
Remember, keeping your light fixtures clean and avoiding over-tightening can go a long way. Stay tuned for practical tips to keep those bulbs turning smoothly every time.
Precautions to Take Before Changing a Light Bulb
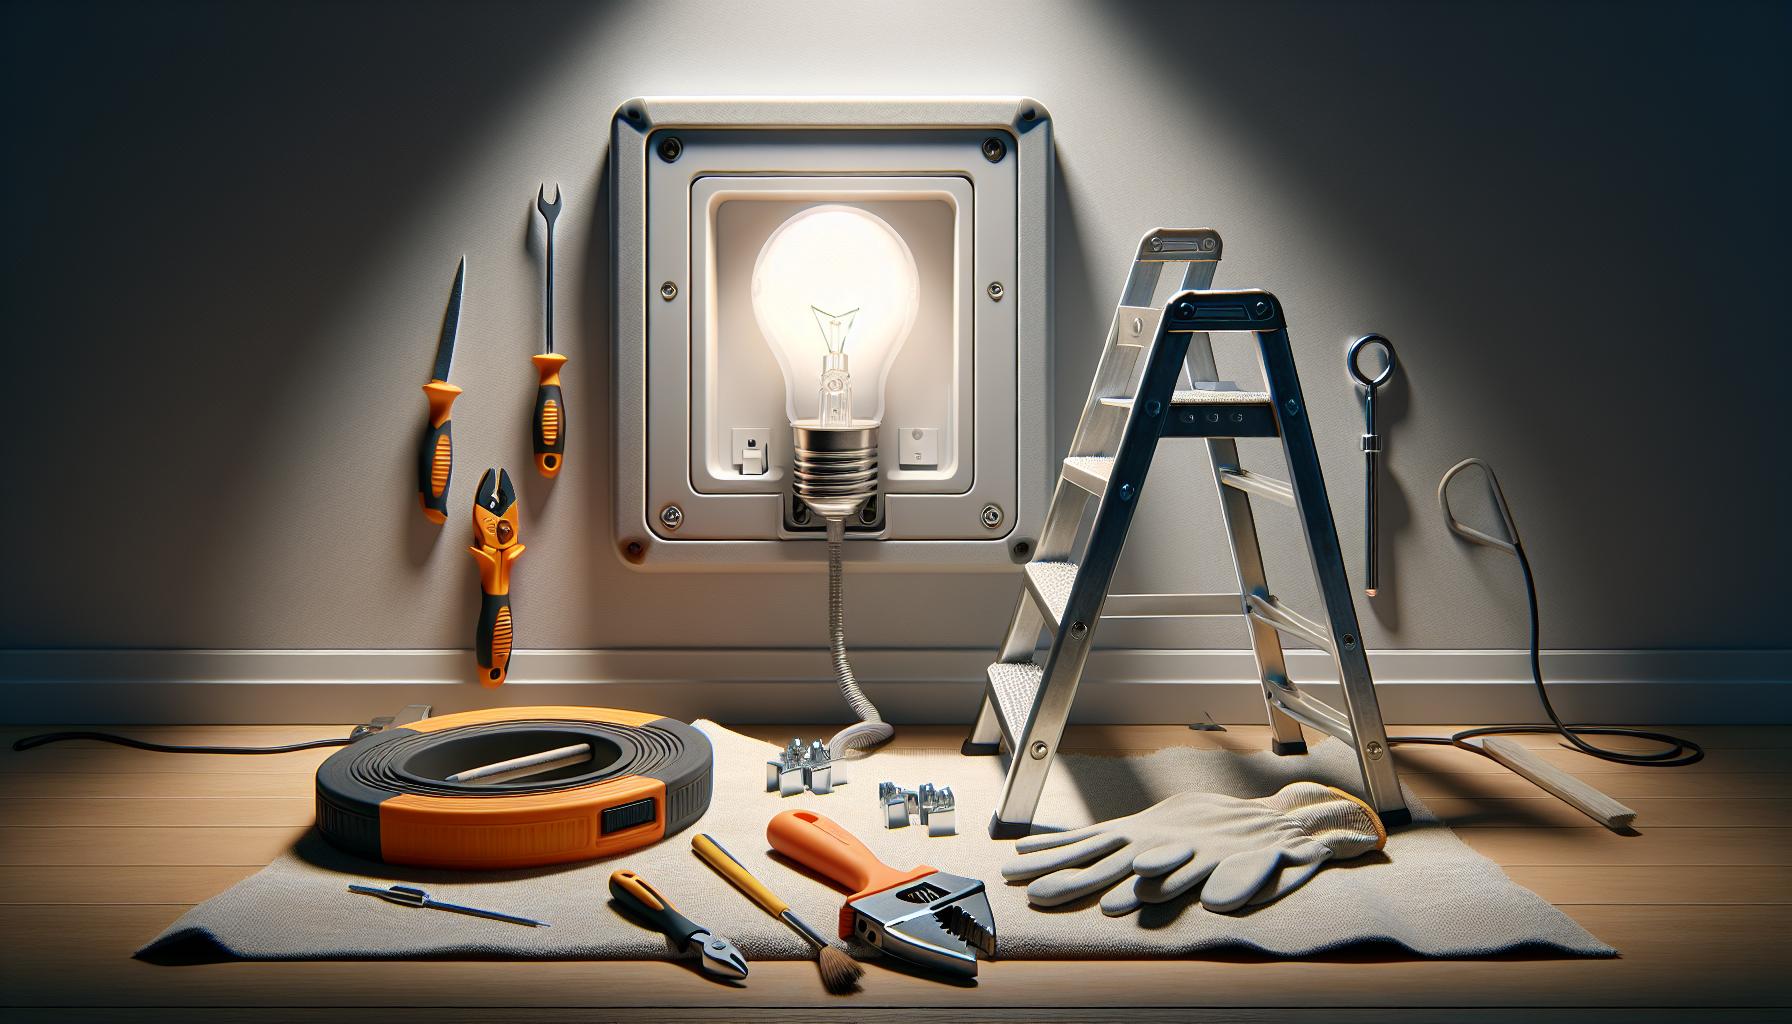
Before you find yourself wrestling with another obstinate light bulb, consider these precautions next time you’re up for a change. Think of them as your pre-change warm-up.
Safety First
Always ensure the power is turned off at the switch or circuit breaker. You’ll want to work with a cool bulb—trying to remove a hot one is not only uncomfortable but could also lead to it breaking. Give it a few minutes to cool down after you’ve turned off the power.
Prepare Your Work Area
Position your ladder or step stool so that you’re not reaching too far overhead—overreaching can cause you to lose balance, and also puts unnecessary stress on the bulb. Lay down a soft cloth or towel below the fixture in case the bulb drops; it’ll have a safer landing.
Use the Right Tools
Sometimes, you may need a grip-enhancing tool to assist with removing a stuck bulb. Special rubber pads or a piece of duct tape can help you grip the bulb without applying too much pressure. Just wrap the tape around the bulb in a teardrop shape, leaving a “tail” you can pull.
Inspect the Fixture
Briefly examine the socket and fixture. If there’s visible corrosion, consider wearing gloves or using a protective cloth to prevent any contact with the rust. This isn’t just about safety—it’ll also help you avoid unsightly rust stains on your hands.
« Can You Use LED Light Bulbs with a Dimmer Switch? Expert Tips Revealed
Are Dimmable Light Bulbs the Same as 3-Way? Unveil Their True Differences »
Switching out a light bulb isn’t just a twist-and-go task; taking these precautions seriously can make the difference between a quick swap and a prolonged battle with your light fixture. And remember, if you’re ever in doubt or if the situation seems risky, it’s always better to consult a professional. After all, dealing with lights is your thing, but keeping you safe is just as important.
Lubricating the Bulb Socket
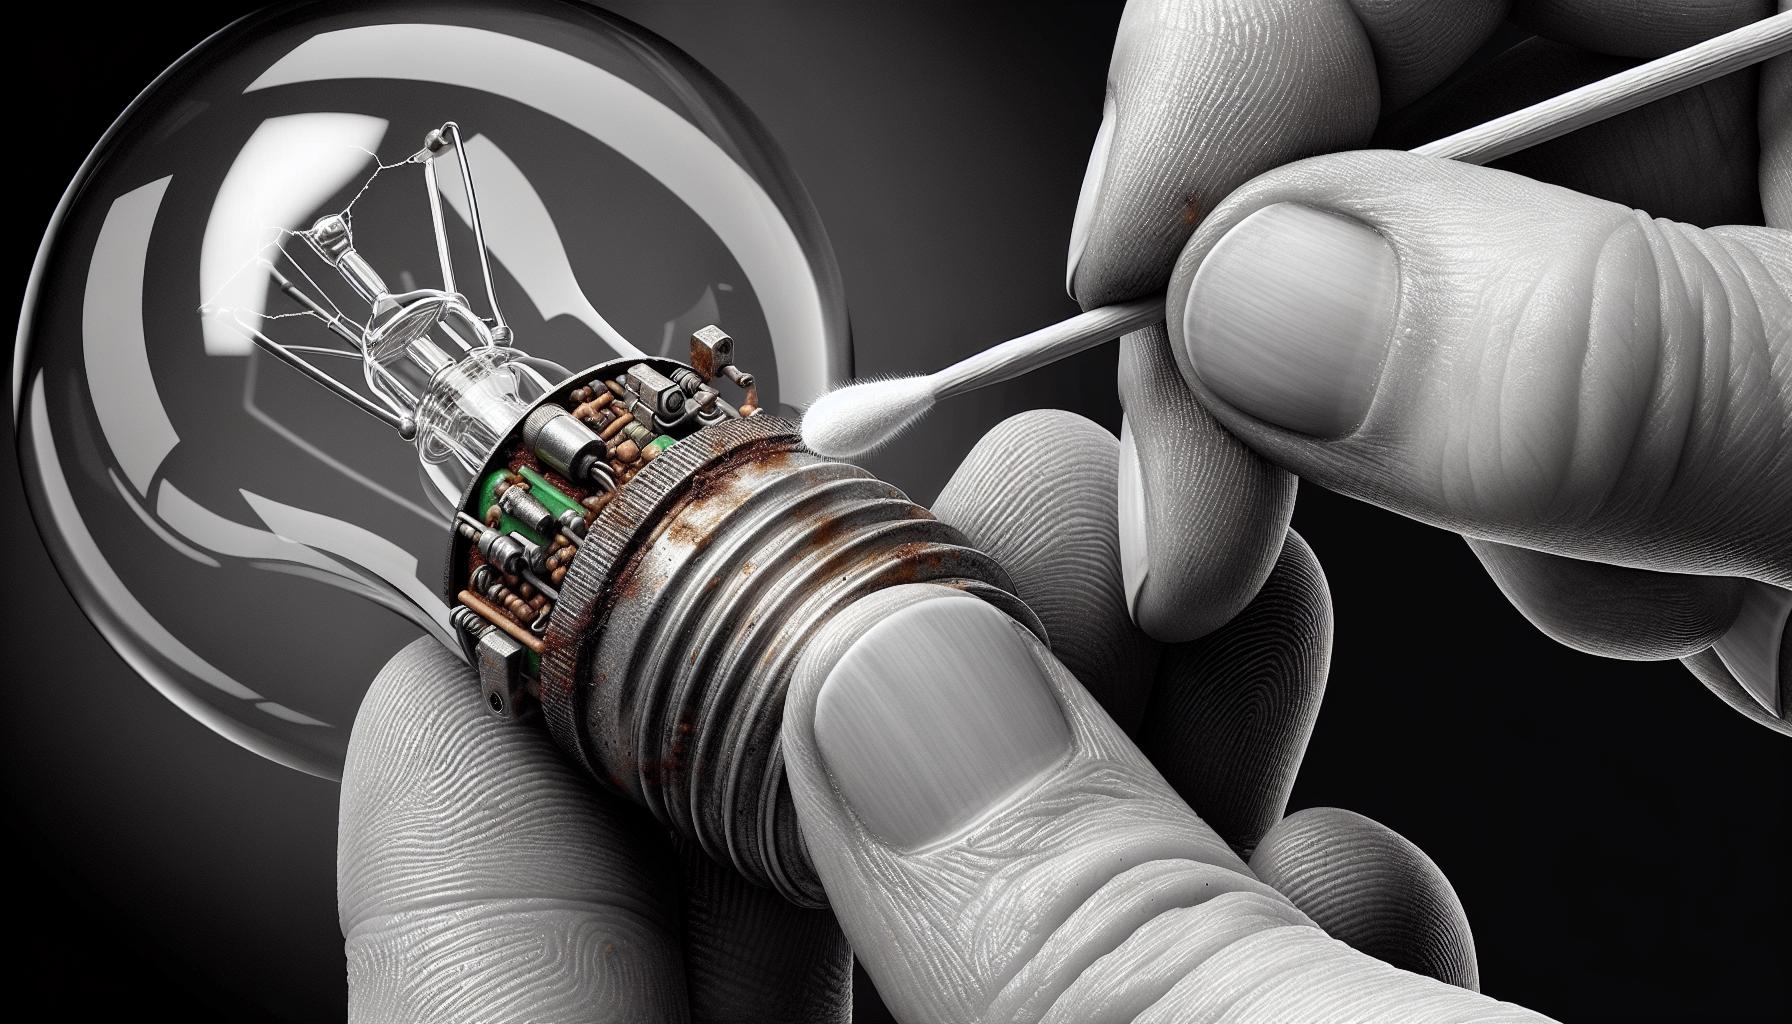
When it’s time to prevent your light bulbs from sticking, you’ll want to consider the socket itself. Over time, the metal in the socket can oxidize, leading to unwanted friction. To tackle this, a bit of lubrication can do wonders. But before you start, ensure the power’s off and the socket’s cool to the touch.
Use a non-conductive lubricant designed specifically for electrical fixtures. These are typically dielectric greases, which will not only ease the installation and removal of bulbs but also protect the socket from corrosion. You can find them at your local hardware store or online.
Apply the lubricant sparingly to the interior of the socket. A little goes a long way, and you certainly don’t want excess grease causing issues. Use a clean cloth, or for more precision, a cotton swab. Make sure you’re covering the entire inner surface—but be cautious not to get any on the bulb’s metal contacts or the socket’s connectors.
Here’s what you’ll need:
- Non-conductive lubricant (dielectric grease)
- Clean cloth or cotton swabs
Start by dabbing a small amount of grease onto the cloth or swab. Carefully work it around the inside of the socket. You’re aiming for a thin layer that’s almost invisible. This will form a barrier that can not only ease your next bulb change but can also fend off moisture that contributes to oxidation.
It’s important to remember that not all light fixtures are suitable for lubrication. Outdoor fixtures, for instance, might have different standards, especially considering their exposure to the elements. Always check the manufacturer’s instructions or seek advice from a professional if you’re unsure.
Routine socket lubrication can be one of your handy DIY home tips, making it easier to keep lights maintained and extending the lifespan of your fixtures. As a lighting enthusiast, treating these little connections with care ensures your home stays bright and welcoming, bulb after bulb.
Using a Rubber Glove or Grip Pad

Sometimes, the simplest solutions are the most effective, and when it comes to preventing light bulbs from sticking, you’d be surprised how useful a rubber glove can be. Rubber gloves not only protect your hands from dirt and possible electrical contact but also provide that crucial extra grip you need when installing or removing a light bulb.
Before attempting to screw in a new bulb or take out an old one, slip on a rubber glove. It’ll help you achieve a firm hold on the bulb without applying too much pressure, which can lead to the bulb breaking or becoming over-tightened. If rubber gloves aren’t handy, consider using a grip pad, commonly used to open tight jar lids. This provides a similar level of grip and can easily wrap around the bulb.
Here’s a quick set of steps using a rubber glove for bulb installation:
- Ensure the power is off and the bulb is cool.
- Wear a clean rubber glove to avoid transferring dirt to the bulb.
- Gently grip the bulb with your gloved hand.
- Turn the bulb in the appropriate direction—right for tightening, left for loosening.
For those with dexterity issues or just looking for an additional advantage, grip pads are stellar at adding the necessary friction to make light work of stubborn bulbs. Simply place the grip pad around the bulb, apply slight pressure, and rotate. Whether you use a rubber glove or a grip pad, the aim is to decrease the chance of the bulb sticking without causing damage.
By incorporating these methods into your light-changing routine, you’re adding a layer of preventive maintenance. Over time, you’ll notice that bulbs will come out more easily, and the dreaded task of changing a stuck light bulb will be a thing of the past. And let’s not forget: you’re also safeguarding the longevity of both the bulb and the socket.
Tapping the Bulb Gently with a Non-Metal Object
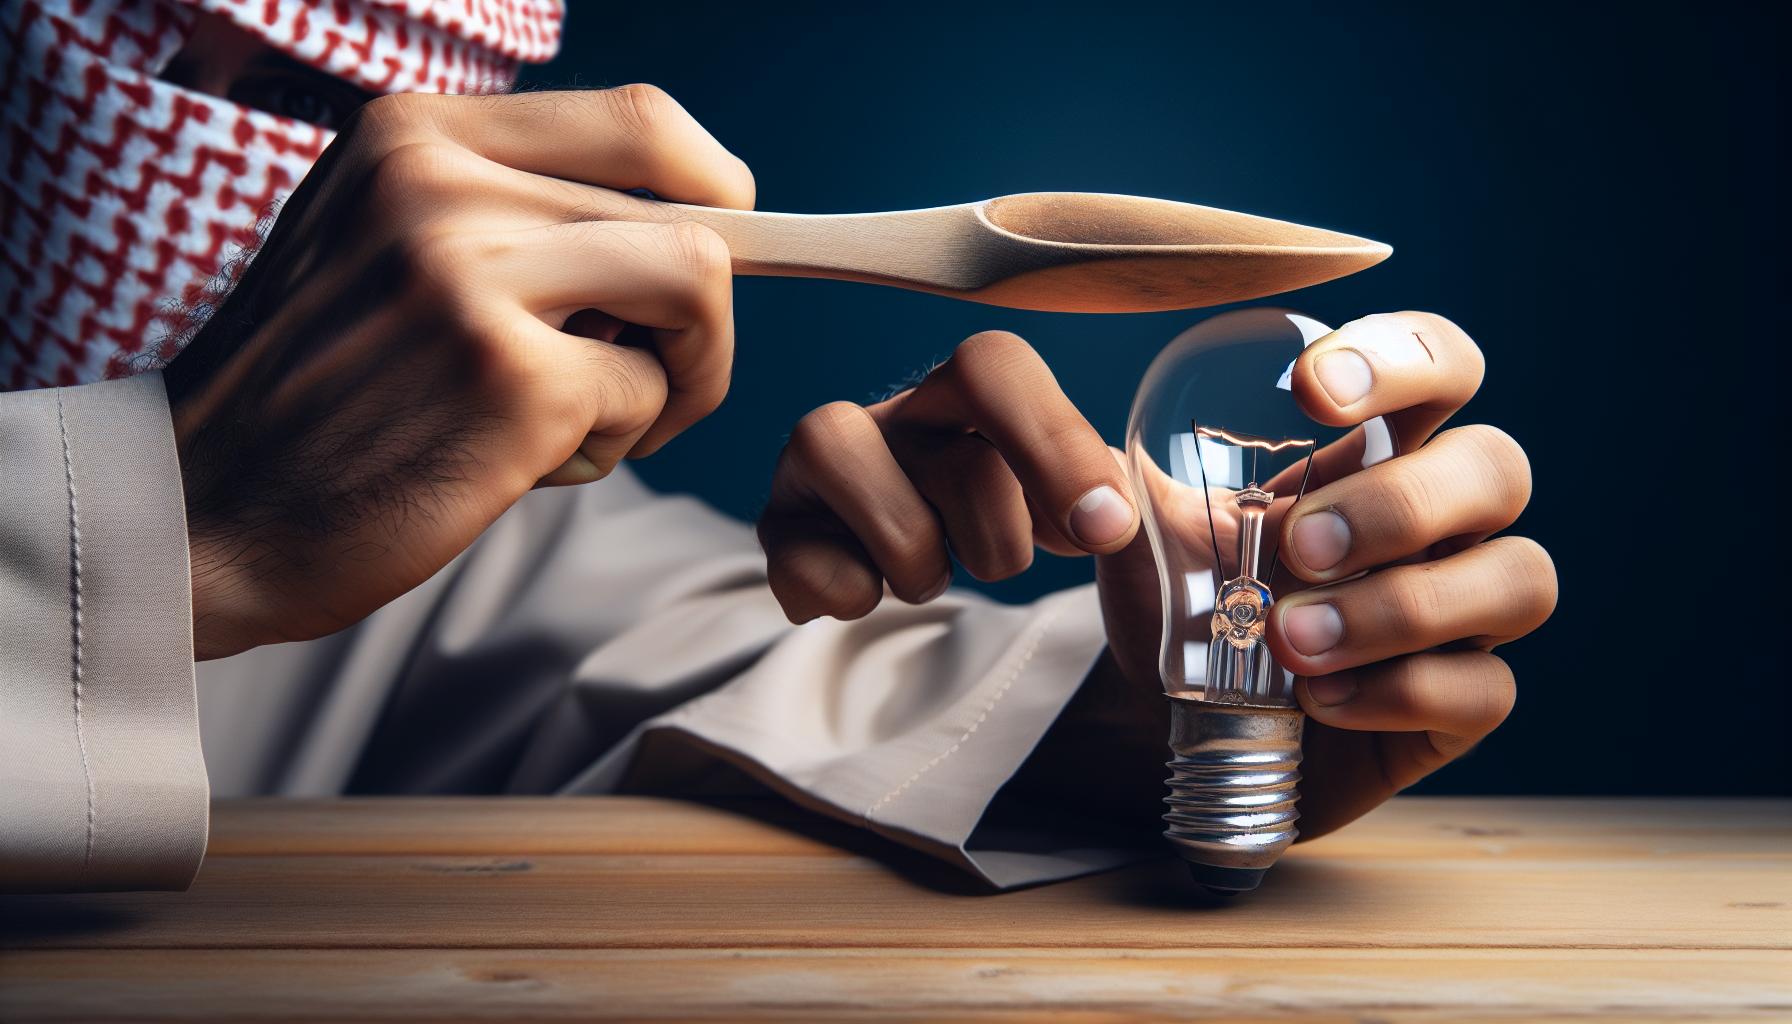
When you’re dealing with a stubborn light bulb that just won’t budge, there’s a technique that might just be your saving grace. Now, it’s not widely known, but tapping the bulb gently with a non-metal object can make quite a difference. This may seem a tad unconventional, but it works wonders in loosening a bulb that’s stuck due to minor corrosion or debris.
Firstly, you’ll want to find an object that’s firm yet not too hard – think along the lines of a rubber mallet or the handle of a wooden spoon. You’re aiming for something that can give a bit of a nudge without risking shattering the bulb. Once you’ve got your tool in hand, it’s time to tap.
Tap Around the Base
Hold the non-metal object lightly and tap the metal base of the bulb, not the glass part. You’re not trying to smash it; imagine you’re knocking on a door softly to let someone know you’re there. Work your way around the base, and this gentle persuasion might just break any minor seal caused by corrosion.
Avoid Excessive Force
Remember, the key here is gentle taps. If you get too enthusiastic, you could end up with a bigger problem on your hands. Too much force can break the bulb, and nobody wants to deal with that sort of mess. So, keep it soft and patient.
Test the Bulb Regularly
After a few taps, give the bulb a slight twist to see if it’s loosened. If it hasn’t, give it a few more taps and try again. Sometimes, this method loosens the bulb after just a few attempts. Other times, it may take a little longer, or it might be an indication that there’s a need to switch tactics and try a different approach.
If you find yourself often facing the plight of the stubborn bulb, consider this method as part of your routine maintenance. It’s a quick fix that requires minimal effort and can be surprisingly effective. Plus, you’re less likely to cause damage to the socket, ensuring your lights will continue to shine bright.
Conclusion
So there you have it! With these simple steps, you’ll find that changing light bulbs becomes a breeze. Remember, it’s all about being prepared and handling the situation with care. Next time you’re faced with a stubborn bulb, you’ll know exactly what to do. Not only will your bulbs come out more easily, but you’ll also be looking out for the well-being of your fixtures. Now go ahead, give these tips a try and see just how smooth your next light bulb change can be!
Frequently Asked Questions
How can I ensure safety before changing a light bulb?
Always turn off the power to the light fixture to ensure safety. Wait for the bulb to cool if it was recently used to avoid burns.
What tools can help me change a light bulb more effectively?
Use grip-enhancing tools, like rubber gloves or a piece of rubber grip, to get a better hold on the light bulb.
What should I do if the light bulb is stuck in the socket?
Try tapping the bulb gently with a non-metal object around the base to break any minor seal caused by corrosion.
How do you inspect a light fixture for corrosion?
Look at the socket where the bulb screws in for any signs of rust or discoloration, which could indicate corrosion.
What are the benefits of using the tapping technique?
Incorporating the tapping technique can make the removal of light bulbs easier and help maintain the longevity of both the bulb and the socket.