Ever found yourself squinting under the harsh glow of a too-bright light bulb? You’re not alone. Dialing down that blinding brightness can transform the ambiance of your space, not to mention save your eyes some serious strain.

Luckily, dimming the lights doesn’t mean you have to live in the dark ages. There are a handful of simple, savvy ways to soften your bulbs’ brilliance without calling in a pro. Whether you’re setting the mood or just looking for a little light relief, you’ll find the perfect solution to tone down the glare.
Adjusting the wattage
When it comes to dimming those glaring bulbs you’ve got at home, wattage is a key factor you’ll want to consider. Think of wattage like the horsepower of your car; the higher the number, the more power it has. Similarly, the higher the wattage of a bulb, the more luminous it is. To adjust the brightness in your space, consider bulbs with lower wattage.
Don’t fret if you’ve already stocked up on high-wattage bulbs. You don’t need to toss them out. Start by experimenting with bulbs of different wattages in various fixtures. You might find that a bulb that’s too bright for your bedroom lamp could be just perfect for the reading nook. It’s all about finding the right balance for each space.
Here’s something else that’s crucial to know: each lamp or fixture has a maximum wattage rating. Overstepping this rating can not only burn out the bulb more quickly but also pose a safety hazard. Check the label or manual of your lighting fixture to ensure you’re using the appropriate wattage.
Want to know what wattages work best for different areas? Here’s a general guideline you can use:
| Space | Suggested Wattage |
|---|---|
| Living Room | 60-75 Watts |
| Bedroom | 40-60 Watts |
| Kitchen | 70-80 Watts |
| Bathroom | 40-60 Watts |
Remember that these are merely suggestions, and the perfect wattage for you might vary based on how brightly lit you prefer your rooms. Plus, with the advent of LED bulbs, which provide the same level of brightness at a fraction of the wattage of traditional incandescent bulbs, you’ve got more options to play with. Just make sure to look at the equivalent wattages listed on LED packaging.
Adjusting the wattage can also be a strategic move for saving on your electricity bill. Lower wattage means less energy consumed, and who doesn’t love a few extra dollars in their pocket? Keep this strategy in mind when you want a subtler ambiance and a greener utility bill.
Using lamp shades

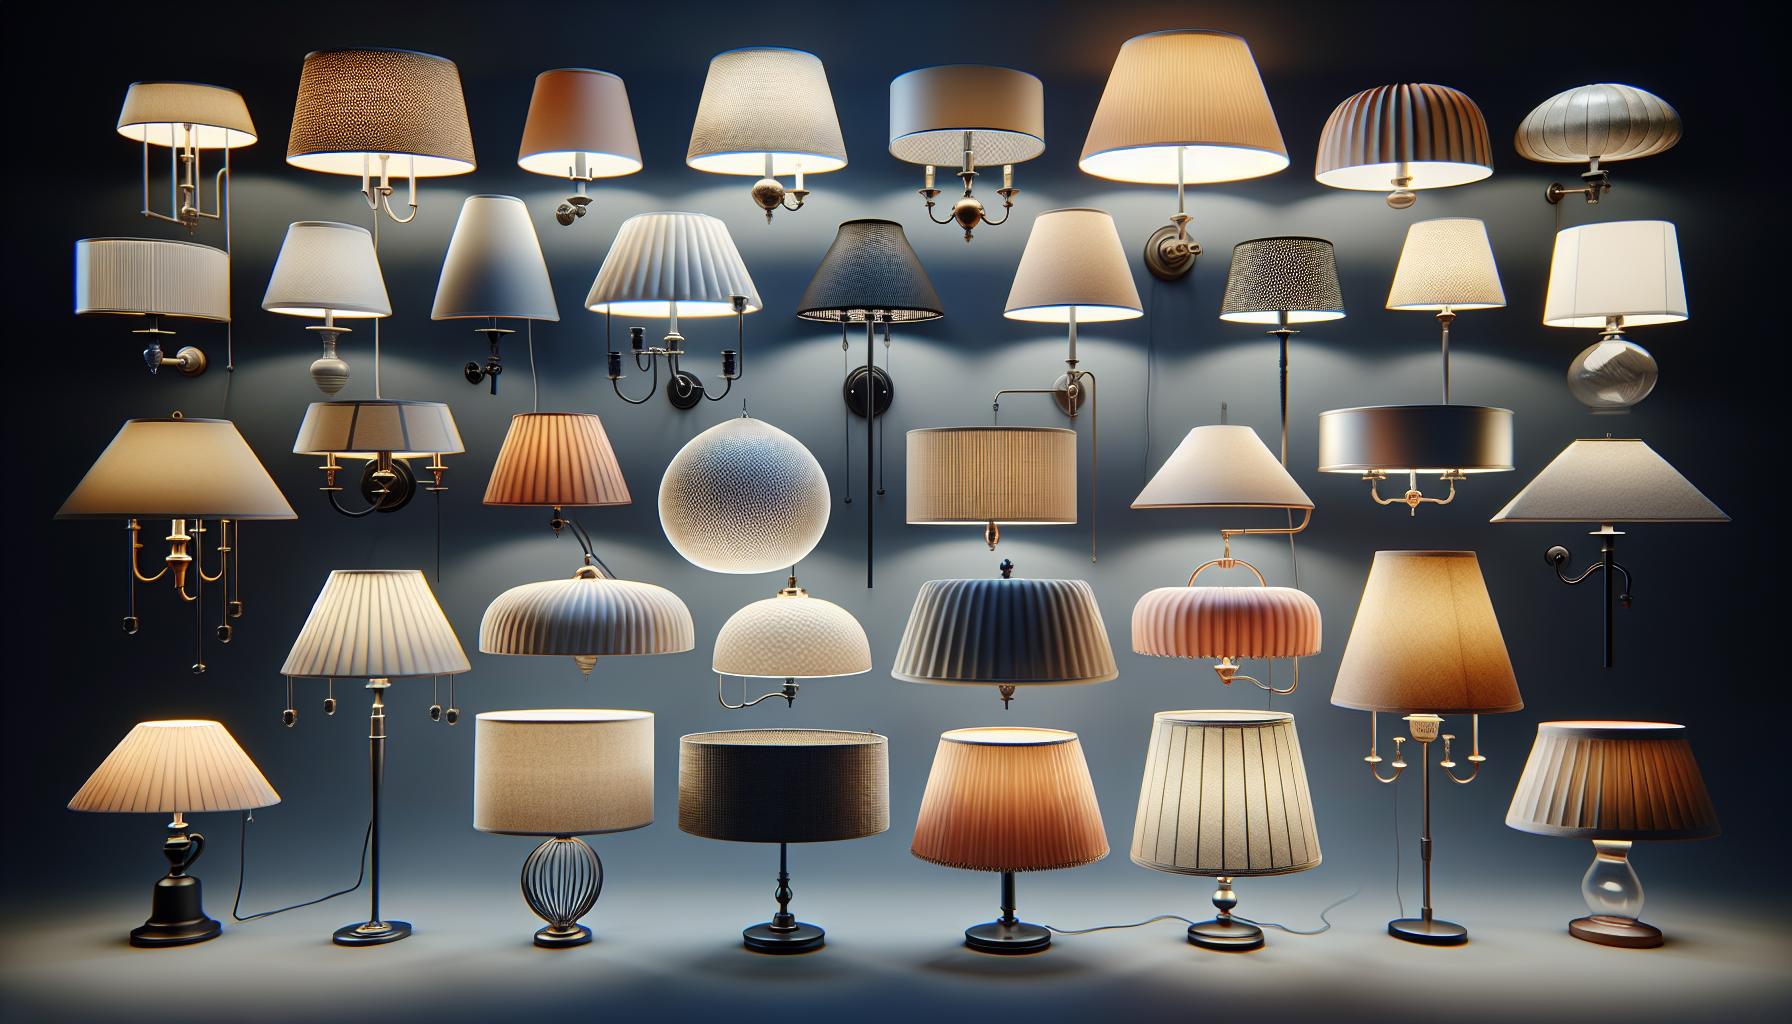
Discovering the sweet spot between too dim and blindingly bright often lies within the realm of lamp shades. Lamp shades are more than decorative covers; they’re a functional tool for diffusing light, softening the intensity, and dispersing it evenly through your space.
Think of lamp shades as your light bulb’s best companion. They work to channel the light, creating a cozy, ambient effect that’s gentle on your eyes. Here are some tips:
- Choose opaque shades to reduce glare. The denser the material, the less direct light escapes.
- Pick shades with a lighter interior lining, as they reflect light more efficiently without amplifying brightness.
- Experiment with different shapes. A bell-shaped shade will focus light downwards, perfect over a reading chair, while a drum shade will cast light more evenly around the room.
Different materials also affect how light permeates a shade. Fabric shades provide a warm, muted glow that can enhance the ambiance of a room. On the other hand, glass or metal shades direct light to specific areas, suitable for task lighting.
When integrating lamp shades, keep in mind the bulb’s wattage you’ve already considered. Make sure the shade is compatible and check for the maximum wattage allowance to ensure safety.
You might also want to look at how the shade attaches to your fixture. There are usually three types of fittings:
- Spider fittings sit at the top of the shade and require a harp and finial.
- Uno fittings attach directly to the light socket.
- Clip-on fittings snap onto the bulb itself.
It’s not just about the light bulb. The right lamp shade can completely transform the vibe of a room. Play around with placements and pairings to find your perfect light setting. Remember, creating a calming oasis might just be a shade away.
Installing dimmer switches
« How Long Do Refrigerator Light Bulbs Last? Maximize Their Lifespan with These Tips
What Light Bulbs Save the Most Energy? Unveil the Top Eco-Friendly Options »

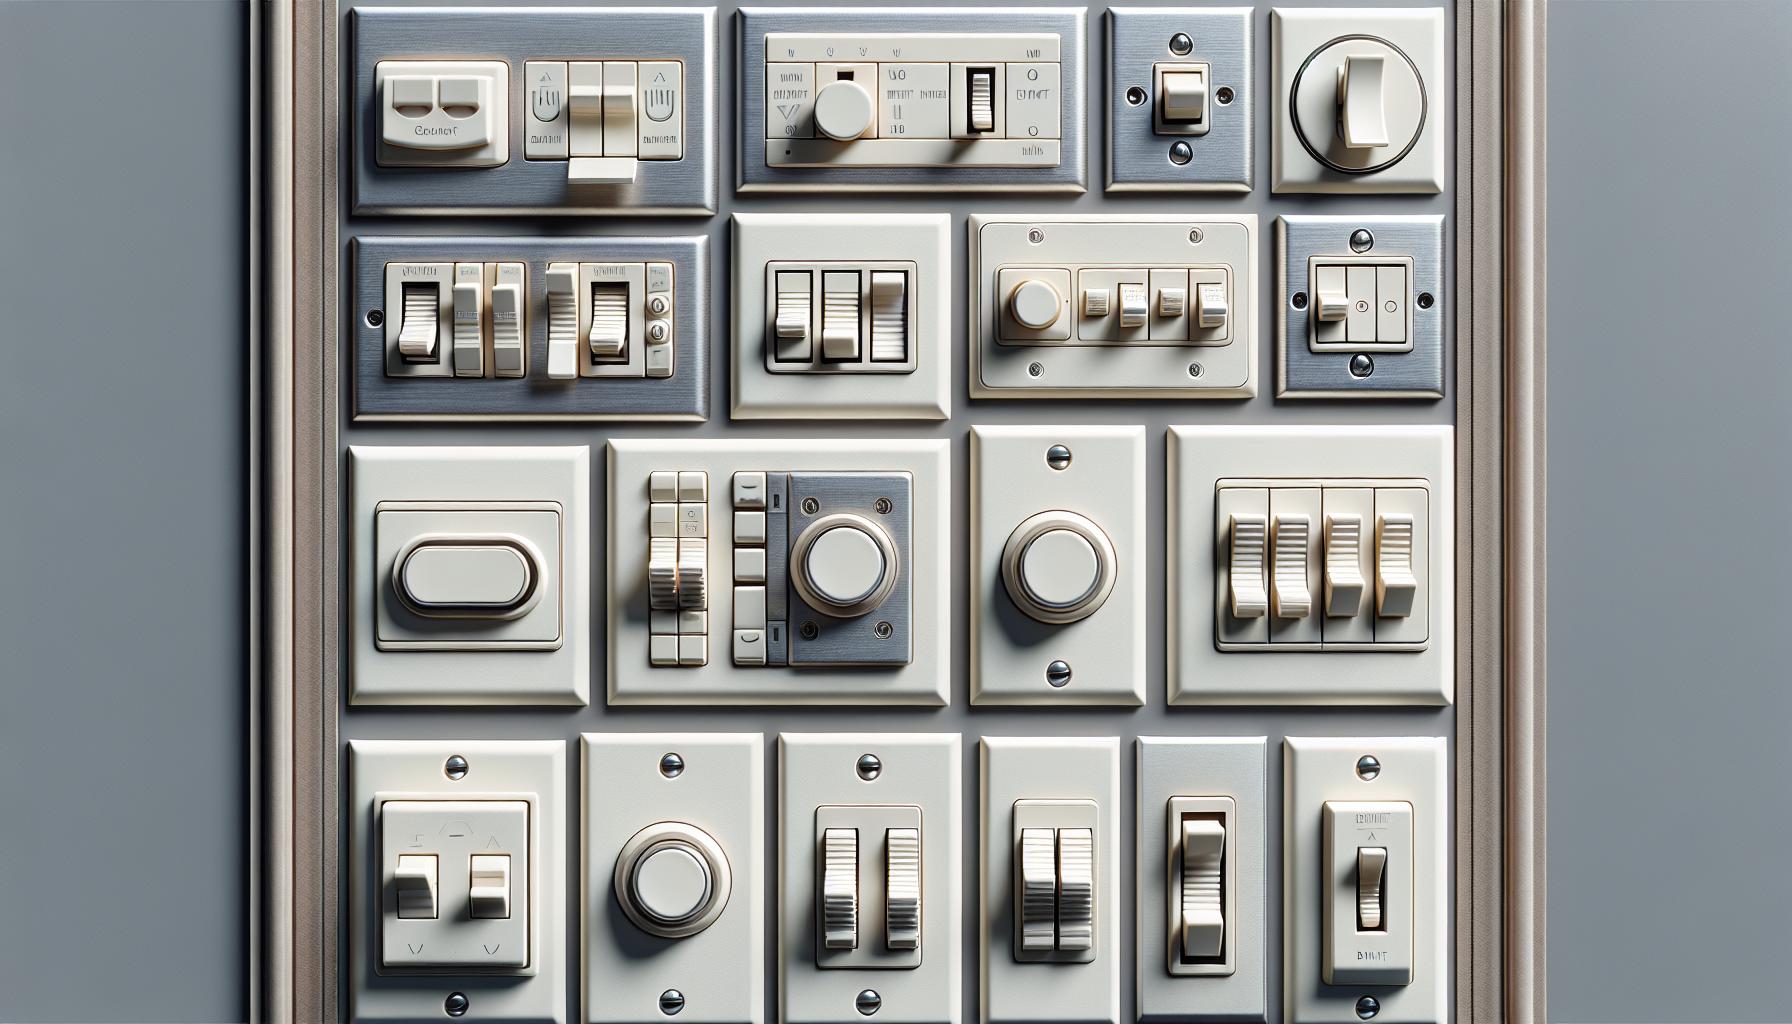
When it comes to getting the perfect ambiance, having more control over your lighting is essential. Dimmer switches are your best bet. With a simple installation, you can adjust lighting seamlessly from bright illumination to a soft glow.
First off, you’ll want to ensure your light bulbs are dimmable. Not all light bulbs can be dimmed, and using a non-dimmable bulb with a dimmer switch can shorten its lifespan. Once you’ve got that sorted out, choosing a dimmer switch is next. There’s a wide variety to select from:
- Rotary dimmers, which let you dial to your preferred brightness
- Slide dimmers, offering a sleek design and precise control
- Smart dimmers, which can be controlled remotely via apps
Ensure the dimmer you pick is compatible with the type of bulbs you’re using, be they LED, incandescent, or CFLs.
Here’s a brief overview of what the installation process generally involves:
- Turn Off the Power: Safety first! Ensure the power to the circuit you’re working on is turned off.
- Remove the Old Switch: Take out your existing light switch, carefully disconnecting the wires.
- Connect the Dimmer: Follow the manufacturer’s instructions to connect the new dimmer switch.
- Secure the Dimmer: Once wired, secure the dimmer to the wall and attach the faceplate.
If you’re not confident in your electrical skills, don’t hesitate to call in a professional. They’ll ensure everything’s up to code and working perfectly.
Remember, the transformation doesn’t end with installing a dimmer. The best lighting scheme adapts to different tasks and moods. By pairing your dimmable lights with lamp shades as previously discussed, you’ll create an adaptable space that feels right morning, noon, or night. Next, we’ll cover even more ways you can modify your home’s lighting without professional assistance. Keep these tips in mind, and you’ll have a space that’s not just well lit but also feels like your own personal sanctuary.
Adding multiple light sources

When considering how to reduce the brightness of a light bulb, don’t overlook the option of incorporating multiple light sources into your space. This strategy not only helps in dimming overly bright lights but also elevates the room’s overall aesthetic and functionality.
Distribute Light Evenly throughout a room by positioning several lower wattage bulbs instead of relying on a single high wattage bulb. This creates a more balanced ambiance because the luminescence is spread out, reducing intense hotspots and glare.
Here’s what you should keep in mind:
- Place multiple lamps around the room to spread the illumination.
- Use Wall Sconces or track lighting for streamlined and dispersed lighting.
- Table and floor lamps are perfect for adding layers of light that contribute to a warm and inviting space.
Remember, when you’re dividing the wattage among several bulbs, you might think each bulb has to be very dim. However, it’s about finding a balance where each individual light source contributes to the cumulative effect without overpowering the room.
Consider the Bulb Type: LED bulbs are ideal for multiple light source setups as they’re energy-efficient and produce less heat. CFLs and halogen bulbs can also be part of your lighting scheme, but make sure they’re compatible with other lighting elements in your room.
Experiment with Elevation: Hanging pendants or chandeliers at varying heights can add both visual interest and allow you to control the intensity of lighting in different areas.
Finally, for areas like the kitchen or a home office, Task Lighting is crucial. You want to make sure that you’re not sacrificing functionality for ambiance. Under-cabinet lights or adjustable desk lamps can give you focused lighting right where you need it, all while reducing the harshness of a single overhead bulb.
Each additional light source not only acts as a piece of the lighting puzzle, creating a layered effect that combats brightness but also serves as a decorative element. The beauty of adding more lights isn’t just in the flexibility it offers but also in the variety of styles and designs you can play with to ultimately achieve a cohesive and personalized look.
Choosing lower brightness options

As someone passionate about home DIY projects, especially those involving lighting, you know the impact a simple bulb can have on the atmosphere of a room. If harsh lighting is your villain, lower lumen bulbs are your hero. Lumen measures the amount of light emitted by a bulb — the lower the lumens, the less bright the bulb. Consider replacing your high-lumen bulbs with ones that offer fewer lumens for a softer glow.
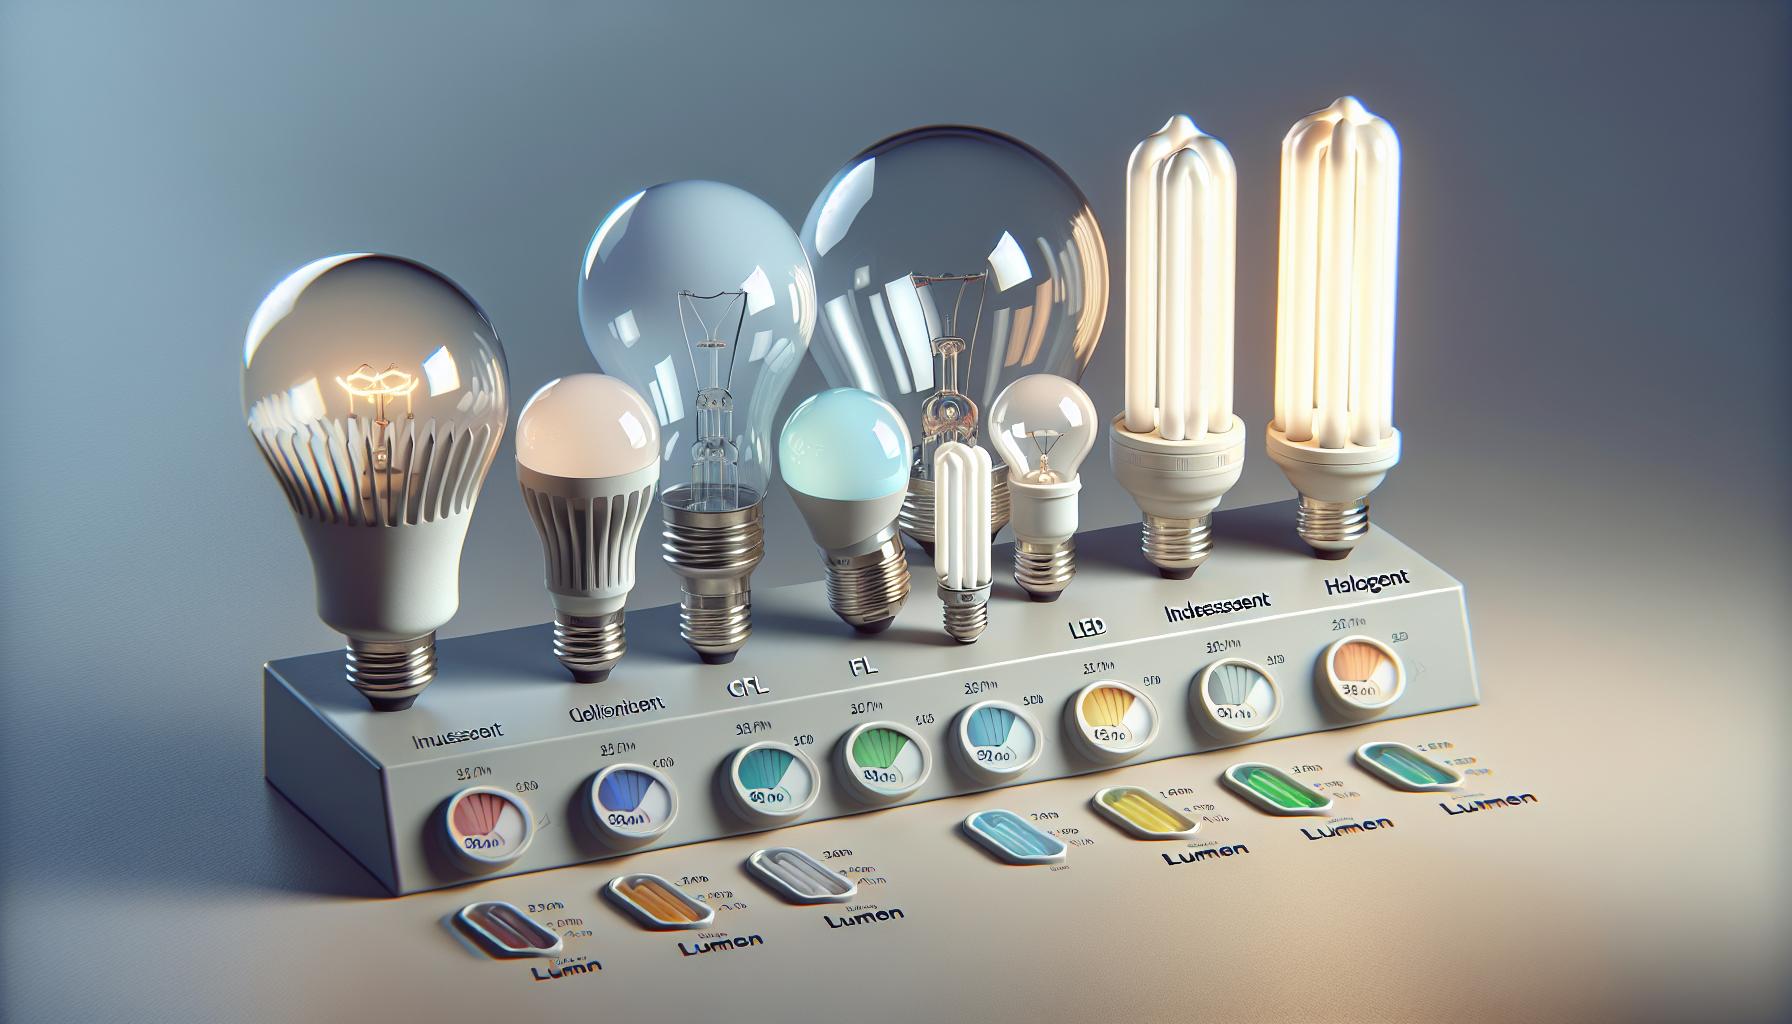
Wattage used to be the go-to term when selecting bulbs, but in the era of energy-efficient lighting, it’s all about lumens. For instance, a traditional 60-watt incandescent bulb produces around 800 lumens. In contrast, an LED equivalent requires much less wattage for the same brightness. Here’s a quick comparison of different bulb types and their approximate lumen output for a 60-watt incandescent bulb equivalent:
| Bulb Type | Approximate Lumens |
|---|---|
| Incandescent | 800 lumens |
| LED | 800 lumens |
| CFL | 800 lumens |
| Halogen | 800 lumens |
Switching to dimmable LED bulbs is a brilliant move. Not only do they consume less power, but they also come in a range of color temperatures. The color temperature, measured in Kelvin (K), has an intrinsic effect on the ambiance. A lower Kelvin, say around 2700K, emits a warm, cozy light, while a higher Kelvin, about 6500K, gives off a bright, daylight-like glow. By choosing LEDs with a warmer color temperature and lower lumens, you’ll achieve that mellow vibe you’re aiming for.
Don’t overlook the practicality of smart bulbs. These tech-savvy illuminators offer customizable settings, including brightness and color temperature, controllable right from your smartphone or smart home device. They’re perfect for tweaking the light intensity in your space without ever needing to touch a light switch.
Expanding your collection of light sources and adopting bulbs that emit a softer light are valuable tactics. However, diving into the actual specs like lumens and color temperature will ensure your lighting adjustments are spot on. Keep experimenting with different combinations to find that just-right level of brightness for every corner of your home.
Conclusion
You’ve now got the know-how to take control of the brightness in your space. By choosing the right bulbs and utilizing dimmable LEDs you can create the perfect ambiance for any occasion. Remember it’s all about the lumens and color temperature when it comes to setting the mood. So go ahead and experiment until you find that cozy balance that feels just right. Your eyes (and your energy bill) will thank you!
Frequently Asked Questions
What can I do to dim bright light bulbs at home?
You can choose light bulbs with lower lumens for a softer glow, or switch to dimmable LED bulbs to adjust the brightness as desired.
What is the difference between wattage and lumens when selecting bulbs?
Wattage measures the energy a bulb consumes, while lumens indicate the amount of light the bulb emits. Select bulbs based on lumens for brightness levels, not wattage.
Why should I consider using dimmable LED bulbs?
Dimmable LED bulbs are energy-efficient, offer adjustable brightness levels, and customizable color temperature settings, enabling you to fine-tune the lighting in your home for comfort and ambiance.
How does color temperature affect the brightness in my home?
Color temperature determines the hue of the light – cooler temperatures (higher Kelvin) appear brighter and more energizing, while warmer temperatures (lower Kelvin) create a cozier and more relaxing atmosphere. Experiment with different temperatures to find the best light for each area.


