Ever had trouble screwing in a light bulb? It’s supposed to be simple, right? But sometimes, you’re met with resistance that turns a quick task into a frustrating ordeal. Don’t worry; you’re not alone.
Understanding the Problem
When you’re standing there with a light bulb in hand, ready to replace the old one, you expect it to be a quick twist and done. However, many of you have been there, trying to screw it in, only to find it just won’t twist smoothly. You’re exerting more pressure than should ever be necessary for a bulb. Don’t worry; your struggle is both valid and common.
The main culprit behind this exasperating issue can be misalignment. For a bulb to screw in seamlessly, the threads of the bulb and the fixture must align perfectly. Even a slight deviation can turn your simple task into a mini wrestling match with your lamp or ceiling fixture. Throw in awkward angles or a fixture that’s out of view, and the job becomes trickier.
Aside from alignment, the condition of the socket can be a game-changer. Over time, fixtures accumulate dust, debris, and even corrosion, which can impede the smoothness of the threads. Imagine trying to slide into a seat only to find it’s sticky—it’s the same concept. Cleaning the socket can often solve this part of the puzzle, setting the stage for an easier bulb-changing experience.
The nature of the bulb’s base can also play a role. While the bases are standardized, manufacturing deviations can occur, leading to bases that are just a hair too wide or threads that aren’t as crisp as they should be. It’s like finding a pair of jeans that should fit, but for some reason, they just don’t sit right. When choosing bulbs, you might want to do a quick visual check to ensure there are no obvious defects.
As a DIY enthusiast and a staunch advocate of impeccable lighting in every home, it’s worth taking a moment to acknowledge that sometimes it’s the small tips that make all the difference. Having the right bulb on hand and ensuring that your light fixtures are well-maintained not only serve to ease the bulb-changing process but also enhance the longevity and performance of your lighting fixtures. Keep these points in mind next time you’re about to change a light bulb, and you’ll be well on your way to mastering this common household task.
Choosing the Right Bulb

When you’re on a mission to replace a light bulb, stepping into the lighting aisle can feel like wandering into a maze of options. But as a DIY enthusiast and lighting aficionado, you know that selecting the right bulb isn’t just about wattage and brightness—it’s key to ensuring a seamless fit.
First off, you’ll want to look at the base of the bulb. Light bulbs come in various base sizes and types, such as the commonly-used screw bases—E26 or E27—or the pin type bases for some halogens and fluorescents. It’s not just about diameter; the base design can dramatically impact compatibility with your fixture. Always match the base of your new bulb with your old one to avoid a mismatch in the threads that could lead to those irritating screw-in problems.
Next, consider the bulb’s material. Traditional incandescent bulbs are somewhat forgiving with their metal bases, but the newer, energy-efficient bulbs like LEDs and CFLs sometimes use harder plastics. These materials don’t have the same give, making them more susceptible to cross-threading if you aren’t careful. Go for bulbs with a reputation for quality manufacturing; a well-made bulb screws in smoothly and lasts longer.
Check the packaging for any mention of the bulb’s manufacturing standards. UL listing or Energy Star certification can be good indicators of quality control, which in turn means a better fit in your fixture.
And here’s a savvy tip: before leaving the store, gently twist the bulb in its packaging. You’re feeling for any give or wobbliness at the base—a sign of potential trouble down the line.
Here’s a quick rundown to take with you:
- Match the base size and type (E26, E27, pin type, etc.)
- Choose quality materials and manufacturing (metal bases, reputable brands)
- Look for quality control certifications (UL listed, Energy Star)
Quality bulbs mean fewer headaches when it’s time for a change, and as a lover of all things lighting, you’ll appreciate the ease of installation and the luminescence they bring to your space without any pesky delays.
Preparing the Socket
« Which Light Bulb Do I Have? The Ultimate Guide to Upgrading Your Lights
Who Do Light Bulbs Work: Unveiling the Magic Inside Your Home Lighting »
Before you get started on replacing your light bulb, ensuring the socket is prepared can save you from unnecessary hassle. This step is often overlooked but is crucial for not just ease of installation but also for longevity and safety.
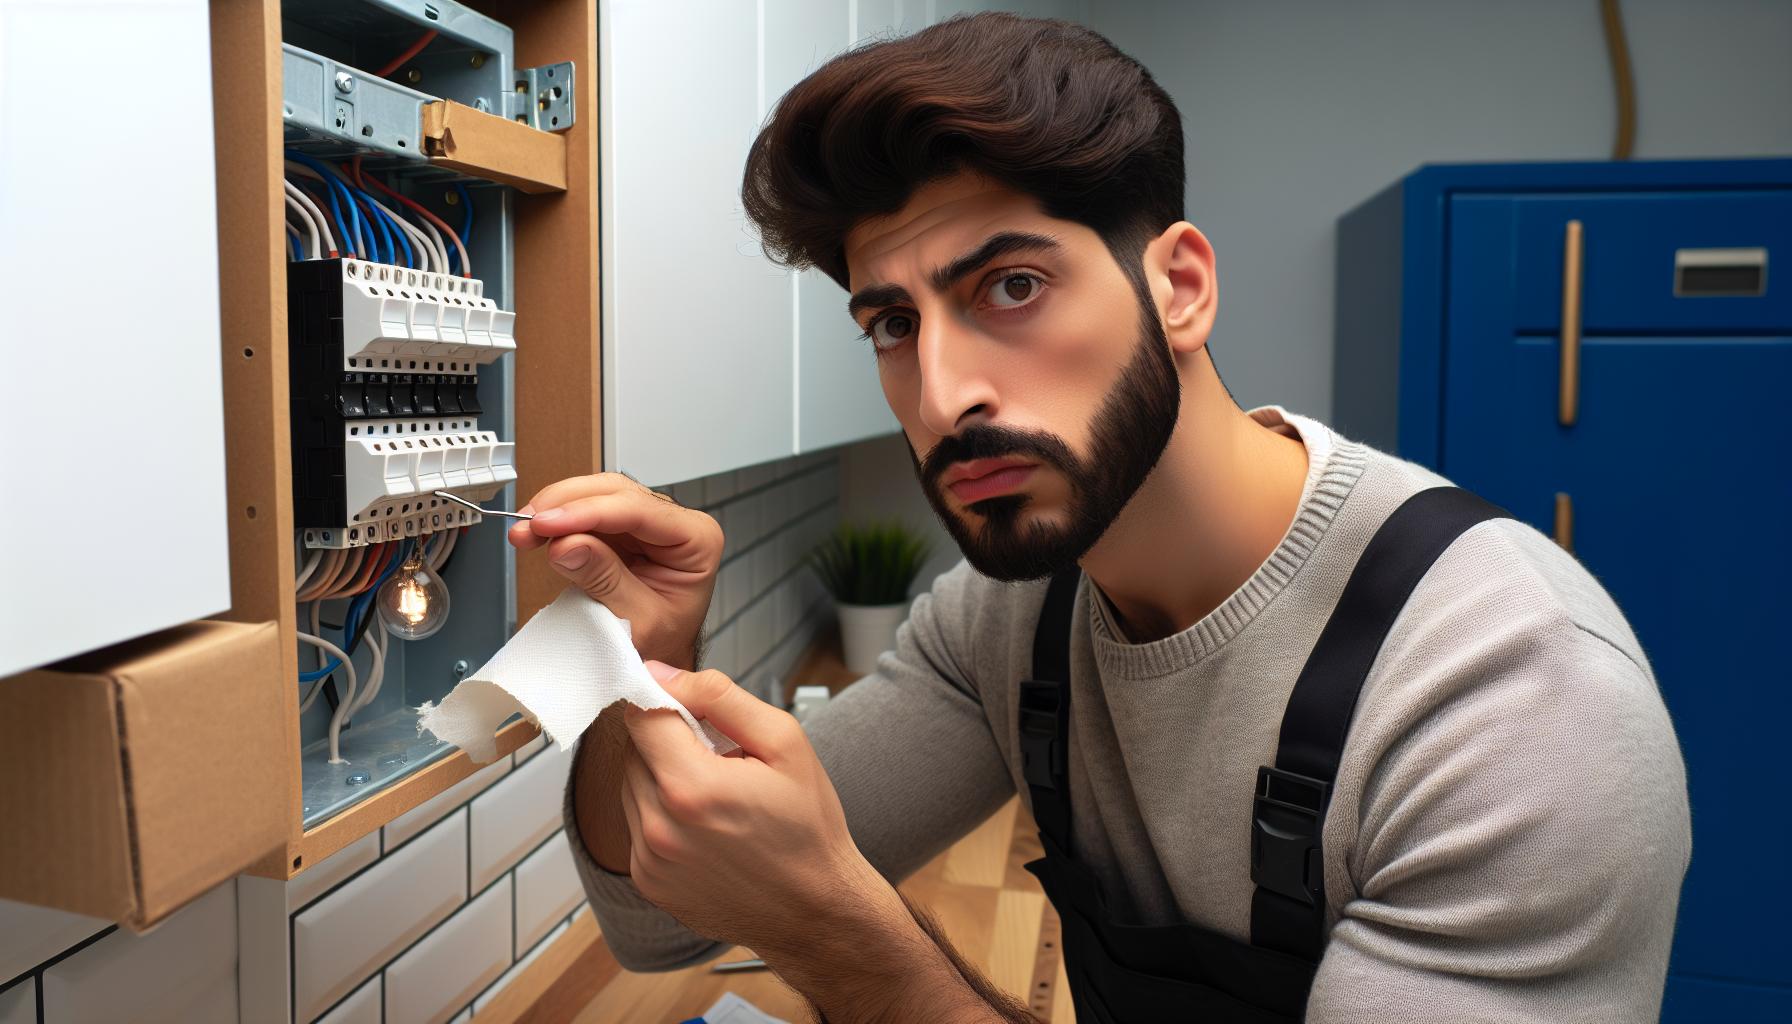
Firstly, turn off the power to the fixture at the breaker box. It’s a simple step but it’s your safest bet against electric shock. Once the power is off and the old bulb is removed, take a moment to inspect the socket. Any debris or corrosion should be cleared out; a dry cloth is usually sufficient but for tougher dirt, a bit of rubbing alcohol on a cotton swab can do wonders. Just make sure the socket is dry before proceeding.
If you’re dealing with a floor or table lamp, consider unplugging it entirely for an added layer of security as you prepare the socket.
Here are some key points to bear in mind:
- Always check that the power is off before touching the socket.
- If there’s visible damage or the socket looks burnt, it might be time to replace the fixture or consult with an electrician.
- Ensure the socket is clean and dry before you insert the new bulb.
Springs and clips within the socket should have tension and hold to the bulb; if they don’t, they may need to be adjusted or replaced. However, if you’re not confident in doing this, seek professional help.
When you’ve given attention to the socket and made sure there are no flaws that could affect your new bulb, you’re ready to move on. Remember that taking these precautions not only assists in smooth bulb installation but also extends the life of your lighting fixture by preventing undue stress and overheating caused by poor contact.
Applying Lubrication
After ensuring your socket is clean and in tip-top shape, you’ll want to consider lubrication to make screwing in your light bulb a breeze. Applying a tiny amount of lubricant can prevent your bulbs from sticking, making them easier to change the next time around.
Common options for lubrication include:
- Petroleum jelly
- Silicone grease
- Specialized non-conductive lubricants
Before you get started, ensure the lubricant is non-conductive to avoid any electrical hazards. Put on a pair of gloves to keep your hands clean. With a small cloth or a Q-tip, dab a bit of your chosen lubricant and apply it sparingly to the base of the bulb’s threads. Remember, you’re aiming for a light coating – using too much can attract dust and dirt, which can lead to its own set of issues.
Rotate the bulb as you apply, ensuring an even spread. This method helps the bulb glide smoothly into the socket without the need for excessive force.
Once you’ve applied the lubricant, it’s time to carefully screw the bulb into the socket. You should notice that the bulb now inserts much more smoothly. By reducing friction, you not only make it easier to change out bulbs but also minimize the wear on the sockets and bulb bases over time.
Keep in mind, regular maintenance goes hand in hand with these steps. Make it part of your routine to check the lubrication when you replace a bulb, topping it off if necessary. This simple act can significantly extend the life of your lighting fixtures and make bulb replacement a less daunting task.
Remember, patience is key. If you’re finding the bulb isn’t screwing in easily, don’t force it. Back it out and ensure everything is properly aligned. Sometimes it takes a gentle touch rather than brute force to get things right.
Using Tools
Sometimes, your hands just aren’t enough to get that stubborn light bulb in place. That’s where tools come in handy. Before you start, make sure to turn off the electricity at the circuit breaker to ensure your safety.
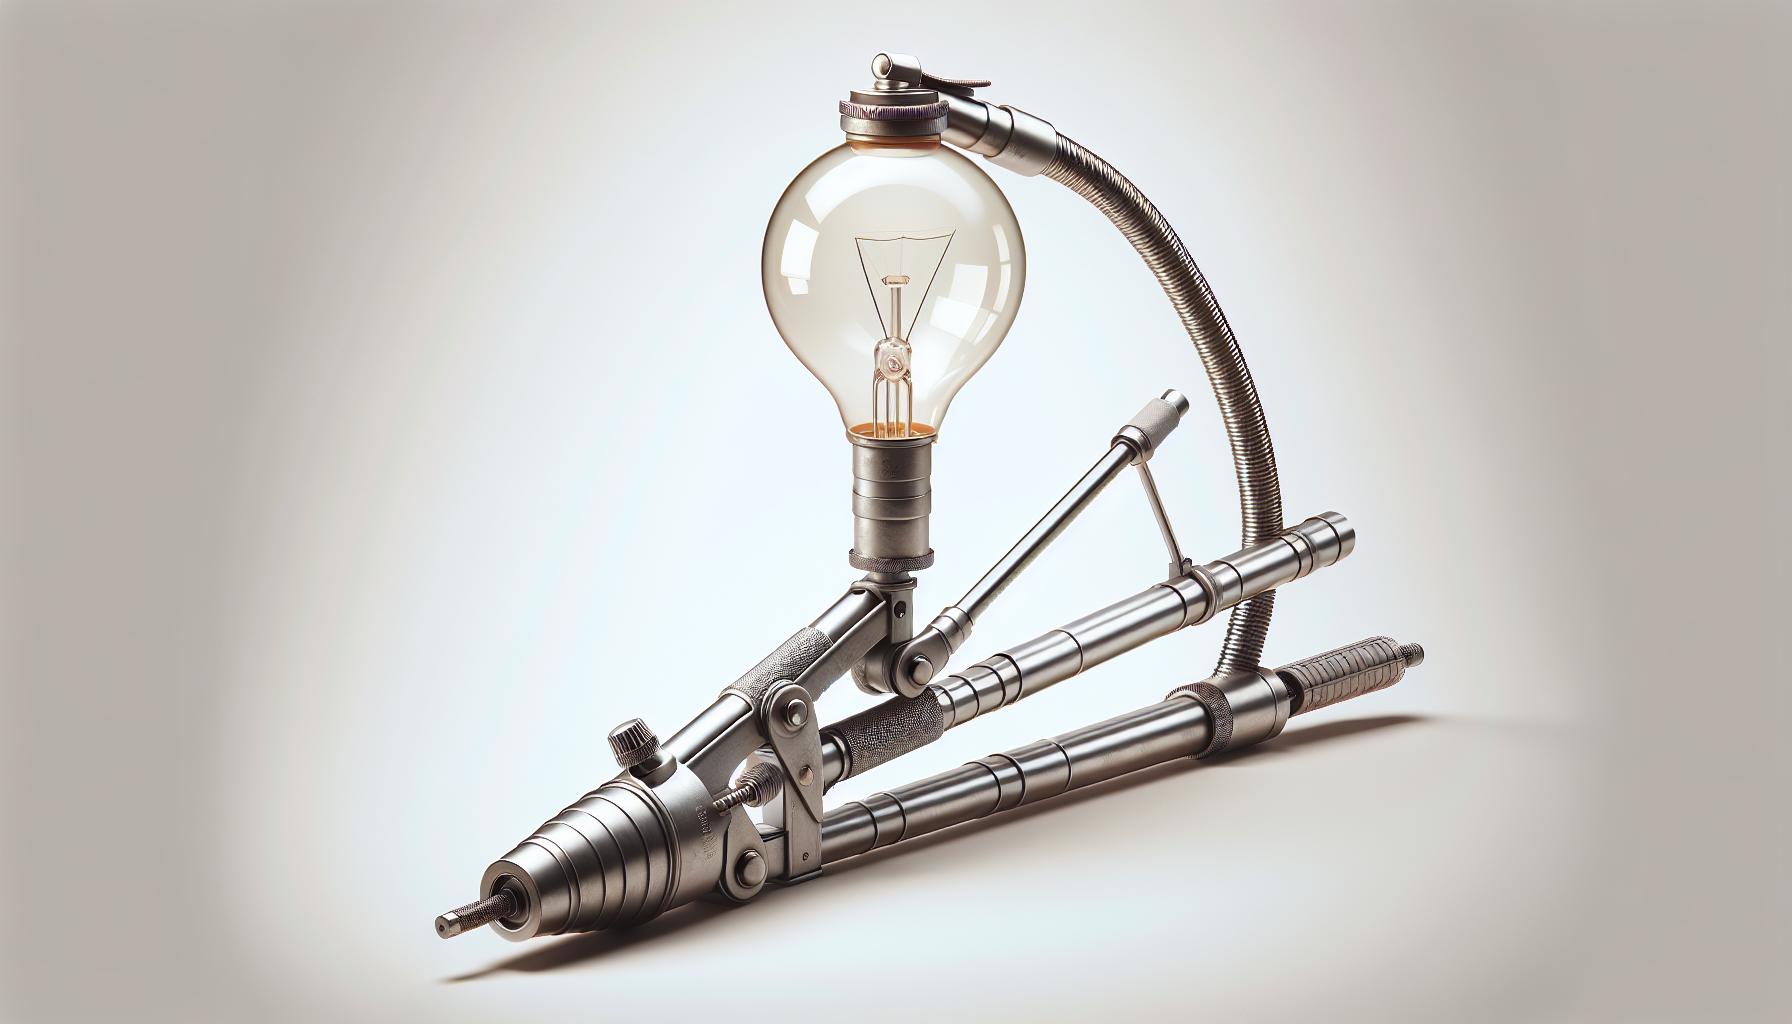
A bulb changer is a great tool, especially for reaching high ceilings or tight spaces. This simple device usually has a telescopic handle and a suction cup or spring mechanism to grip the bulb. To use it effectively,
- Extend the pole to the necessary length,
- Firmly attach the bulb changer onto the bulb,
- Gently twist.
Remember, the right amount of pressure is key – too much might damage the bulb or fixture.
Gloves with grip can also offer a solution. They provide extra traction and protect your skin from any potential breakage. When choosing gloves, look for a pair with a rubberized or textured grip surface. And just like when you’re using your bare hands,
- Align the bulb carefully,
- Apply even pressure,
- Rotate slowly.
Lastly, you might encounter a tricky situation where the bulb is slightly oversized or the socket is a bit tight. A strap wrench is an excellent tool for these moments. It gives you that extra leverage without risking damage to the bulb. Just wrap the strap around the bulb’s base, tighten it enough to hold but not to crush, and twist. You’ll be surprised at how smoothly the bulb will screw into place.
Keep in mind though that using any tool improperly could potentially break the bulb or damage the fixture. It’s best to always start with the least invasive method – using your hands with a bit of lubrication – before moving on to tools. And don’t hesitate to call a professional if you’re unsure about anything; after all, safety comes first.
Conclusion
So there you have it! With these tips, you’ll find that screwing in light bulbs can be a breeze. Remember to start simple with a bit of lubrication and your own grip before reaching for any tools. And never forget that safety comes first. If you’re ever in doubt or a bulb is particularly stubborn, it’s okay to call in a pro. Now go out there and shine some light on your space with ease!
Frequently Asked Questions
What is the safest method to replace a light bulb?
Start by turning off the power. Use your hands with a bit of lubrication, if necessary, to gently unscrew the bulb. Always ensure the lamp or fixture has cooled down before attempting to replace the bulb.
Can I use any gloves to change a light bulb?
It’s recommended to use gloves with grip to prevent the bulb from slipping out of your hands, which could result in breakage and potential injury.
What tools are suggested for changing a light bulb?
For tough-to-reach or stuck bulbs, you can use a bulb changer, strap wrench, or gloves with grip to assist with the replacement process.
How much pressure should I apply when using tools to replace a light bulb?
Use the right amount of pressure – not too much, as this could break the bulb, and not too little, as the bulb might not budge. It’s crucial to align the bulb carefully as you apply pressure.
Should I start with tools when replacing a light bulb?
No, always begin with the least invasive method, such as using your hands. If that doesn’t work, you can then move on to using tools like bulb changers or strap wrenches.
What should I do if I’m unable to replace a light bulb?
If you’re unable to replace the light bulb safely, it’s important to prioritize safety and seek professional help to avoid the risk of injury or damage.


