Flickering light bulbs can be more than just a nuisance; they’re a silent cry for help from your home’s electrical system. Before you’re left in the dark, let’s shine a light on some quick fixes.

You might think it’s just a loose bulb, but there could be more lurking behind that erratic glow. Don’t worry, you’re about to become the flicker fixer your home needs.
Armed with a few simple tips, you’ll have that pesky flicker tamed in no time. Get ready to restore the calm, steady light you love and need.
Understanding the Causes of Light Bulb Flickering
Flickering light bulbs can be more than a mere annoyance; they are often symptoms of larger electrical problems. To tackle the flickering effectively, you need to understand the primary causes behind this perplexing issue.
Loose Bulbs
A common, yet often overlooked reason for a flickering light bulb is as simple as a loose bulb. Over time, vibrations from the ceiling fan or nearby doors slamming can loosen the bulb, disrupting the connection. Tighten the bulb in its socket, ensuring it’s securely connected. A firm, snug fit is crucial for a steady electrical flow.
Voltage Fluctuations
Voltage fluctuations in your home can cause flickering. These can originate from high-power electrical devices being switched on, like air conditioners or heaters drawing more power upon startup. Identify the Trigger: Monitor when the flickering occurs and which devices are being used to help isolate the cause.
Faulty Light Switch
A worn out or defective switch can also contribute to flickering. Occasionally, the contact within the switch may not be consistent, leading to intermittent connections.
- Simple Test: Toggle the switch off and on. Notice any delay or further flickering.
- DIY Tip: If comfortable with household repairs, try replacing the switch. Remember to cut off power at the breaker box before starting.
Electrical Wiring
Faulty or aging wiring can be a serious cause of flickering lights and merits attention. It’s often hidden within the walls, making it less obvious but not less important.
- Loose Connections: Anywhere along the circuit could be the culprit.
- Older Homes: Wiring standards have evolved, and old wiring might not be up to par.
Light Bulb Type
The type of bulb you’re using can influence flickering:
- Incandescent Bulbs: These are more prone to flicker due to their filament design.
- LEDs: Can flicker if incompatible with dimmer switches or if there’s a low quality driver.
Compatibility Issues
Finally, ensure that every part of your lighting system is compatible. Dimmers and bulbs must match in terms of technology. Mismatched components can lead to flickering as the incompatible technologies struggle to work together.
Checking and Tightening the Bulb
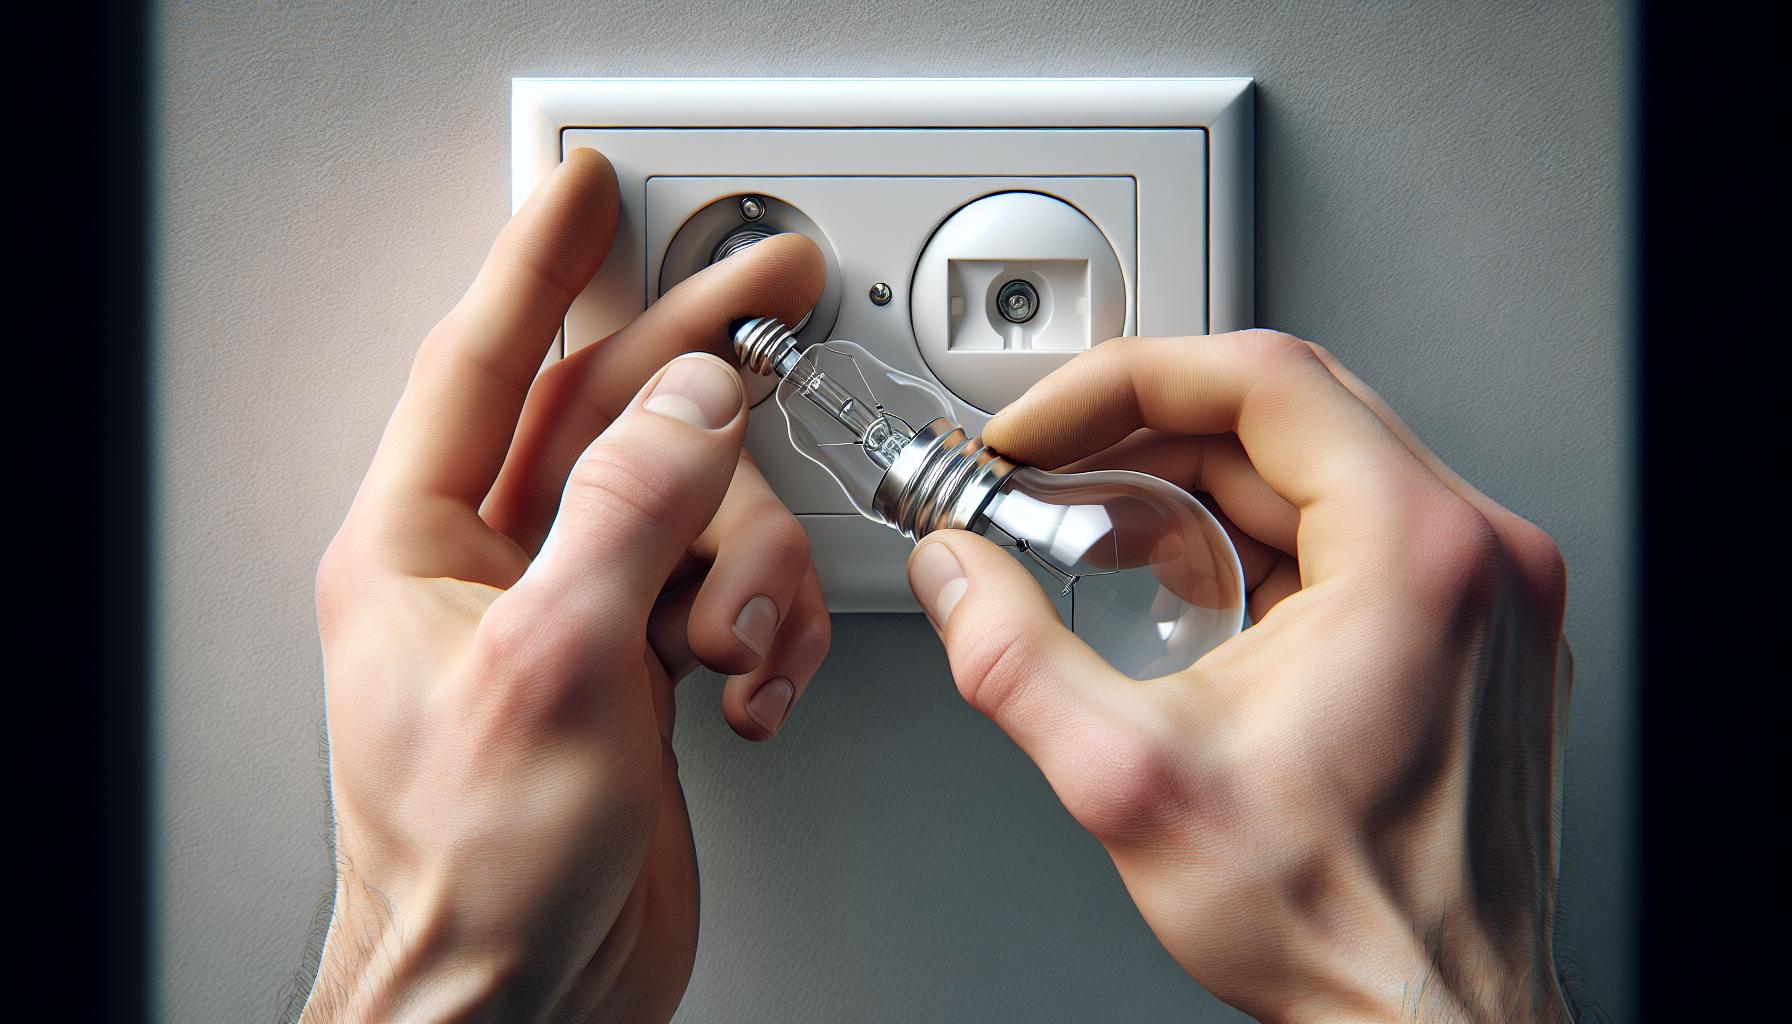
Sometimes the simplest solutions are the most effective. If your lights are flickering, first check if the bulb is loose. Electrical connections require a secure fit, and even a slightly loose bulb can interrupt the current and cause flickering.
Hold the base of the lamp or fixture firmly and gently tighten the bulb by turning it clockwise. It’s a small step, but you’d be surprised how often it’s the fix you need. When doing this, ensure the switch is off and the bulb is cool to the touch to avoid any burns or accidents.
When to Seek a Replacement
In some cases, tightening the bulb may not put an end to the problem. If the bulb continues to flicker, remove it from the socket and inspect it for visible damage or dark spots that could indicate it’s at the end of its lifespan. Here’s what you should look for:
- Dark or smokey residue: This could suggest the bulb has burnt out internally.
- Damaged filaments in incandescent bulbs: Even a slight shake can reveal if the filament has been compromised.
- Loose wire contact: In some LED or CFL bulbs, a loose wire in the bulb itself may be the culprit.
Ensuring Proper Contact
Upon inspection, if you find the bulb to be in good condition, check the socket for debris or corrosion which can also cause poor contact and flickering. You may need to gently pry up the tab in the socket’s center to ensure a better connection — but remember to cut off power to the fixture entirely before attempting this.
« Do Solar Light Bulbs Need Electricity? Uncover the Shocking Truth
Is Incandescent Light Bulbs Better? The Shocking Environmental Truth »
Lastly, make sure you’re using the correct bulb for your fixture. Some fixtures are designed to support a specific wattage or type of bulb. Using a bulb that’s not compatible can cause flickering and even damage the fixture over time. Always match the light bulb to the fixture’s recommendations for the best performance.
Replacing the Bulb
Sometimes the simplest solution is to replace the flickering bulb with a new one, especially if the bulb is at the end of its lifespan. When you’re out shopping for a new bulb, here’s what you need to keep in mind:
- Bulb Type: Make sure you buy the right type of bulb for your fixture. LEDs are known for their longevity and energy efficiency while incandescents give off a warm glow many find appealing.
- Wattage and Compatibility: Check the fixture for the maximum wattage it supports and choose a bulb that doesn’t exceed this limit.
- Dimmer Compatibility: If you’re using a dimmer switch, look for bulbs compatible with it to avoid flickering caused by mismatched technology.
Before you screw in the new bulb, take a look at the socket. Is it clean and in good shape? Sometimes, issues with the socket can lead to bulb flickering, so you’ll want to ensure that there’s no corrosion or residue. If the socket looks dirty, turn off the power to the fixture and give it a gentle clean with a dry cloth. This can also be a great time to verify if the socket and the circuitry are functioning correctly. A non-contact voltage tester can help you make sure there’s no live current running while you work on the fixture.
Once you’ve got your new bulb and a clean socket, it’s as simple as screwing the bulb in snugly. Not too tight—just enough to ensure a stable connection. Flip the switch and see your space brighten up. If the light comes on without a flicker, you’ll know you’ve nailed it.
Remember, when doing any kind of electrical work, safety should always come first. Always turn off the power to the light fixture before you start working on it. That way, you’ll keep yourself safe and your home project running smoothly.
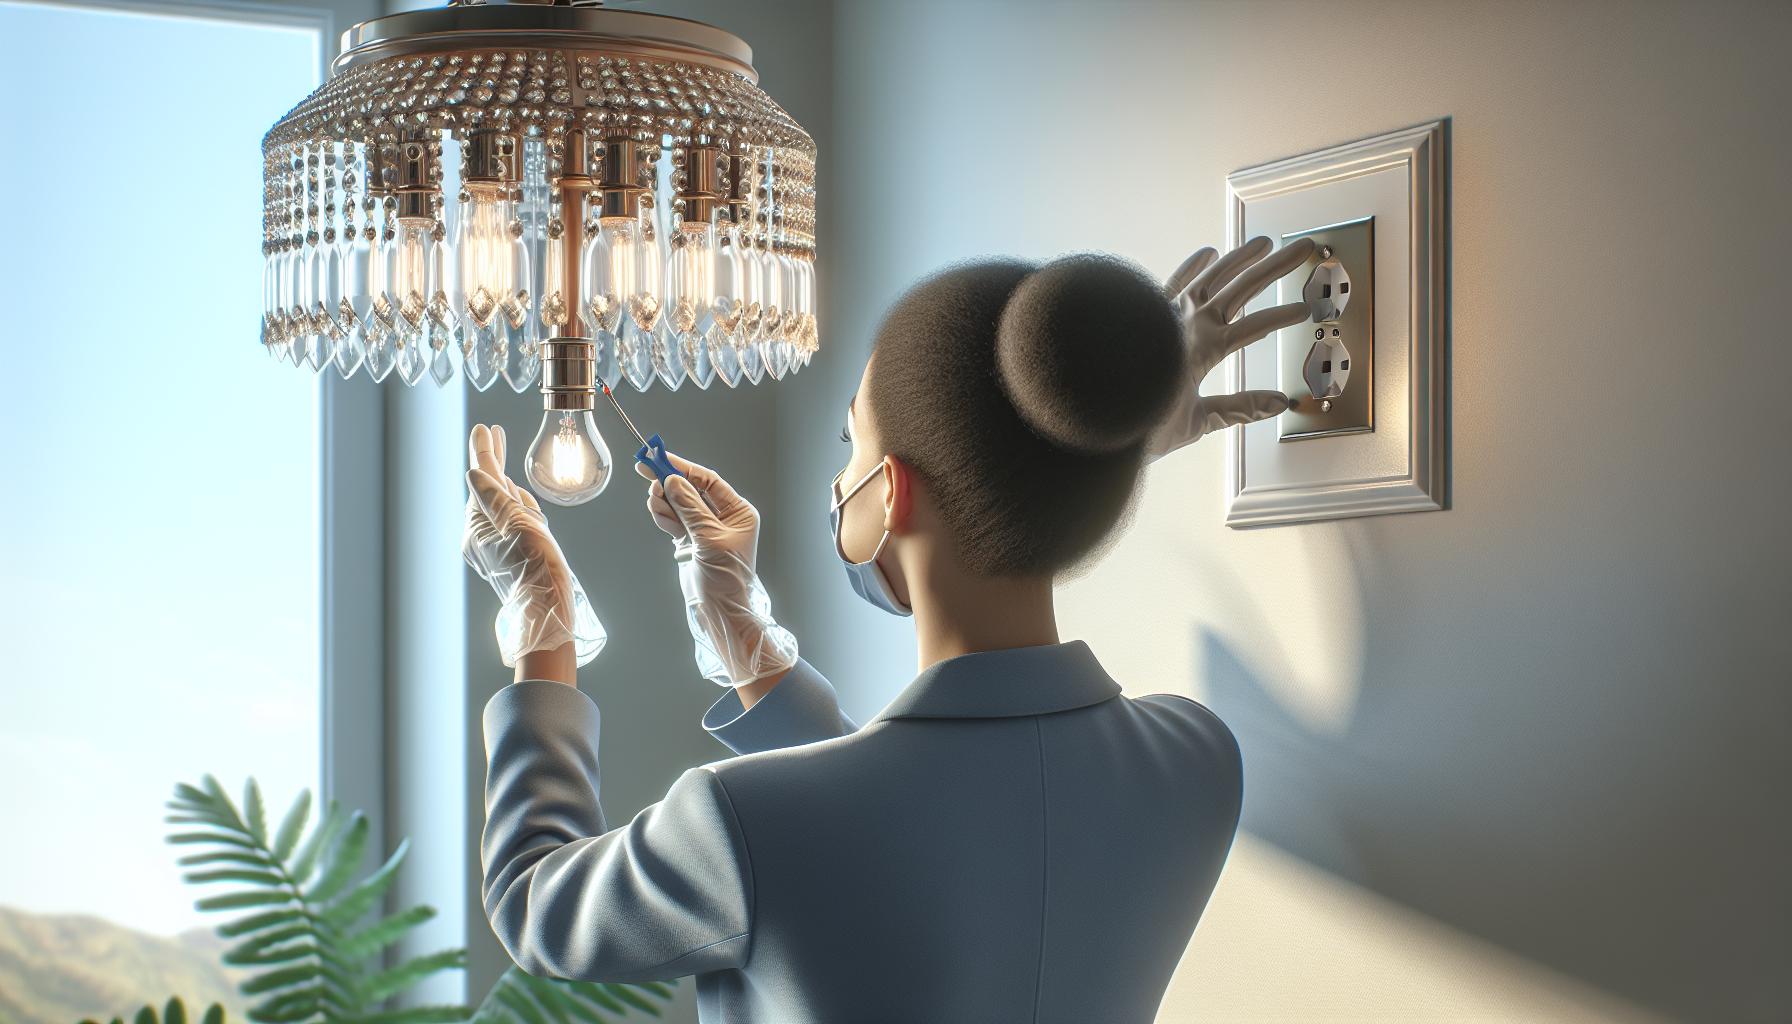
Evaluating the Fixture and Wiring

Once you’ve replaced the bulb and ensured it’s the right type and wattage for your fixture, yet the light continues to flicker, it’s time to assess the light fixture itself and the wiring. This step is crucial because fixtures can become worn or damaged over time, which can lead to flickering if the electrical connections are not secure.
Turn off the power at the circuit breaker before removing the fixture cover to prevent any electrical shock. Once you’re certain there’s no electricity flowing, examine the fixture for signs of wear. Look for corroded contacts or burnt areas where the fixture connects with the bulb; these could be the culprits behind your flickering woes.
- Check the condition of the socket
- Ensure the wiring is intact and not frayed
- Look for loose wire connections
If you’re comfortable working with electrical components, you can tighten these connections yourself using a screwdriver. However, if you’re not confident in doing so, it’s best to consult a professional electrician. Safety always comes first when dealing with electricity.
Light fixtures, especially those that accommodate dimmers, may have specific requirements, so ensure your light bulbs are compatible. Older dimmer switches might not function correctly with newer, more energy-efficient bulbs, like LEDs. If you find that your dimmer switch is the issue, replacing it with a modern, compatible one could remedy the flickering problem.
Remember, flickering might also point to a larger issue with your home’s electrical circuitry. Constant or persistent flickering across multiple fixtures could indicate voltage fluctuations or more severe wiring problems. In such cases, you’d want to get a professional on board to ensure your home’s electrical system is functioning correctly and safely.
Calling in a Professional
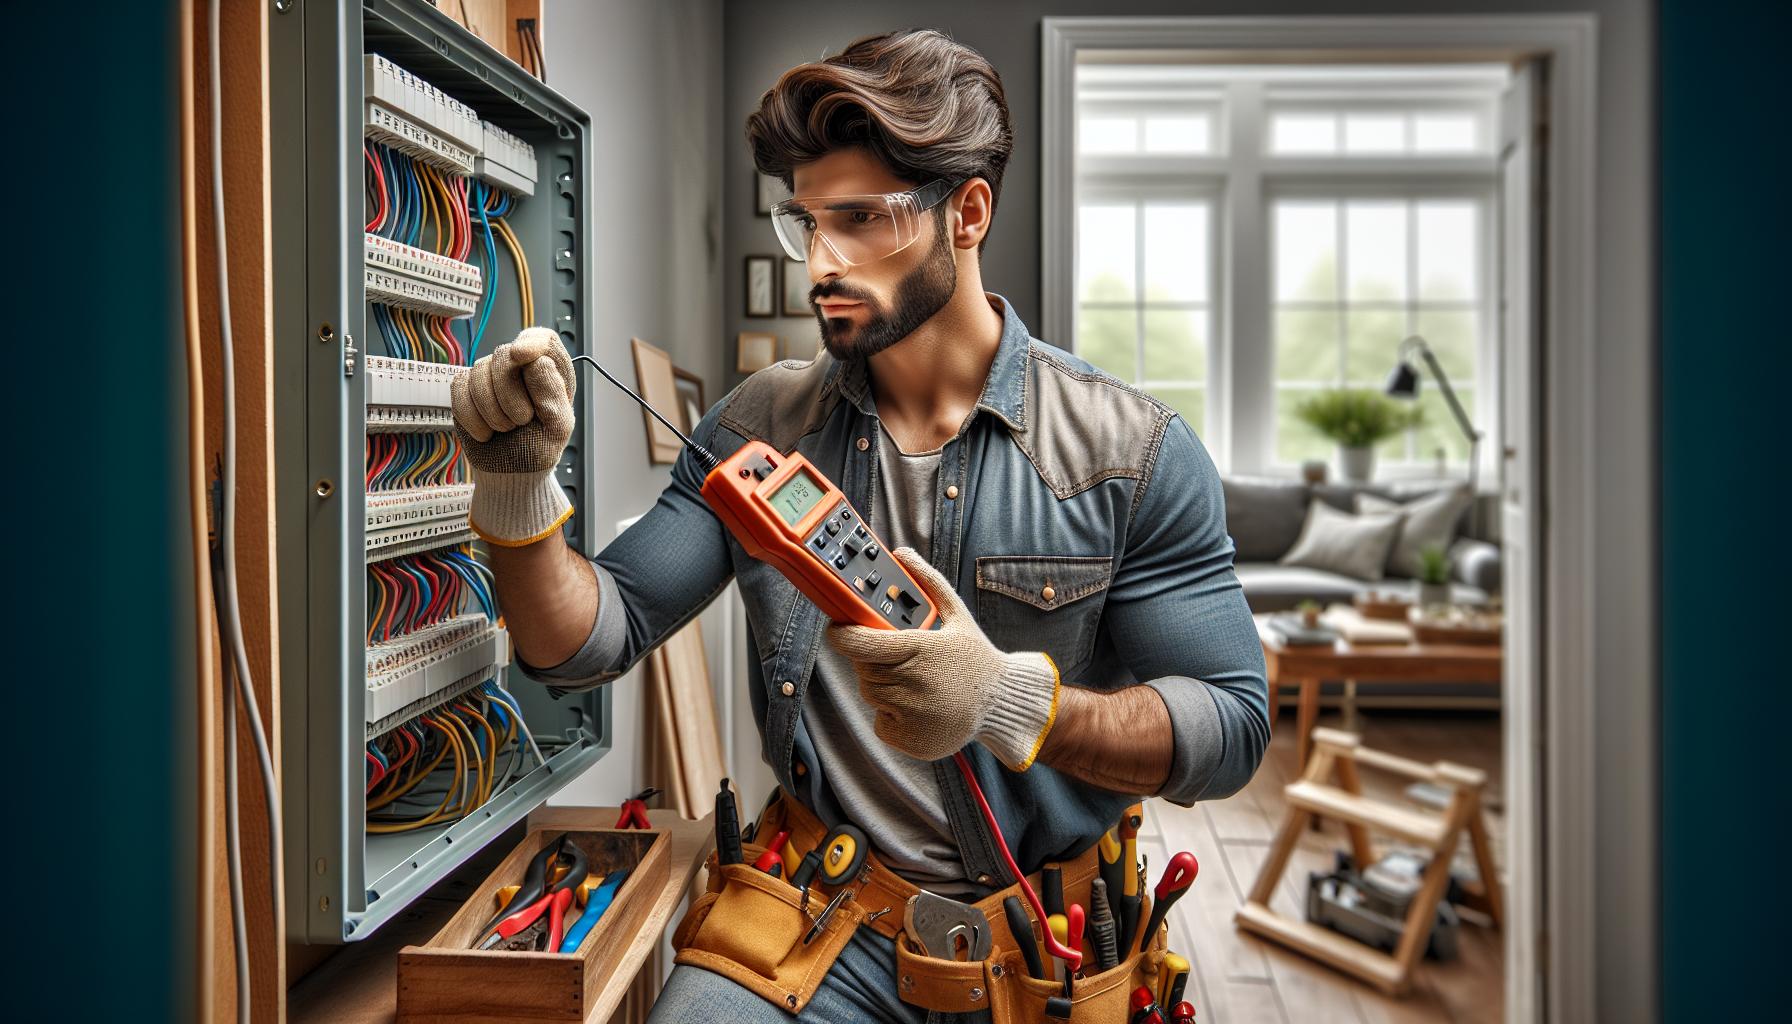
When you’ve exhausted your DIY toolkit and that pesky flicker persists, it’s time to call in a professional. Often, flickering issues that span multiple fixtures or a whole-house phenomenon suggest deeper electrical issues that require an expert’s eye.
Safety’s always your top priority, and when you’re dealing with wiring, there’s no room for error. An experienced electrician can not only fix the current issue but also perform a thorough check to prevent future hazards. They’ll assess your electrical system, from the service drop to individual circuits, to ensure everything meets the electrical code.
Here’s what you might expect when the pros take over:
- Diagnostic Tests: These could reveal whether the issue is with your power supply. Fluctuations in voltage aren’t always obvious, but sensitive equipment in the hands of a pro can identify such problems.
- Circuit Analysis: An electrician may check the load on your circuits. If you’ve added new appliances or fixtures recently, you could be overloading the system, which an electrician can rectify.
- Upgrade Recommendations: Older homes may not align with the power demands of modern life. If your electrical panel or wiring needs an upgrade, your electrician will let you know.
Remember, electrical work isn’t just about fixing problems—it’s about ensuring your and your home’s safety. While hiring a professional might seem like an added expense now, it could save you from larger bills, or worse, in the future. Moreover, finding a reliable and licensed electrician can give you peace of mind, knowing that your home’s electrical workings are in capable hands.
While it’s immensely satisfying to solve problems on your own, there’s no shame in calling for backup. In fact, considering the complexity and potential danger of electrical issues, it’s often the wisest move to make. With a competent electrician, you’ll illuminate your home safely and flicker-free once again.
Conclusion
You’ve got this! With a little troubleshooting, you can often fix a flickering light bulb on your own. Just remember to prioritize safety and don’t hesitate to call in the pros when you’re out of your depth. A reliable electrician isn’t just a fixer; they’re your peace of mind in ensuring your home’s electrical system is in top shape. So go ahead, tighten that bulb, clear out any socket gunk, and enjoy the steady glow of your handiwork. And if the flicker turns into a stubborn stroboscope, you know who to call. Stay bright and flicker-free!
Frequently Asked Questions
Why do my light bulbs flicker?
Flickering light bulbs can be due to several issues including loose bulbs, damaged or worn out bulbs, debris or corrosion in the socket, faulty wiring, or incompatible dimmer switches. Tightening the bulb or cleaning the socket may resolve the problem.
How can I fix a flickering light bulb?
Start by checking and tightening the light bulb. If flickering persists, inspect the bulb for damage or dark spots, and clean the socket. Evaluate the light fixture and wiring for signs of wear. Consider replacing incompatible dimmer switches if present.
When should I call an electrician for flickering lights?
If the flickering continues after you have tried DIY solutions, extends across multiple fixtures, or affects the entire house, it is time to call a professional electrician. Persistent or widespread flickering may indicate a deeper electrical issue.
What might an electrician do to fix flickering lights?
An electrician can perform diagnostic tests, analyze circuits, and potentially upgrade the electrical system. They have the expertise to securely identify and fix complex electrical issues causing the flickering.
Is it safe to fix flickering light bulbs myself?
While basic troubleshooting like tightening a light bulb or cleaning a socket is safe to do yourself, electrical work can be dangerous. If the issue involves wiring, circuits, or multiple fixtures, it is best to hire a professional for safety and peace of mind.