Imagine turning your regular light socket into a guardian for your home. That’s right, with a light bulb security camera, you can do just that. These ingenious devices blend in perfectly with your home decor while keeping a watchful eye on your space.

You might be wondering how to set up and use one of these high-tech gadgets. Don’t worry, it’s simpler than you think! In the next few minutes, you’ll discover the easy steps to get your light bulb security camera up and running, ensuring your peace of mind is just a twist away.
Choosing the Right Light Bulb Security Camera
When embarking on your journey to enhance your home’s security with a light bulb security camera, selecting the perfect model requires careful consideration. Your priorities will define which features you’ll want to keep an eye out for.
Key Features to Consider
There are several factors to consider to ensure you grab the perfect match:
- Resolution: How clear do you want your video footage to be? Most cameras offer 1080p resolution, which provides sharp images for most home security needs.
- Connectivity: Ensure the camera supports your home’s Wi-Fi standards, be it 2.4 GHz or 5 GHz networks.
- Storage Options: Would you prefer your footage stored locally on a microSD card, or are you okay with cloud-based storage, which might require a subscription?
- Night Vision: A crucial feature for around-the-clock surveillance, infrared night vision allows you to capture clear images, even in the dead of night.
- Motion Detection: Opt for a camera with customizable motion zones to minimize false alarms and keep focus on priority areas.
Compatibility and Installation
Before you take the plunge, check if the security camera is compatible with your current lighting setup. Light bulb security cameras are typically designed for standard E27 light sockets, so confirm your fixtures are a match. Bear in mind, installation should be a breeze, with most systems offering plug-and-play solutions that have you up and running in no time.
Design and Aesthetics
Part of the charm of light bulb security cameras is their discrete nature. Consider options that complement your interior design. Sleek and minimalist or bold and striking — the choice is yours. The camera should be an unobtrusive sentinel, blending seamlessly into your home environment.
Armed with these considerations, you’re well on your way to picking a light bulb security camera that not only watches over your home but also fits perfectly within it. Remember, your peace of mind rests upon a combination of the right features, ease of installation, and aesthetic harmony. Keep your space illuminated and secure simultaneously and embrace the innovation that modern security technology brings into your home DIY projects.
Understanding the Features and Specifications
When diving into the world of light bulb security cameras, you’ll want to zero in on a few vital features and specifications that can make or break your experience. As a light bulb and lighting aficionado, you know that the “specs” are more than just numbers and terms; they represent the functionality and effectiveness of your security device.
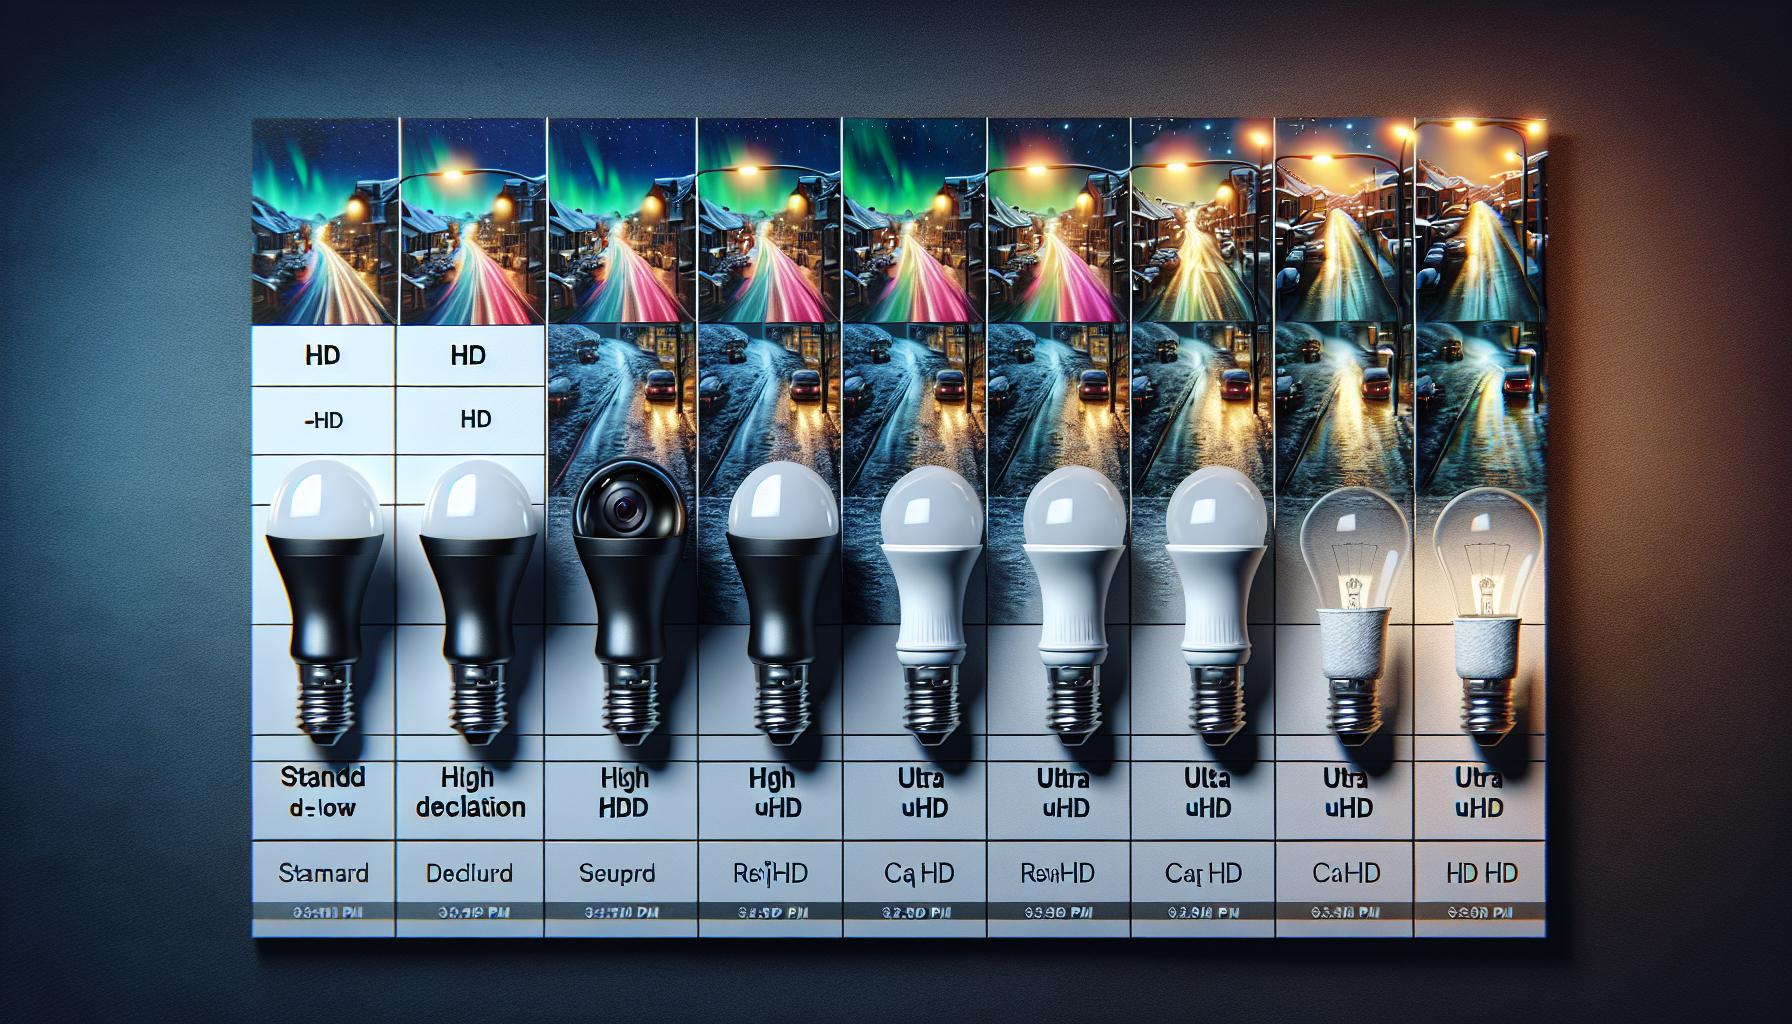
Resolution is critical; it determines the clarity of the images and videos your camera will capture. Typically, these cameras range from 720p to 1080p; however, high-end models can even boast 4K resolution. Here’s a quick breakdown to illustrate the differences:
| Resolution | Quality |
|---|---|
| 720p | Standard HD |
| 1080p | Full HD |
| 4K | Ultra HD |
Next up is connectivity. Most light bulb security cameras connect to your home Wi-Fi, allowing you to monitor your space via a smartphone or computer. Some models also feature Bluetooth for local control. You’ll want to ensure your home network can handle the camera’s data transmission needs.
Storage is where your recorded footage will live. With options like cloud storage or local storage through microSD cards, you’ll need to weigh the pros and cons. Cloud storage often comes with a subscription fee but offers the convenience of remote access, while local storage keeps your data within the confines of your home with no ongoing cost.
Night vision is non-negotiable for round-the-clock surveillance. With the use of infrared LEDs, good quality cameras provide clear footage even in complete darkness.
Lastly, motion detection stands as a cornerstone of modern security cameras. Advanced models offer customizable detection zones and sensitivity settings, helping to minimize false alarms and ensuring you’re alerted to the movements that matter.
You’ll also encounter specifications like field of view, assessing how wide an area your camera can cover, and frames per second (FPS), which influence how smoothly videos play back. Remember, higher FPS is important for capturing fast-moving objects without blurring.
« Does Light Bulbs Make You Darker? Debunking Skin Tone Myths
How Many Light Bulbs Are in the Philippines? Unveiling the Electrifying Facts »
As you ponder these features, remember to consider the integration with other smart home systems. A seamless connection to your existing setup can provide an elevated level of convenience and control that any home DIY enthusiast would appreciate.
Installing the Light Bulb Security Camera
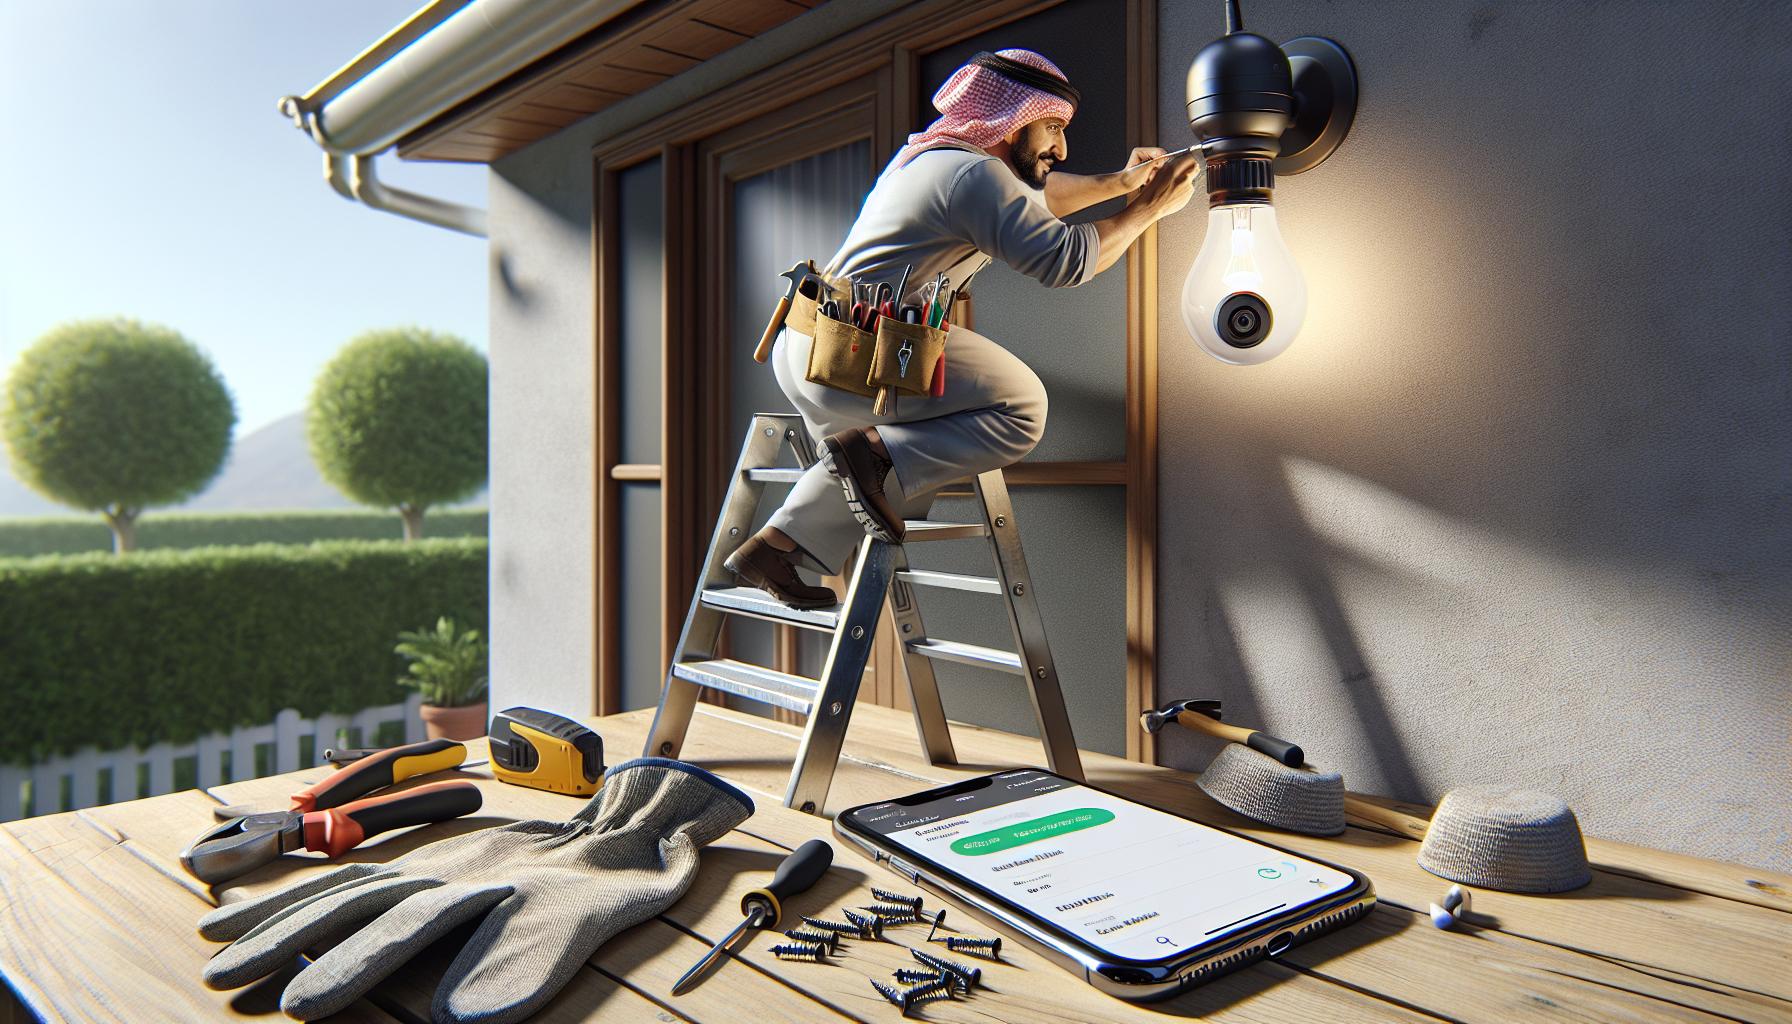
Once you’ve pinpointed the perfect light bulb security camera that aligns with your needs, you’re ready to transition into installation mode. Don’t fret; you’re about to discover that setting up your new gadget is a cinch with the right approach. First, ensure you have all the necessary tools at hand. This often includes a ladder, screwdriver, and your smartphone.
Start by turning off the power to your existing light fixture. Safety first—you don’t want to be fiddling around with live wires! Remove the old bulb and, if necessary, the light fixture itself to make room for your new security device. It’s just like changing out a regular bulb—only this time, it’s packing some serious surveillance muscle.
Before you screw in the light bulb camera, take a moment to download the accompanying app on your smartphone. This app will serve as your command center, allowing you to control the camera and access footage directly from your device. It’s essential to connect the camera to your Wi-Fi network. Without this step, your camera is just a high-tech paperweight!
Twist in the camera just like you would a traditional bulb. If it’s an outdoor fixture, be certain it’s weatherproof. Once in place, restore power to the fixture and use the app to complete the setup process. You’ll have to sync your camera with your home network and adjust settings accordingly, like setting up motion alerts or integrating with your other smart devices.
With your light bulb security camera now installed, take some time to test out all the features you admired on the spec sheet. It’s a perfect opportunity to adjust the field of view or test the night vision capabilities. Your diligence now will pay off in the long run as you fine-tune your home security setup. After all, DIY home projects like this aren’t just about beefing up home security—they’re a chance to get smart about technology and integrate it seamlessly into your daily routine.
Connecting to Your Home Wi-Fi Network
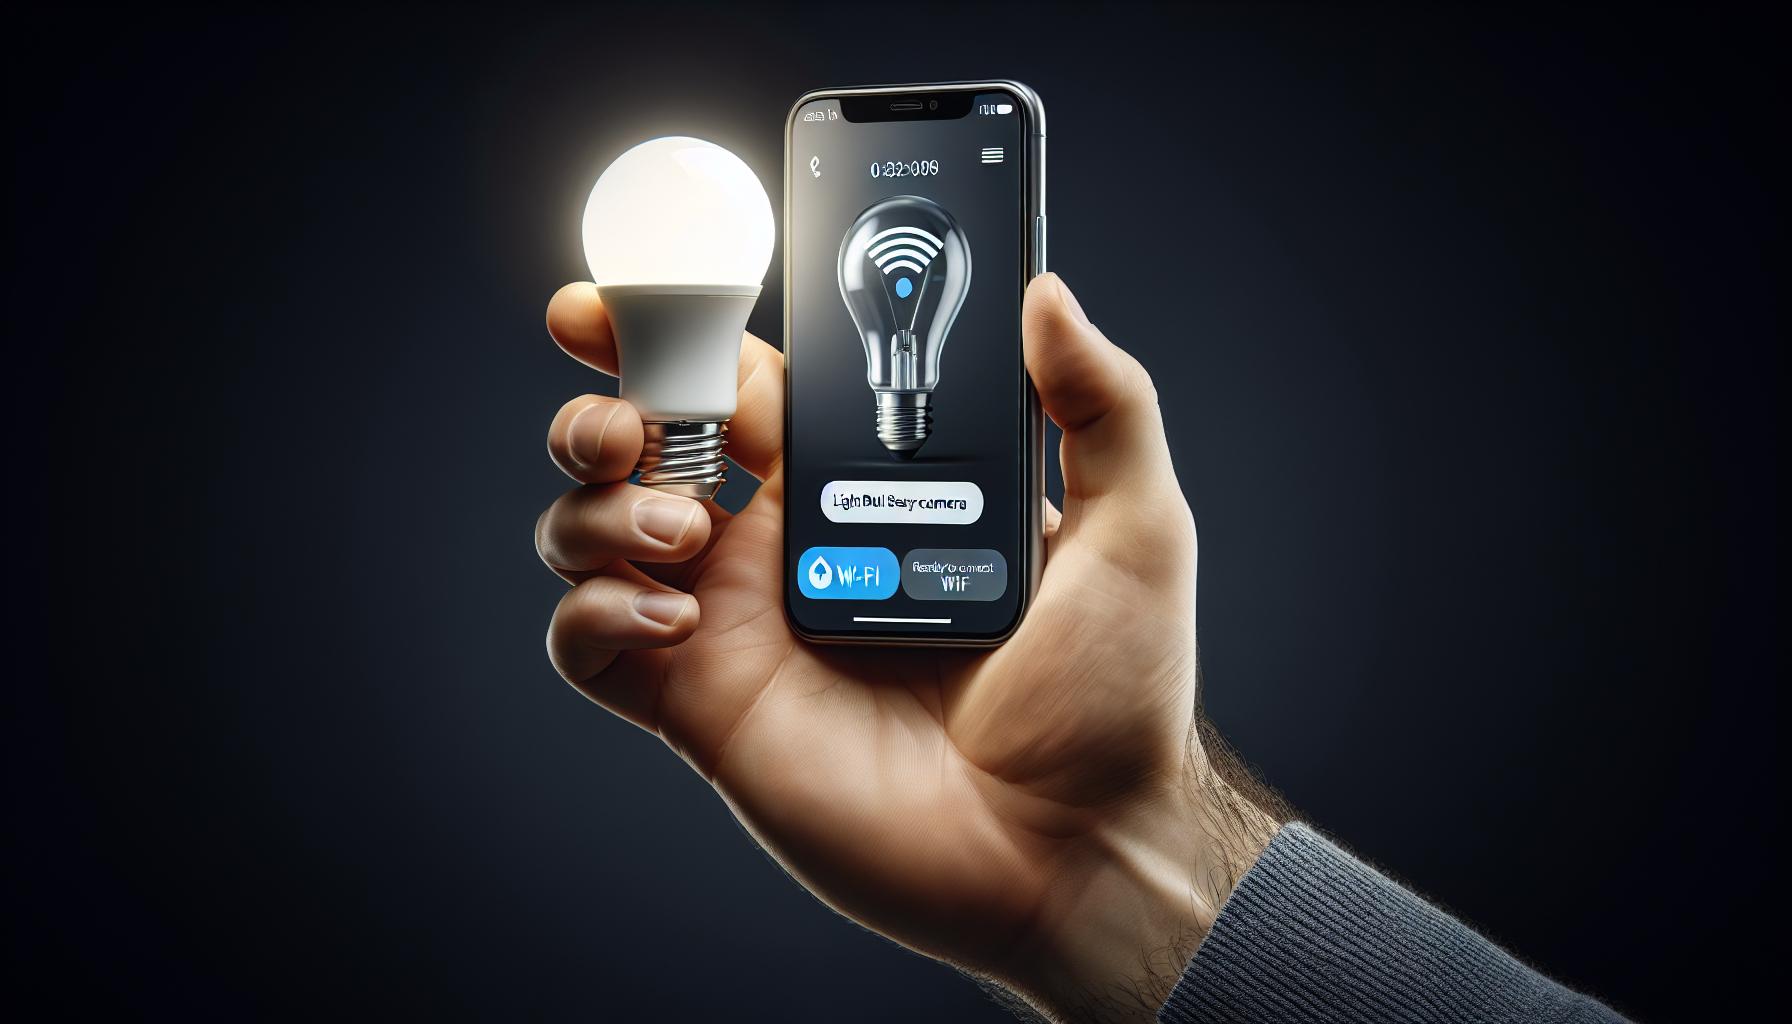
Once you’ve got your shiny new light bulb security camera installed, it’s time to give it some brains by connecting it to your home Wi-Fi network. This step is critical because without it, you’re basically left with a fancy bulb that can’t flex its smart features.
Start by ensuring your smartphone or tablet is connected to the same Wi-Fi network you intend to connect your camera to. Sometimes, these devices might latch onto that one bar of signal from your neighbor’s network or that extender you set up in the garage. So double-check you’re on the right one!
Open the camera’s app that you downloaded earlier. Usually, you’ll find a + or Add Device option on the home screen or in the settings menu. Tap it, and it’ll guide you through selecting your particular security camera model. Most apps will ask for permission to access your device location – this is normal, they’re not being nosy, it’s just to streamline the setup process.
Next, you’ll be prompted to enter your Wi-Fi credentials. That’s your network name and password. Make sure you enter these details correctly – nobody likes the back and forth of a faulty connection due to a mistyped password.
Some cameras will generate a QR code that you’ll need to scan with the camera lens itself. If that’s the case, hold your phone with the QR code displayed in front of the camera. Do it steady and give it a moment — think of it as making a new friend who’s a bit shy at first.
Once the scan’s successful, you should receive a confirmation notification on your app, and likely a verbal confirmation from the camera itself. It’s pretty satisfying to hear that pleasant ding or chime notifying you that you’re good to go!
Now it’s just a bit of patience as your camera whispers sweet nothings to your network and they get acquainted. This might take a couple of minutes — perfect time for a coffee refill or a well-deserved stretch after your installation efforts.
Remember, some cameras require a 2.4 GHz network band, so if things aren’t connecting, this could be a handy troubleshooter. Ensure your router is set to the correct frequency for your bulb to bask in that Wi-Fi glory.
Accessing the Camera Feed and Features
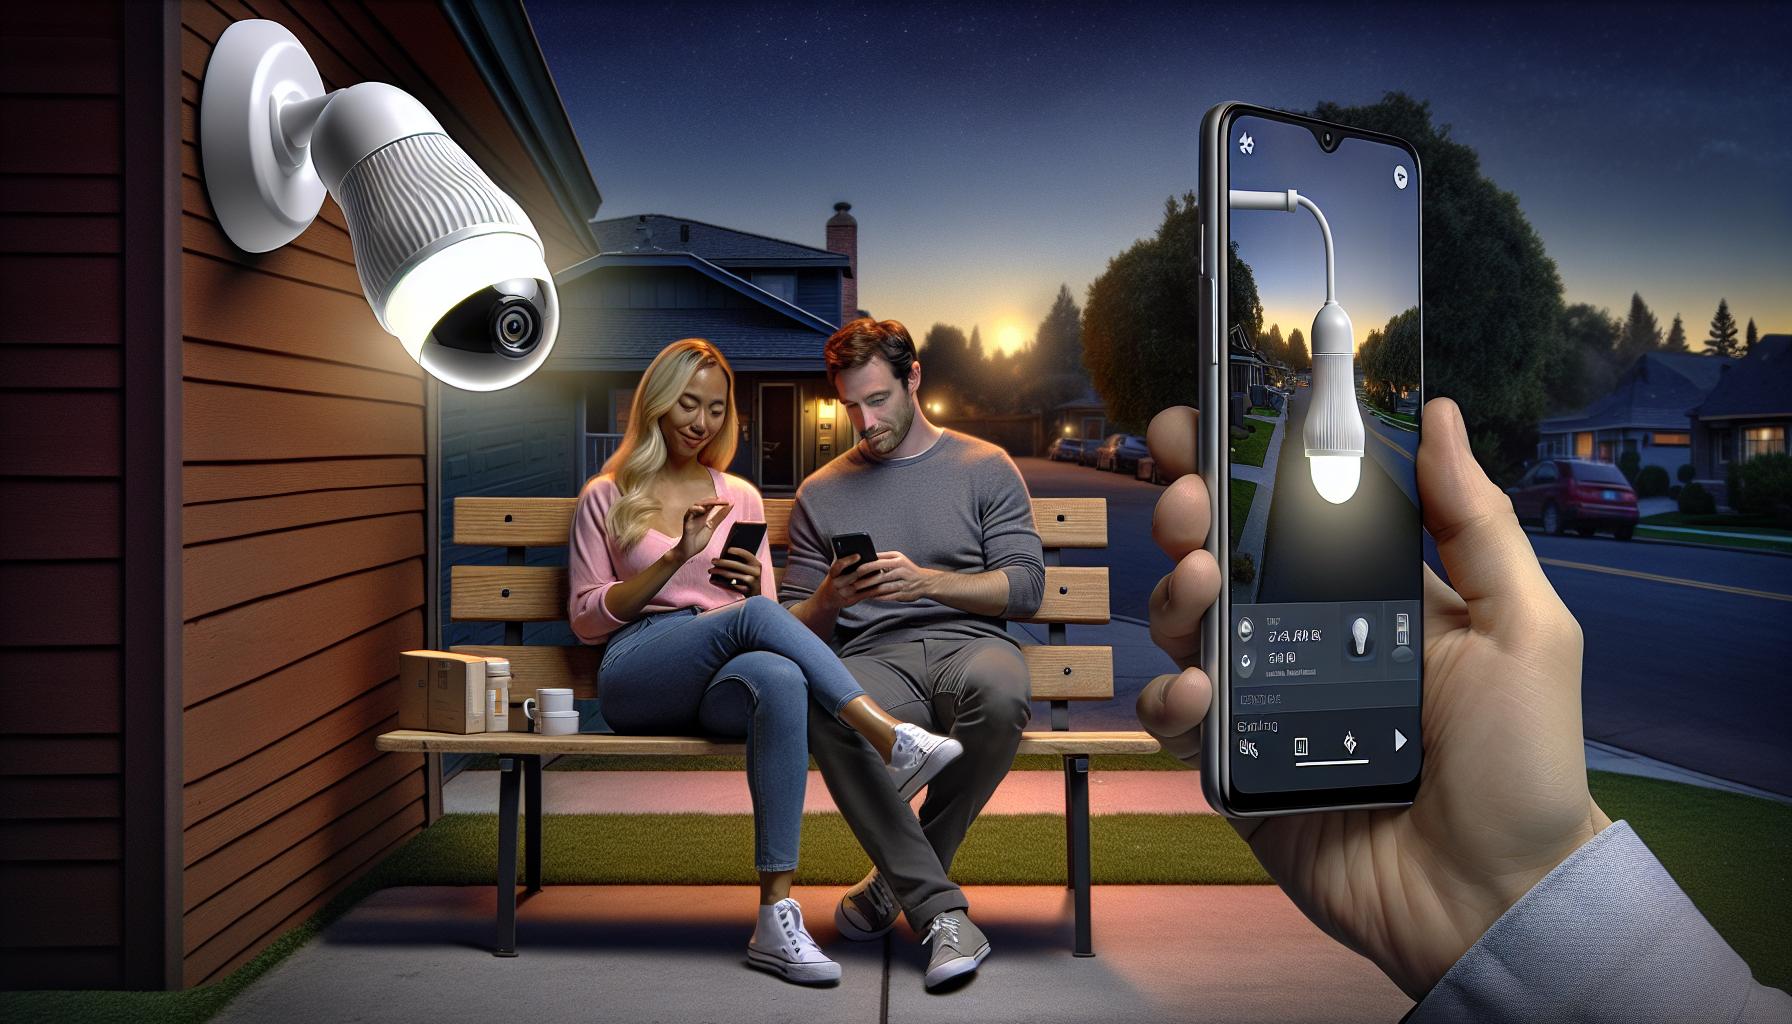
Once everything’s set up and you’ve got your light bulb security camera connected to your home Wi-Fi network, you’re ready to dive into the real fun: accessing the live camera feed and exploring its features. Whether it’s your first rodeo with a high-tech device like this or you’re a seasoned smart home enthusiast, you’ll find the process straightforward.
To begin, launch the camera’s app on your smartphone or tablet. You’ll usually be greeted by a dashboard or home screen where you can select your camera. Tap to view the live feed, and voilà – you are now watching real-time footage from your light bulb camera. It’s like having eyes in the back of your head, or in this case, on the ceiling.
Besides the live feed, you’ll want to play around with the features that your camera offers. Depending on the model, you can:
- Receive motion alerts that notify you of any movement detected.
- Listen in and speak through the camera with two-way audio capabilities.
- Flip through recorded videos to review past events.
- Use zoom functions to focus on specific areas.
Monitoring your home is not just about watching; it’s about being proactive. Your light bulb camera might also allow for customizing settings like motion detection sensitivity or setting up specific activity zones. This ensures that you’re alerted to movements in areas you care about most, such as the front door or a particular hallway.
Remember, if your camera supports integration with other smart devices, you can create scenes or automations. Imagine the lights turning on automatically when movement is detected after dark—simultaneously recording a clip and deterring uninvited visitors.
As a DIY enthusiast and self-confessed lighting aficionado, you’ll appreciate the value of fine-tuning this gadget. It isn’t just a light bulb; it’s a piece of your smart home puzzle that enhances security and brings peace of mind. Play with the settings, adjust the angles, and customize notifications to your liking. And don’t forget, regular firmware updates can improve functionality and security features, making sure your light bulb camera stays sharp, just like your DIY skills.
Conclusion
You’ve got all the tools you need to make the most of your light bulb security camera. With the right resolution, night vision, and motion detection, you’re well on your way to a safer home. Remember to keep your camera’s firmware up to date for the best performance and security. Dive into the app, tweak your settings, and enjoy the peace of mind that comes with a well-monitored space. It’s time to sit back and relish the benefits of your savvy security investment.
Frequently Asked Questions
What features should I consider when choosing a light bulb security camera?
When selecting a light bulb security camera, prioritize resolution, connectivity, storage options, night vision capabilities, and motion detection. Also, consider the camera’s field of view, frames per second, and compatibility with other smart home systems.
How do I install a light bulb security camera?
To install a light bulb security camera, follow these steps: gather the necessary tools, screw the camera into the light socket, download the camera’s app, and connect the camera to your Wi-Fi network. Then, adjust the camera’s angle and settings as needed.
Can I integrate a light bulb security camera with other smart home systems?
Yes, many light bulb security cameras are designed to integrate with various smart home systems. It allows for increased convenience and control over your home security setup.
How do I access the live feed from my light bulb security camera?
Access the live camera feed by downloading the accompanying app and connecting your light bulb security camera to your Wi-Fi network. Log into the app to view the feed and explore additional features.
What advanced features might a light bulb security camera have?
Advanced features of a light bulb security camera can include motion alerts, two-way audio, the ability to record videos, zoom functions, and customizable settings. They often allow for integration with other smart devices, enhancing overall security.
Why are firmware updates important for my light bulb security camera?
Regular firmware updates are crucial as they can improve the functionality and security of your light bulb security camera. Updates often fix bugs, enhance features, and protect against new vulnerabilities.
How can I customize notifications for my light bulb security camera?
Customize notifications by accessing the camera’s app settings. Adjust motion detection sensitivity, set alert schedules, and define areas of interest to receive alerts that are relevant to your security needs.


