Ever wondered what would happen if you gave your light bulbs a splash of color? It might seem like a quirky DIY project, but painting light bulbs can transform the ambiance of a room in unexpected ways.
But before you grab your paintbrush, it’s essential to know the ins and outs. Painting light bulbs isn’t just about aesthetics; it can affect the bulb’s functionality and, more importantly, your safety.
The Science Behind Painting Light Bulbs
Ever wondered why a freshly painted bulb emits a different hue when lit? It’s all about the physics of light and color absorption. When you paint a light bulb, the type of paint you use will determine how light waves are manipulated. Here’s the breakdown:
Paint consists of pigments that absorb certain wavelengths of light. The color you see is actually a mix of all the wavelengths that pigments don’t absorb. So, when you choose to swipe that bright blue onto a bulb, you’re ensuring only blue wavelengths reflect back to your eyes.
Think of your bulb as the sun and the paint as a kind of atmosphere. Just as our sky scatters sunlight, making it appear blue, painted light bulbs filter the light, allowing only selected colors to pass through. This is due to the Rayleigh scattering, where shorter wavelengths scatter more than longer ones.
Thermal Effects are also at play. Paint can trap heat, and this isn’t just an issue for the longevity of your bulb; it’s a safety concern as well. The trapped heat increases the temperature of the bulb’s surface, which can lead to:
- Reduced lifespan of the bulb
- Higher risk of the bulb cracking
- Potential for the paint to peel or emit fumes
Now here’s a key fact: modern LED bulbs produce less heat, making them more suitable for painting. But even so, special heat-resistant paints should be your go-to.
Lastly, the thickness and evenness of the paint layer are crucial. An uneven coat will result in a patchy light distribution. And as you’d probably guess, thicker layers mean less light escaping, dimming the overall brightness of the bulb.
Remember, your trusty light bulb was designed to perform at its best when unaltered. Any change you make, like painting, alters its original functionality. So, while you’re getting creative, it’s best to stay informed and cautious. Happy painting, but keep the science in mind for the best glow and flow in your room.
Types of Paint to Use on Light Bulbs
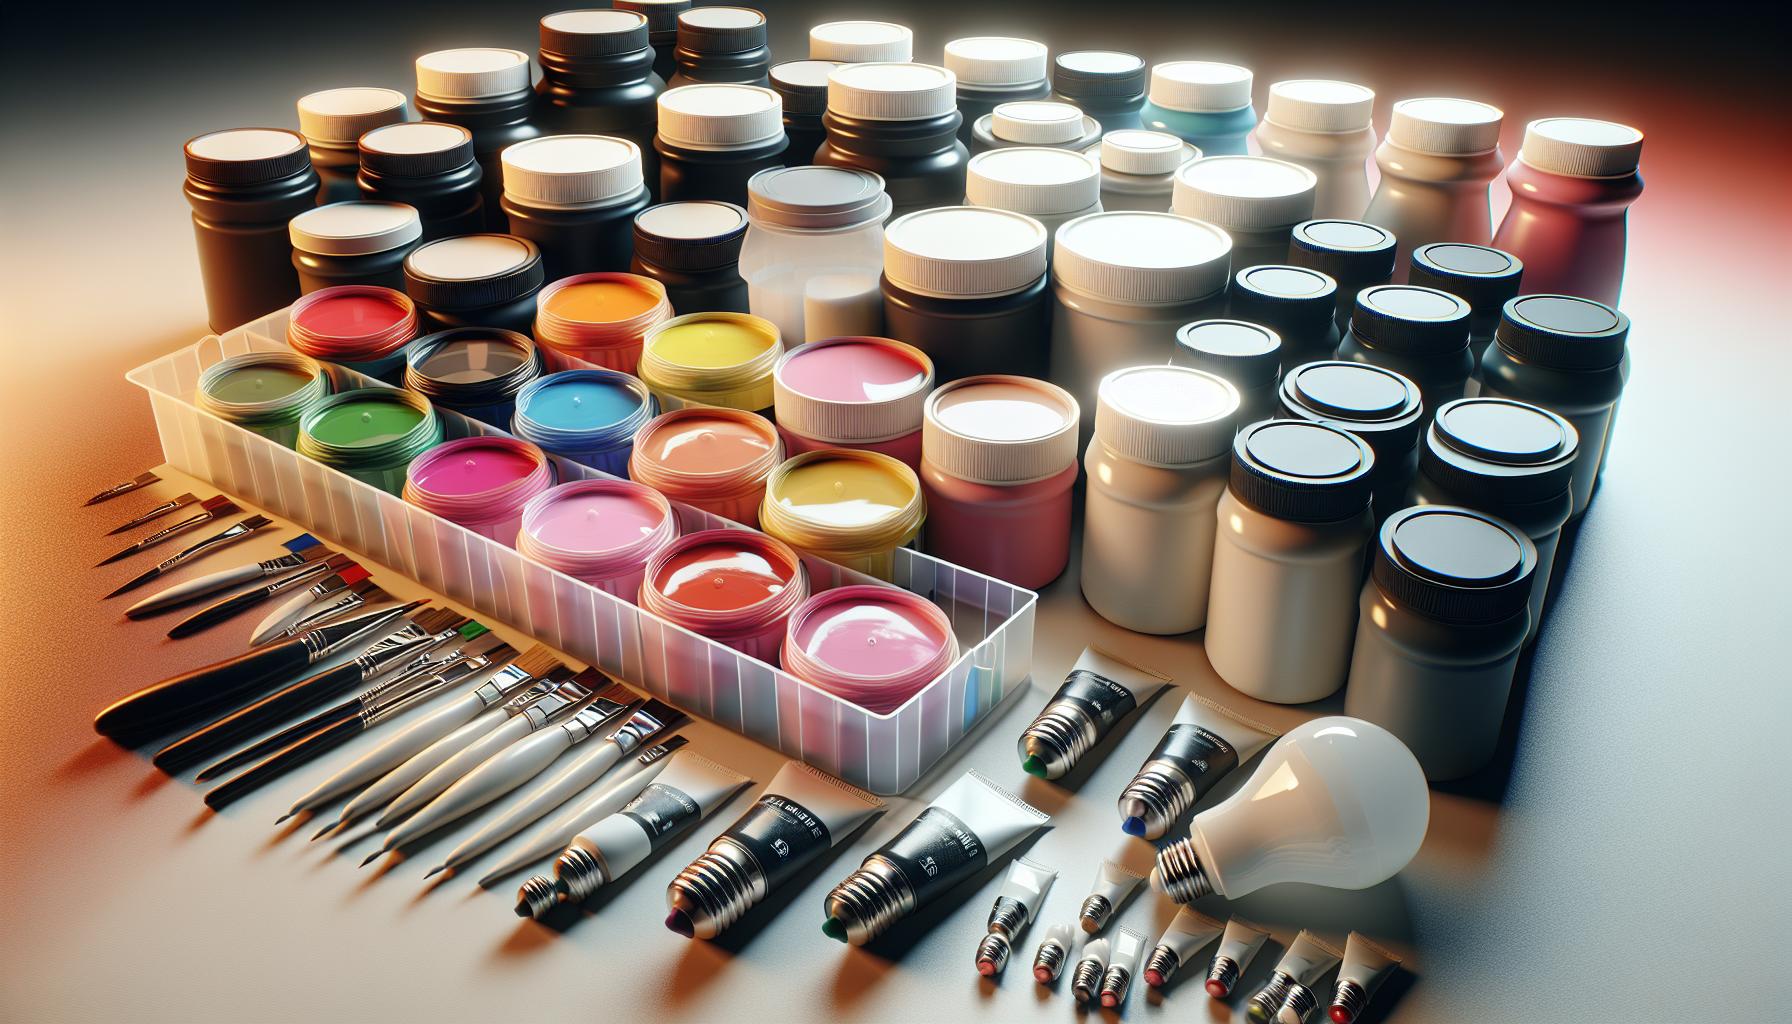
When venturing into the realm of DIY light bulb painting, choosing the right type of paint is crucial for both safety and aesthetic outcome. As you’re considering your options, remember that not all paints are created equal, especially when it comes to withstand the heat emitted by bulbs.
Heat-Resistant Paints are your best friends in this project. These paints are specifically designed to tolerate high temperatures, which means they’re less likely to crack or flake off. If you’re working with incandescent bulbs, which tend to get quite hot, this attribute is particularly important. Here’s a quick list of heat-resistant paint types that are commonly used:
- Acrylic Enamel Paint
- Ceramic-based Paint
- Epoxy-based Paint
Acrylic Lacquer Paints can also be a good option. They’re more durable than enamel and often provide a smoother finish. However, they still need to be used with care and following the manufacturer’s instructions is a must to ensure safety and longevity.
For those of you with a soft spot for eco-friendly DIY, Water-Based Acrylic Paints could be tempting. They are easier to handle and less toxic than their solvent-based counterparts. But be cautious—while LED bulbs don’t generate as much heat as traditional bulbs, it’s still pivotal to ensure that any paint you use is compatible with the level of heat your bulb type does produce.
When planning your light bulb painting project, consider these factors:
- Paint Composition: Opt for non-flammable, heat-resistant options.
- Finish Quality: High-quality paints offer a smoother, more professional finish.
- Safety: Check if the paint emits harmful fumes when heated.
« Where Do Light Bulbs Go Shopping? Find the Brightest Options Online vs. In-Store
How Does Light Bulb Make Life Easier: The Bright Side of Modern Lighting »
Don’t forget to always check the paint manufacturer’s guidelines. They’ll provide valuable information on how the paint behaves when subjected to heat. And if you’re working with LEDs, congratulations! You’ve got more flexibility with paint choices given their cooler operation, but it’s still wise to stick with heat-resistant varieties for the best outcome and to maintain that vital safety edge.
Preparing the Light Bulbs for Painting
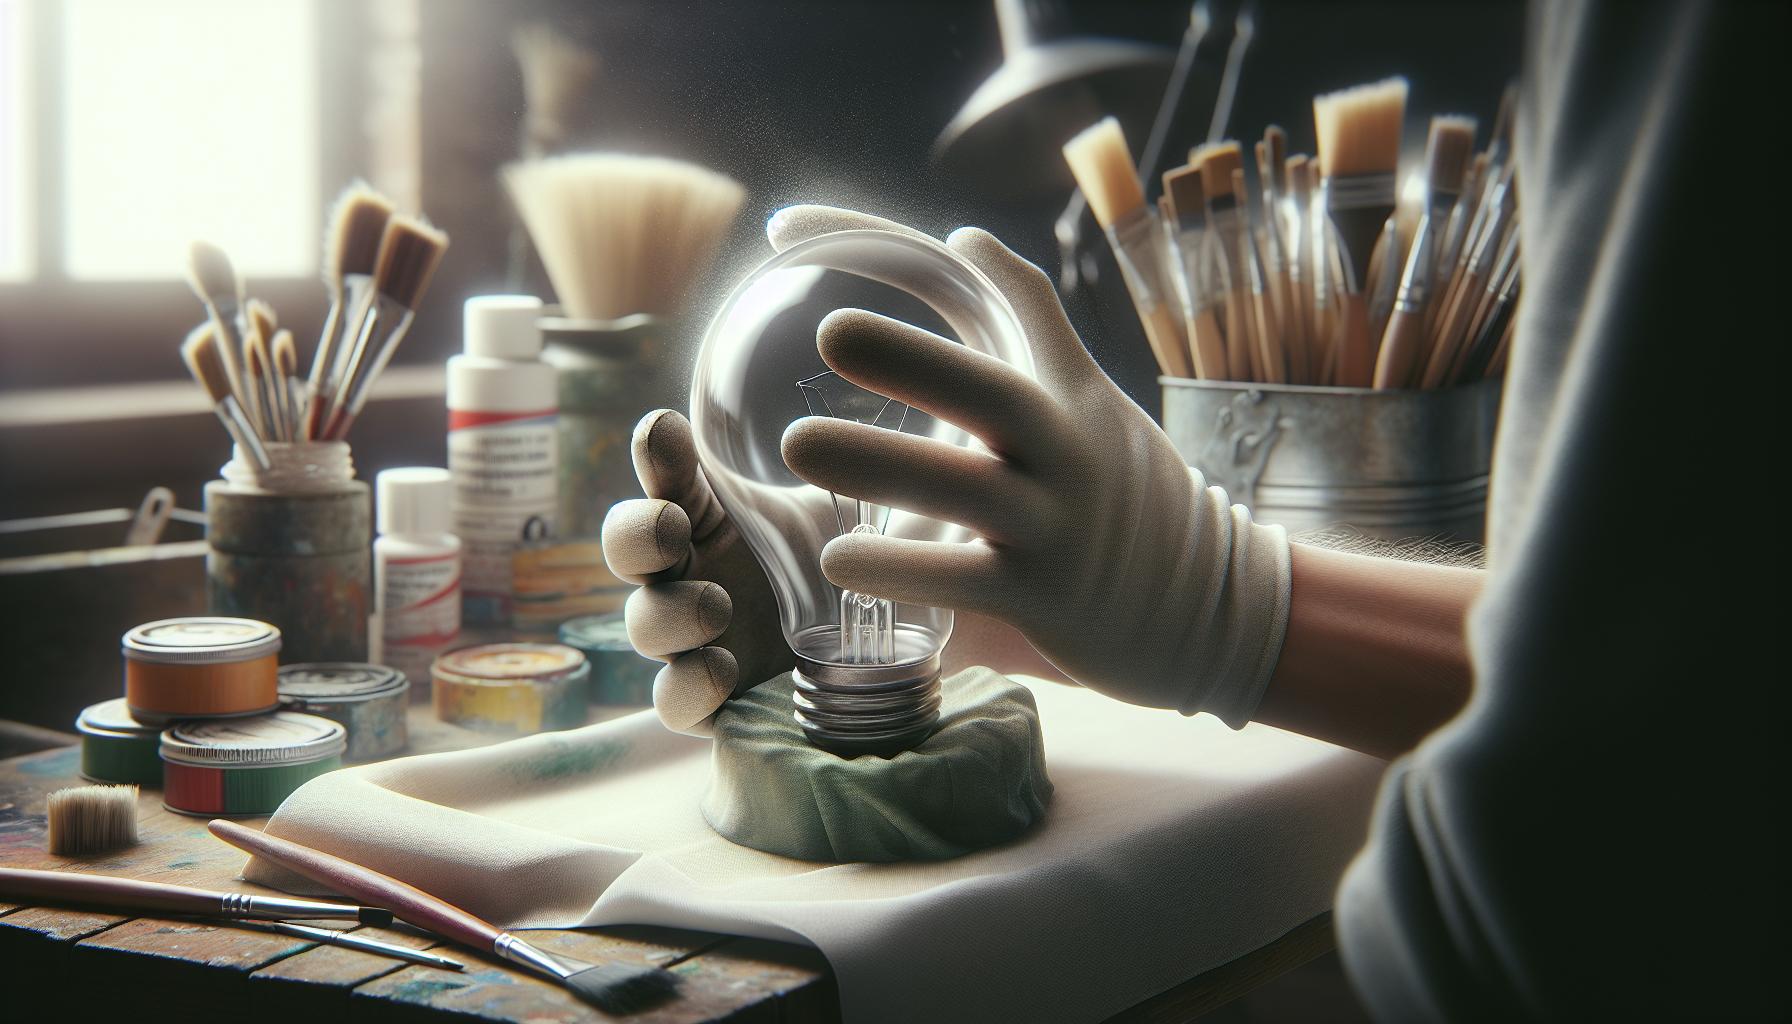
Before you liberate your creative self on the light bulbs, proper preparation is crucial to ensure the paint adheres well and the end results are as brilliant as you envision. The process isn’t time-consuming, and with a few steps, your bulbs will be ready for a makeover.
Clean the Bulbs Thoroughly
Any dust, oil or residue can jeopardize the painting process, potentially causing the paint to peel or flake off prematurely. Here’s how you can clean your bulbs:
- Turn off the power and let the bulbs cool down if they’ve been in use.
- Wipe the surface with a soft cloth or use a gentle cleaner to remove grime.
- For stubborn spots, a small amount of rubbing alcohol on a cloth can work wonders.
- Make sure the bulbs are completely dry before moving on to the next step.
Sand the Bulbs Lightly
Creating a light scuff on the surface of the bulb with fine-grit sandpaper can make a significant difference. It’ll give the paint something to cling to:
- Gently sand the bulb in a circular motion; avoid pressing too hard as this might damage the bulb.
- After sanding, wipe the bulb once more to remove any dust particles.
Taping for Precision
You may want to leave some areas of the light bulb unpainted for design or lighting purposes. Use painters’ tape to cover these sections:
- Apply the tape evenly and smooth out any bubbles for crisp lines.
- Ensure that the edges of the tape are firmly pressed down to prevent paint from seeping underneath.
Prime the Bulbs
If you’re aiming for less transparency or a more vibrant color, applying a primer can be beneficial:
- Choose a heat-resistant primer for optimal results.
- Apply a thin, even coat, and let it dry as recommended by the primer’s manufacturer.
Remember, patience is key to preparing your light bulbs. Rushing through these steps can reflect in your end product, so take your time. Once preparation is complete, your bulbs will be set for their transformation, ready to be adorned with the paint and pattern of your choice.
Tips for Painting Light Bulbs
As you embark on this illuminating DIY project, remember these tips to ensure your painted light bulbs not only look stunning but also perform optimally. Start by choosing the right kind of paint. You need a paint that can withstand heat, as regular paint may melt or cause fumes. Acrylic enamel or glass paints are your best bets for durability and aesthetic appeal.
Here’s a quick guide:
- Use a small brush or sponge for application to maintain control and avoid drips.
- If you’re aiming for a stained-glass look, consider using a thinner coat of paint. Thick coats may result in an uneven distribution of light.
- To achieve a frosted appearance, mix the paint with a frosted glass medium.
Always paint in a well-ventilated area, especially when using products that emit fumes. It’s not just about your safety; proper ventilation helps the paint cure and avoid unwanted bubbles or smears.
For longevity, painted bulbs should not be used at their maximum wattage. Running at high temperatures can cause the paint to degrade prematurely. If possible, use them with dimmer switches to control the intensity and extend the life of both the bulb and its artistic coat.
After you’ve painted your bulbs, it’s crucial to allow them enough time to dry. Even when the surface feels dry to the touch, give it a bit more time. Placing the bulbs in a safe, dry area where they won’t be disturbed assists in curing the paint evenly without smudging your design.
While LEDs and fluorescents emit less heat, it’s still wise to test your painted bulbs in their intended fixtures for short periods before full-time use. This helps determine if the bulb’s luminosity meets your expectations and if the paint’s color and quality hold up under operating conditions.
Safety Considerations when Painting Light Bulbs
When delving into the realm of DIY projects like painting light bulbs, your safety should be at the forefront of your mind. Crafting a beautifully lit ambiance doesn’t just involve creativity but also an awareness of the potential hazards.
Ensure Paint is Nonflammable: One key factor you must check is whether the paint you’re using is nonflammable. Heat-resistant doesn’t automatically mean fireproof, so you need to read labels carefully. The bulb’s heat can ignite flammable materials, and this precaution is especially crucial for high-wattage bulbs.
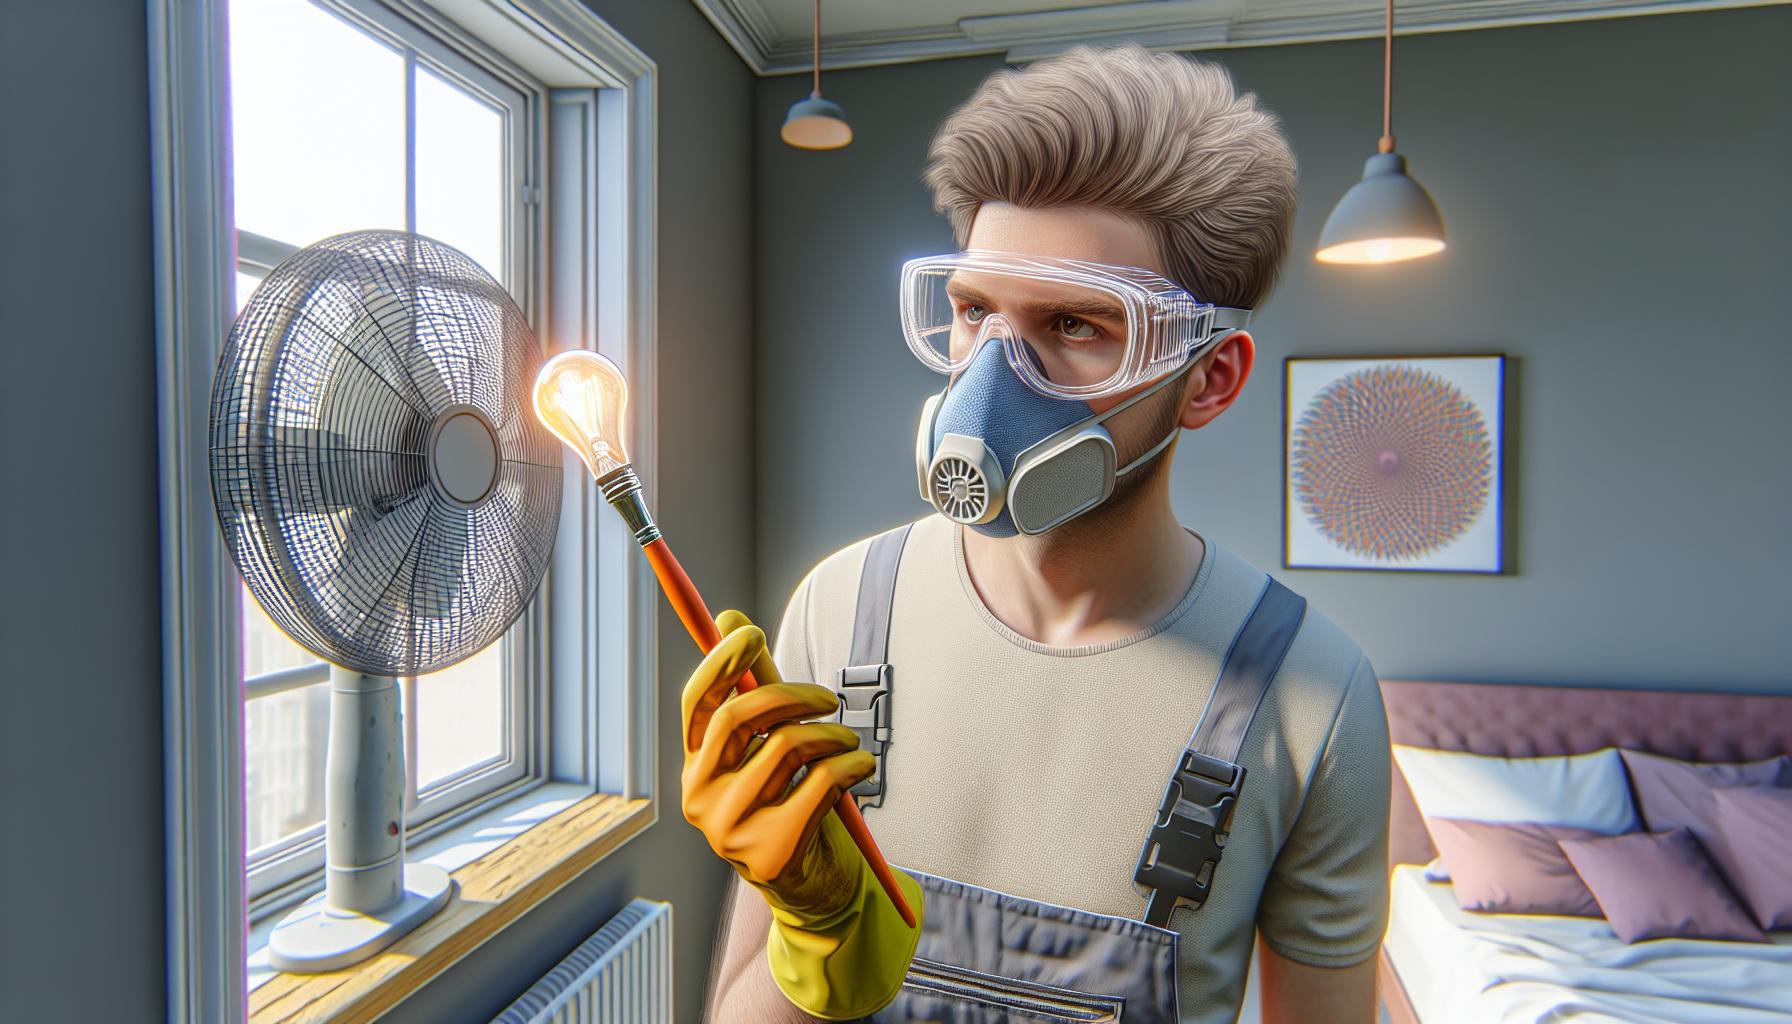
Ventilation is Vital: Work in a space that’s well-ventilated. Inhaling fumes from paint can be harmful, and an open area will help disperse these fumes quickly. If you can’t work outdoors, make sure you’ve got windows open and perhaps use a fan to keep the air moving.
Protective Gear is a Must
- Wear gloves to protect your hands from paint and accidental breakage.
- Eye protection, such as safety goggles, will prevent paint splashes and glass shards from reaching your eyes.
- Consider a face mask if the paint fumes are particularly strong or if you’re sensitive to chemical smells.
Electrical Safety
Before you start painting, ensure the light bulb is completely disconnected from any power source. Not only will this prevent electrical accidents, but it will also give you the freedom to maneuver the bulb as needed without the constraint of an attached fixture.
Bear in mind:
- Older bulbs can be more fragile, so handle them with extra care to avoid breakage.
- Keep the bulb base clean and free of paint to ensure a good electrical contact once it’s reinstalled.
Keeping these considerations in check, you’re set to brighten your space with a personal touch—just remember to let the bulb dry entirely before using it. As you prep for this DIY endeavor, maintain a balance between your creative flair and these practical safety measures for a successful, illuminative outcome.
Conclusion
So now you’ve got the scoop on giving your light bulbs a colorful makeover. Remember to prioritize safety first and always opt for the right materials. With a bit of patience and a steady hand, you’ll transform any room with a unique lighting vibe. Just make sure that bulb is totally dry before you light it up. Happy painting!
Frequently Asked Questions
Can I use any kind of paint to paint a light bulb?
No, you should use nonflammable paint specifically designed for high temperatures to ensure safety and prevent potential fire hazards.
Do I need to paint light bulbs in a specific environment?
Yes, it’s important to work in a well-ventilated area to avoid inhaling harmful fumes and to wear protective gear for safety.
What protective gear should I wear while painting a light bulb?
Protective gear should include gloves, eye protection, and a face mask to prevent any accidental ingestion or contact of paint with your skin or eyes.
Is it safe to paint a light bulb while it is connected to a power source?
No, always disconnect the light bulb from any power source before starting to paint to avoid the risk of electric shock.
How should I handle older light bulbs when painting?
Handle older bulbs with extra care as they may be more fragile and prone to breakage. Ensure that they are properly supported during the painting process.
How long should I wait before using a painted light bulb?
Wait for the paint on the bulb to dry completely before using it. This helps in preventing any damage to the bulb or potential safety issues.