Ever found yourself standing beneath a flickering bulb, wondering how to tackle the task without calling for help? Changing a light bulb is a simple DIY skill that’ll save you time and hassle. No need to stay in the dark!

Gathering the Right Materials
Before you start the process of changing a lightbulb, ensuring you have the right materials at hand is crucial. This will not only make the job smoother but also safer. After all, you wouldn’t bake a cake without first making sure you have all the ingredients, right? The same principle applies to any DIY task you undertake.
First, identify the type of lightbulb you’ll need. Light bulbs come in various shapes, sizes, and types such as LED, compact fluorescent (CFL), and halogen. Check the existing fixture or the old bulb for specifications, usually written on the side or the top of the bulb:
- Wattage (e.g., 60W)
- Bulb shape (e.g., A19)
- Base type (e.g., E26)
Make a note of these or better yet, take the old bulb with you when you go to purchase a new one to ensure a perfect match.
Next on your list should be the tools and safety gear. The fundamental toolkit includes:
- A stable stepladder or a sturdy chair if the bulb is out of reach
- Protective gloves to prevent your hands from cuts or from coming into contact with glass in case of a broken bulb
- Safety glasses to protect your eyes from any potential shattered glass
For smart bulbs or those with advanced features, you may also need:
- The manufacturer’s instructions for installation and pairing with your home system
- A smartphone or tablet if the bulb can be controlled via an app
- Dimmer switches or compatible devices if the lightbulb has dimming capabilities
Remember, if the fixture you’re working with is connected to a dimmer switch, make sure the bulbs you purchase are dimmable. Not all LED or energy-saving bulbs are compatible with all dimmers, so a quick check will save additional trips to the store.
Finally, ensure that you have a proper disposal plan for your old bulb, especially if it’s a CFL or a fluorescent tube, as these contain small amounts of mercury. Many hardware stores offer recycling services, so consider taking your expended bulb there.
Turning Off and Disconnecting the Power

Before you even think about reaching for that bulb, safety is the name of the game. Your first move is to ensure the power is off. Head to your circuit breaker or fuse box and flip the switch corresponding to the area of your home where the light fixture is located. If you’re not sure which is the right one, you’re better off turning off the main power to be safe.
While your instinct might be to simply turn off the light switch, it’s not enough. The switch might cut power to the bulb, but the fixture is still live, posing a risk of electric shock. So go the extra mile and make sure the electricity is completely disconnected.
Once you’ve flipped the breaker, double-check that the power is indeed off. You can do this by trying to turn the light on with the switch or using a voltage tester for confirmation. Better to spend a couple of extra seconds for a safety check than to have a shocking surprise.
Removing the Old Bulb
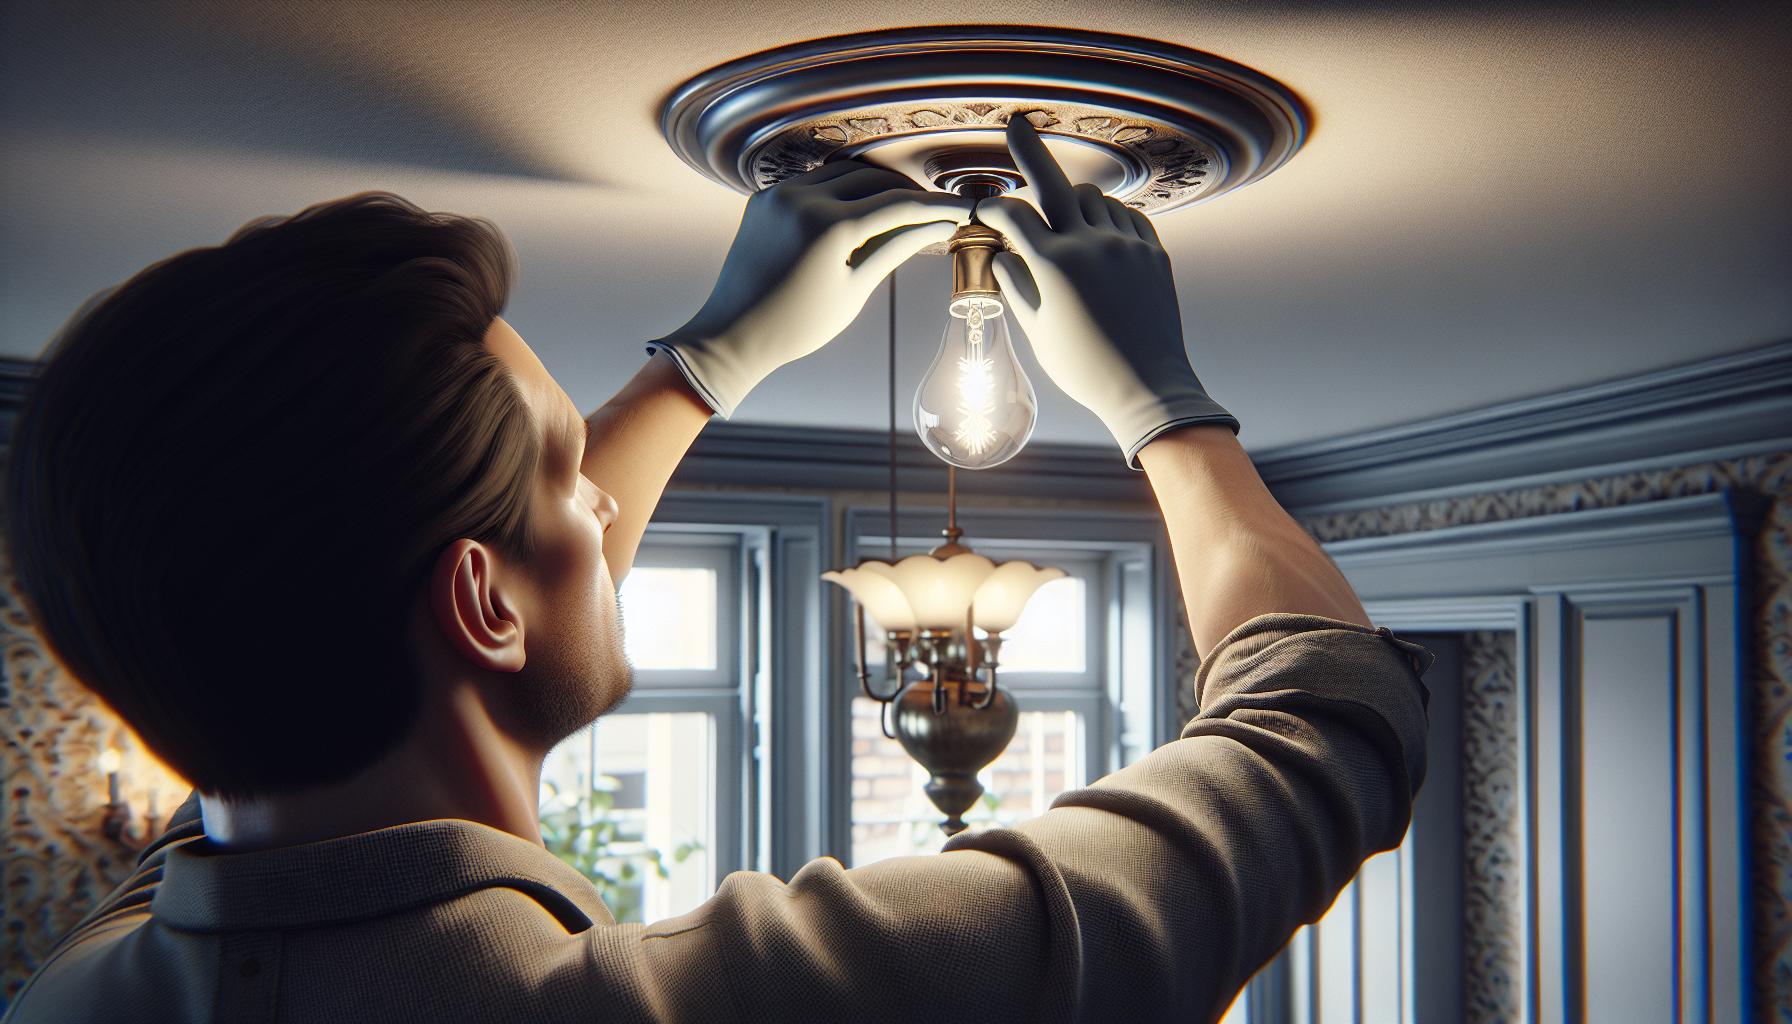
Once the power’s fully disconnected, you’re ready to remove the old bulb. Grasp it by the base, and gently turn it counterclockwise until it’s free from the socket. Never force the bulb; if it doesn’t come out easily, it’s possible that it’s corroded in place. In this case, wearing your safety gloves, apply a bit more pressure or try wiggling the bulb gently back and forth as you turn it.
For bulbs that are stuck, there’s a neat trick you can try. Cut a potato in half, press it firmly onto the bulb, and use it to twist the bulb out. Ensure there’s no moisture, though—you don’t want to introduce water into an electrical fixture.
« Is It Safe to Paint Light Bulbs? DIY Guide & Safety Tips Revealed
Are Hot Light Bulbs Dangerous? Why LEDs Are Safer for Your Home »
Here’s what to keep in mind:
- Ensure the lamp or fixture is stable. If you’re working with a ceiling fixture, confirm it’s well anchored to the ceiling.
- Handle the bulb with care to avoid breakage. If the bulb does break, clear out the room for about 15 minutes and follow the EPA guidelines for clean-up of broken bulbs (especially mercury-containing bulbs like CFLs).
- Fluorescent tubes and long bulbs need special handling. Support them with both hands, and twist both ends simultaneously and gently remove them from the holding pins.
If you’re dealing with track lighting or fixtures with multiple bulbs, it’s a good practice to replace all the bulbs simultaneously. This keeps the lighting even and saves you from going through the replacement process too often.
Remember that environmental care is part of home DIY projects. Proper recycling of your old bulbs is not just responsible; it keeps harmful materials out of landfills. Look for local recycling or hazardous waste collection sites that handle light bulbs.
After the old bulb is safely removed, inspect the socket and the fixture. There should be no visible damage, corrosion, or leftover debris. If there are signs of wear and tear, like burnt marks or frayed wires, it might be time to consider replacing the fixture or consulting an electrician.
Choosing the Right Replacement Bulb
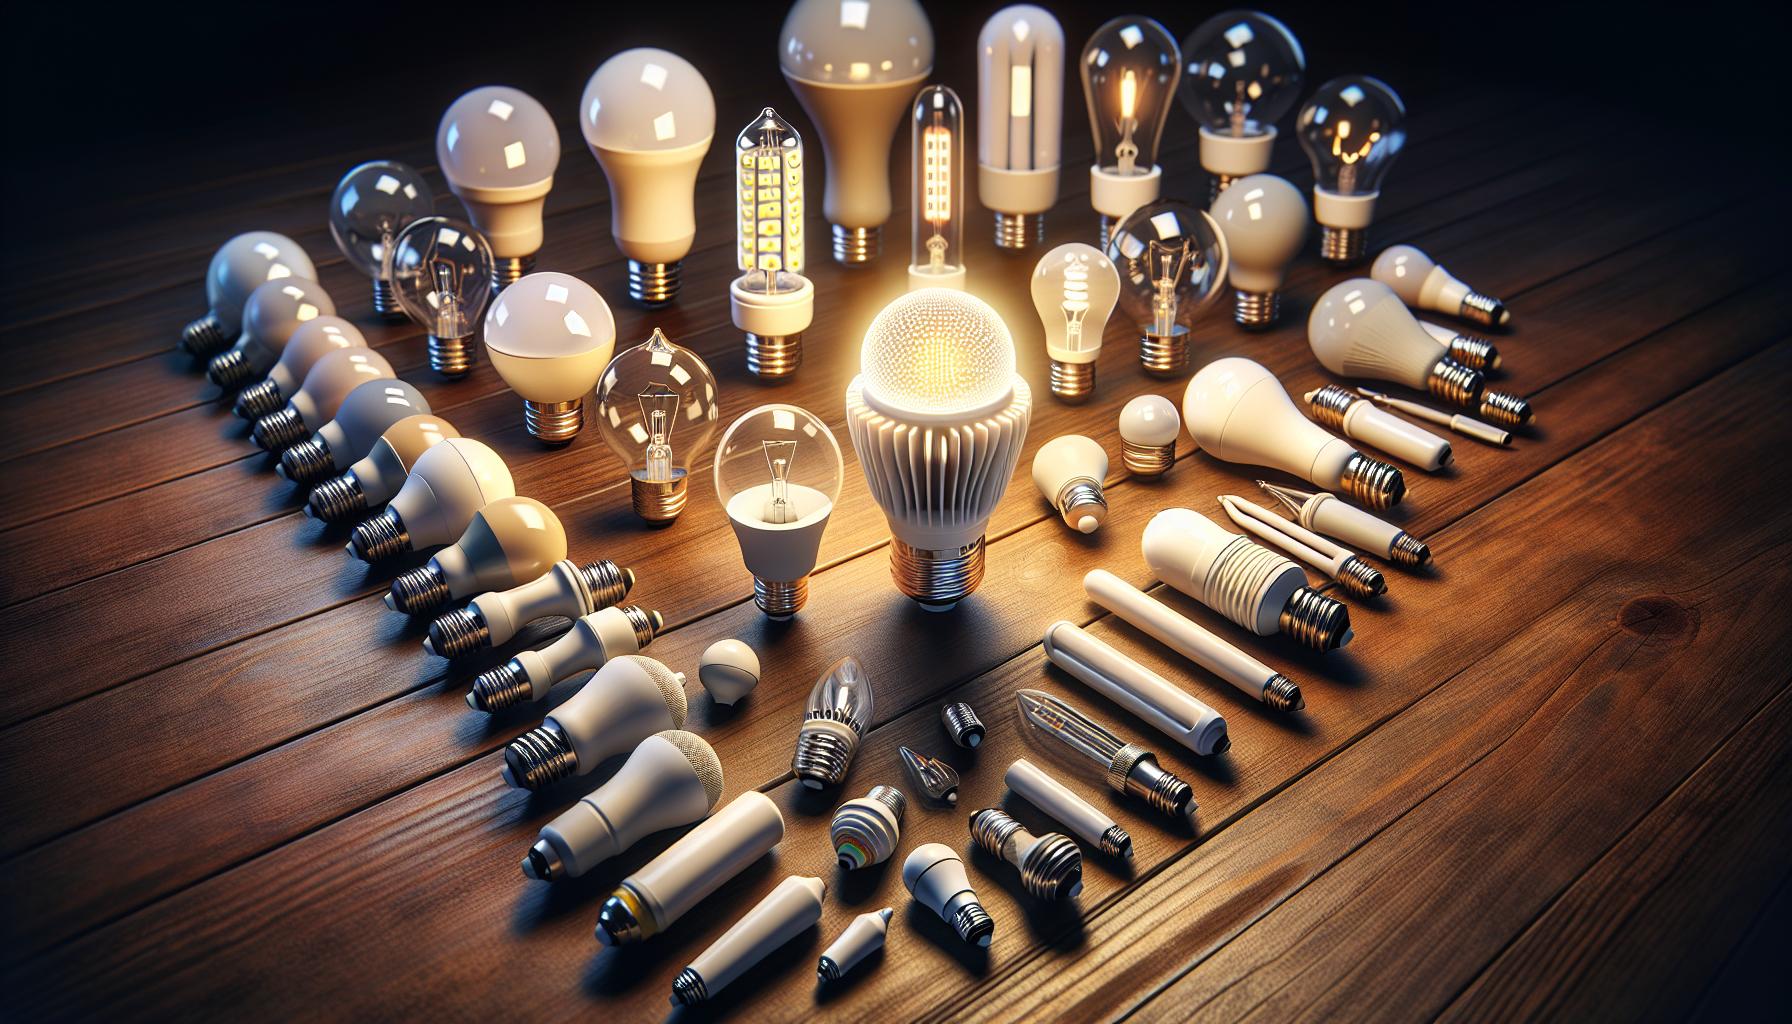
Once you’ve safely removed the old bulb, it’s time to select the proper replacement. You’ll want to ensure the new bulb matches the specifications of the old one, or it’s compatible with your fixture. Wattage, shape, size, and base type are all crucial factors to consider.
Check the Fixture or the Old Bulb
Most fixtures have a label stating the maximum wattage. It’s essential you don’t exceed this as it could be a fire hazard. If you can’t find the label, the old bulb’s wattage can serve as a guide. Remember, opting for energy-efficient LEDs can offer the same level of brightness (lumens) for less wattage.
Match the Base Type
There are several base types like screw-in or pin; you’ve got to match the new bulb to your fixture. A mismatch here and you’re headed back to the store—or sitting in the dark.
Consider the Bulb Shape and Size
Bulbs come in an array of shapes like A, G, or T, and numbers reflect the size. You’ll find this info stamped on the base or the bulb’s metal collar. Pick one that matches or suits your aesthetic and functional needs.
Choose the Right Color Temperature
Light temperature is measured in Kelvin (K). A lower Kelvin number means the light is warmer, and a higher number indicates a cooler, bluish light. Think about the ambiance you want:
- Warm light (2700K – 3000K) is cozy and inviting, ideal for living rooms and bedrooms.
- Neutral or cool white (3500K – 4100K) is crisp and invigorating, perfect for kitchens and bathrooms.
- Daylight (5000K and up) is energetic, great for reading or intricate projects.
| Lumens | Incandescent Watts | LED Watts |
|---|---|---|
| 450-800 lm | 40W | 4-5W |
| 800-1100 lm | 60W | 6-8W |
| 1100-1600 lm | 75W | 9-12W |
| 1600-2600 lm |
Installing the New Bulb
Once you’ve carefully removed the old bulb, you’re ready to install the new one. The process is straightforward, but it’s crucial to ensure the power is still off. You wouldn’t want an unexpected spark to turn your DIY project into a shocking experience.
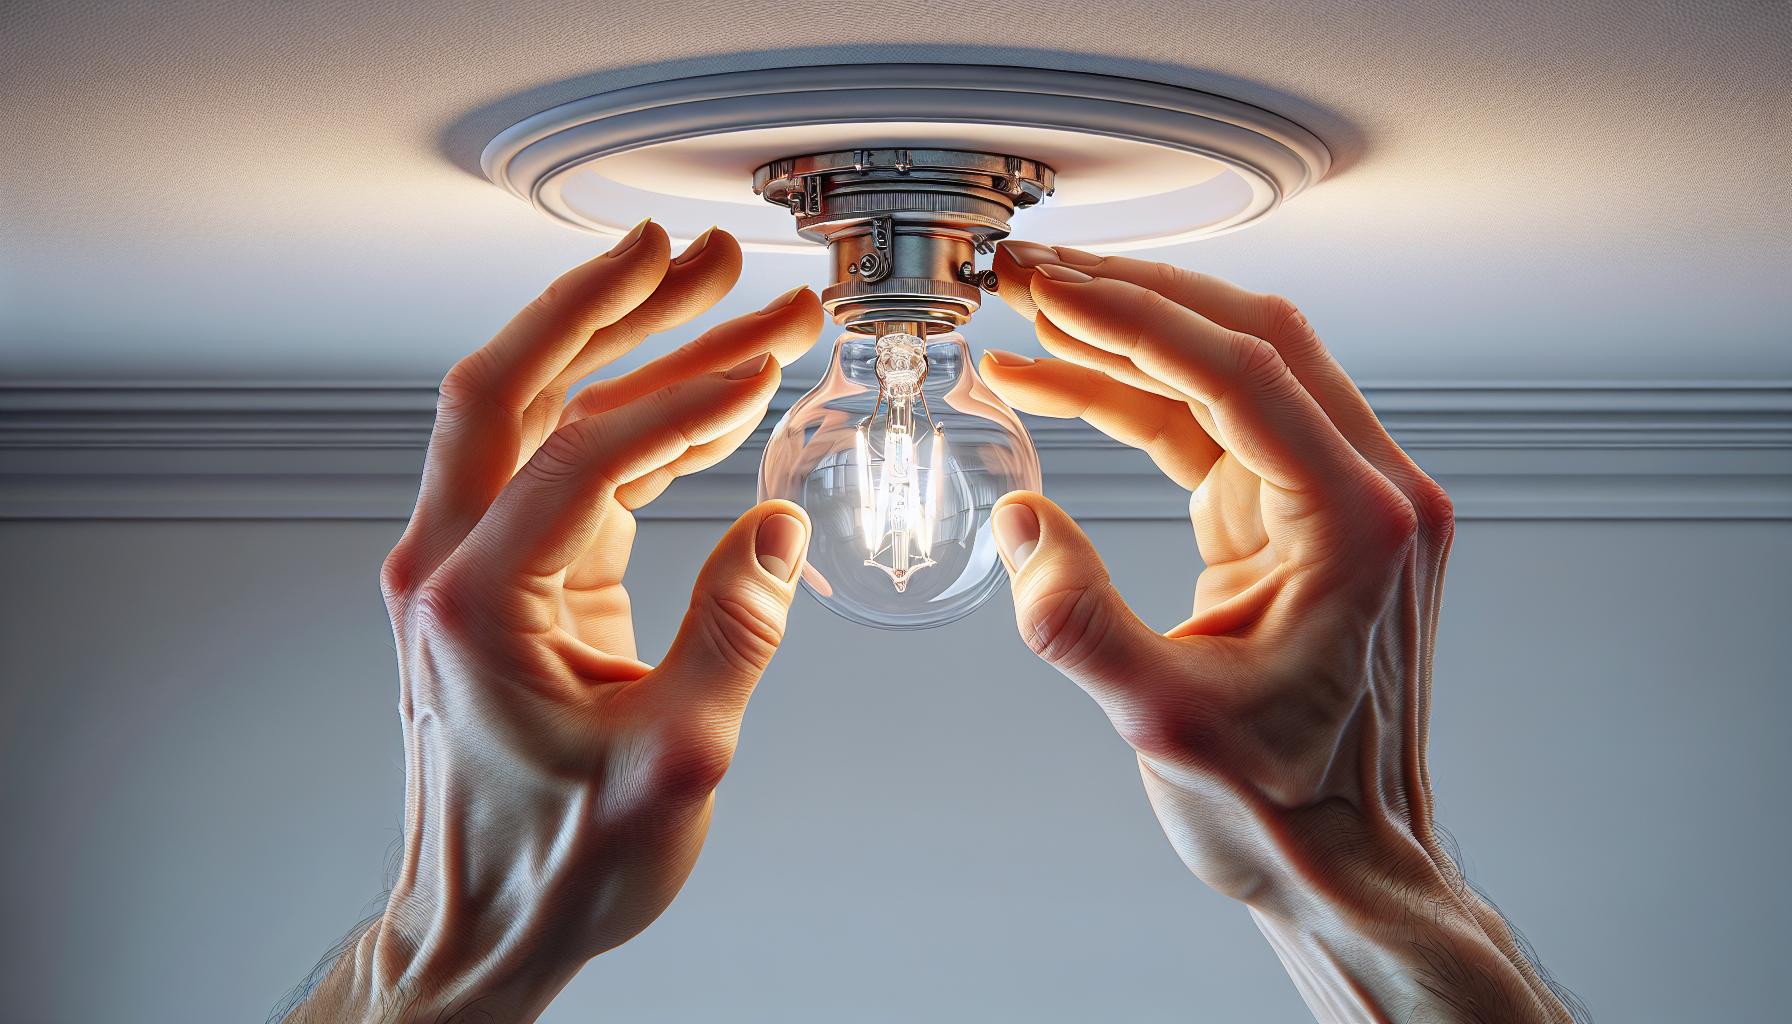
Handling the New Bulb: Grasp your new bulb by its base, typically avoiding touching the glass if it’s a halogen or incandescent bulb, as oils from your skin can shorten its lifespan. If you’re working with LEDs, you’re in luck: they’re more forgiving and cooler to the touch.
Start by gently inserting the bulb into the socket. For screw-in bulbs, apply slight pressure and rotate clockwise until snug. For bayonet mounts, align the bulb’s base with the slots, push it down slightly, and twist clockwise. Be careful not to over-tighten, as this could damage both the bulb and socket.
Safety Check: Before you flip the switch to test your newly installed bulb, double-check that it’s tightly secured and there’s no damage to the bulb or socket. This could prevent potential hazards. Also, make sure your light fixture’s cover or shade is reattached if there was one.
| Lumen Range | Incandescent Wattage | LED Wattage |
|---|---|---|
| 450 – 799 lm | 40W – 60W | 6W – 12W |
| 800 – 1,099 lm | 60W – 75W | 8W – 17W |
| 1,100+ lm | 75W+ | 10W+ |
Optimizing for Efficiency: Finally, remember to consider the lumen and wattage chart provided earlier to optimize your space for both brightness and energy efficiency. It’s not just about the wattage anymore – lumens tell the true story of how bright your bulb will shine.
Once everything looks good, it’s time to restore power. Be prepared to bask in the warm or cool glow of your success! But remember, it’s not just about the task itself—every bulb change contributes to honing your DIY skills and understanding of home lighting.
Testing and Safety Precautions
Before you flick that switch, there’s a critical step you can’t skip – safety checks. Electrical safety is paramount, not just for your peace of mind but also to prevent any potential hazards.
Start by examining the light fixture and ensure there’s no damage or exposed wires. If you spot anything suspicious, it’s best to consult a professional. Assuming all looks good, ensure that the power is still off at the breaker and the light switch is in the off position.
Next, it’s wise to double-check the wattage compatibility of your new bulb with the lighting fixture. Exceeding the wattage can lead to overheating, which is a fire risk you’ll want to avoid.
Now to the moment of truth, testing your installation. Turn the power back on at the breaker, and gently flip the switch. Be prepared for the bulb to take a moment before it illuminates – some bulbs have a brief warm-up period.
Keep an eye on the bulb during the first few hours of use. If you notice any flickering, dimming, or strange noises, it’s a sign that something may not be quite right. It could be a faulty bulb or perhaps an issue with the fixture itself. In these cases, power off and revisit the previous steps or consider seeking help.
Here are a few signs that should prompt immediate action:
- Smoke or a burning smell
- A popping sound upon turning on the light
- The bulb becoming excessively hot in a short amount of time
Remember, your safety is the priority here. Lights and home DIY projects can be fun, but they must be done responsibly. Keep your instruction manual handy for quick troubleshooting, and always err on the side of caution when it comes to electricity. Trust your instincts – if something feels off, it’s better to investigate than to ignore.
Conclusion
You’ve got this! Swapping out a light bulb is straightforward when you follow the right steps. Remember, safety’s your top priority, so don’t skip those final checks. If your new bulb is behaving oddly or you spot something that doesn’t look quite right, don’t hesitate to reach out to a pro. With your new bulb shining bright, you can bask in the glow of a job well done. Here’s to a brighter, safer home!
Frequently Asked Questions
What safety checks should I perform before testing a newly installed light bulb?
Before testing, inspect the light fixture for any damage or exposed wires. If you find anything suspicious, consult a professional. Also, make sure the wattage of the new bulb is compatible with the fixture to prevent overheating.
How do I test a newly installed light bulb?
To test the installation, turn the power back on and flip the light switch. Monitor the bulb for any signs of flickering, dimming, or unusual sounds.
What should I do if I notice something off with the new light bulb after installation?
If you observe flickering, dimming, or strange noises, you should prioritize safety and either seek professional help or investigate the issue further to determine the cause and resolve it.