Ever found yourself questioning whether that flickering bulb has finally sung its swan song? You’re not alone. Checking if a light bulb is still good is a handy skill that can save you from the hassle of unnecessary trips to the store.

It’s easier than you might think, and you don’t need to be an electrician to figure it out. In the next few minutes, you’ll learn the simple steps to determine the fate of your bulb, and perhaps, how to extend its life a little longer.
Why it’s important to check if a light bulb is good
You might not think much about the humble light bulb, but these little guys are the unsung heroes of your home’s ambience and functionality. Ensuring your bulbs are in good condition is more than just a matter of illumination; it affects your quality of life and wallet too.
Safety is the first consideration. A faulty bulb can flicker, which is not just annoying but can also be a sign of a more serious electrical issue. Moreover, a damaged bulb can overheat, posing a fire hazard. By checking your bulbs regularly, you’re keeping a vigilant eye on the safety of your home.
Efficiency is another big factor. Light bulbs that are on the fritz often use more energy, as they struggle to maintain consistent light output. This inefficiency can lead to increased energy bills. In fact, ensuring that you’re using good bulbs can reduce those bills significantly. Here’s a little insight:
| Light Bulb Type | Energy Use |
|---|---|
| LED | Up to 90% efficient |
| Incandescent | Less efficient |
| CFL | Mid-range efficiency |
By opting for LED bulbs and maintaining them properly, you’re not only saving energy but also cutting down on replacement costs. LEDs last longer than traditional incandescent bulbs, so knowing when they need changing helps you make the most of your investment.
Remember, the color and brightness of your light greatly influence the mood and aesthetic of your space. A good light bulb provides consistent, quality lighting that contributes positively to the ambiance of a room. It’s true; lighting can affect your mood and productivity, so a well-lit space can really enhance your day-to-day experience.
From the perspective of a lighting aficionado and DIY enthusiast like yourself, nothing beats the satisfaction of a well-executed home improvement project involving lighting upgrades. Checking your light bulbs is the easiest step towards achieving that perfect home atmosphere you crave.
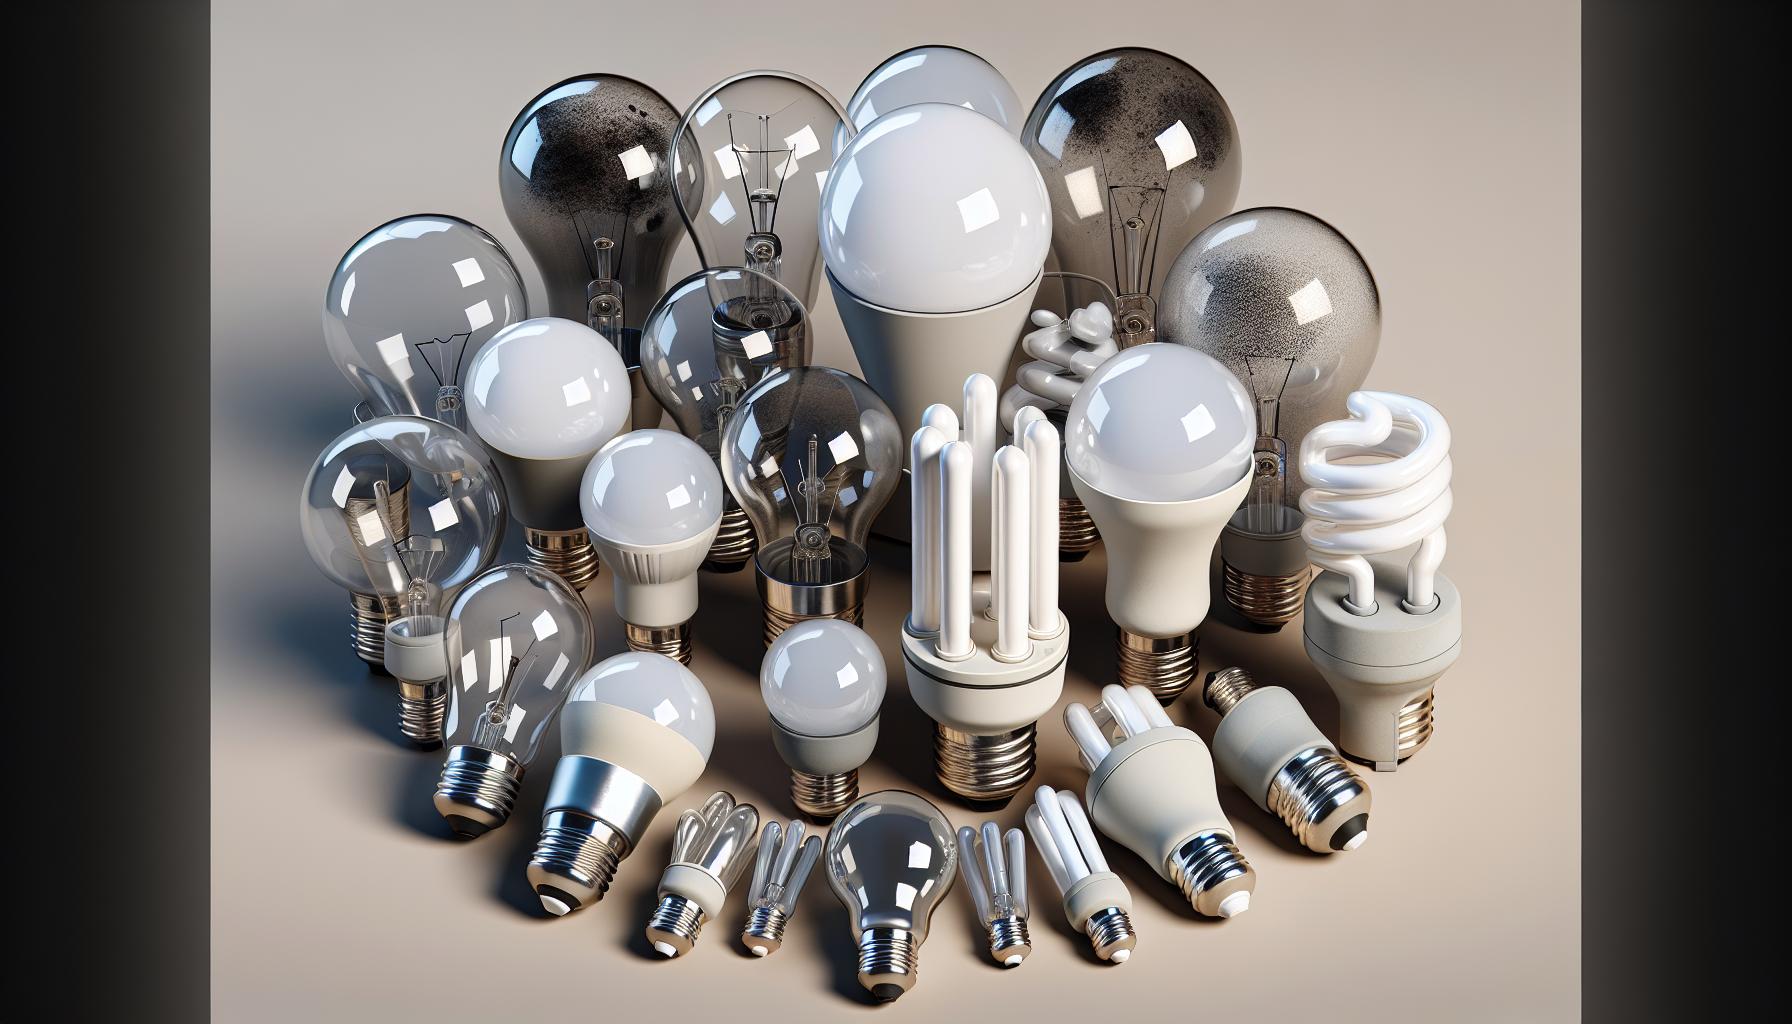
Materials needed to check if a light bulb is good

Before diving into the process of checking your light bulbs, it’s essential to gather the right tools. Here’s what you’ll need:
- Non-contact voltage tester: This handy device allows you to check for an electrical current without touching wires.
- Multimeter: A multimeter is a versatile tool that can help diagnose a variety of electrical problems, including the functionality of a light bulb.
- Lamp or socket tester: This simpler tool can be used to quickly determine if a bulb works without having to use a multimeter.
- Gloves: Wear a pair of gloves to protect your hands from any sharp edges or glass if a bulb breaks.
- Safety glasses: It’s always wise to protect your eyes when dealing with electrical components.
Using a Non-Contact Voltage Tester
To get started, ensure your safety gear is on. Turn off the power to the bulb’s circuit from the breaker box to avoid any nasty shocks. Once safe, use the non-contact voltage tester near the socket to confirm that no current is present.
Testing with a Multimeter
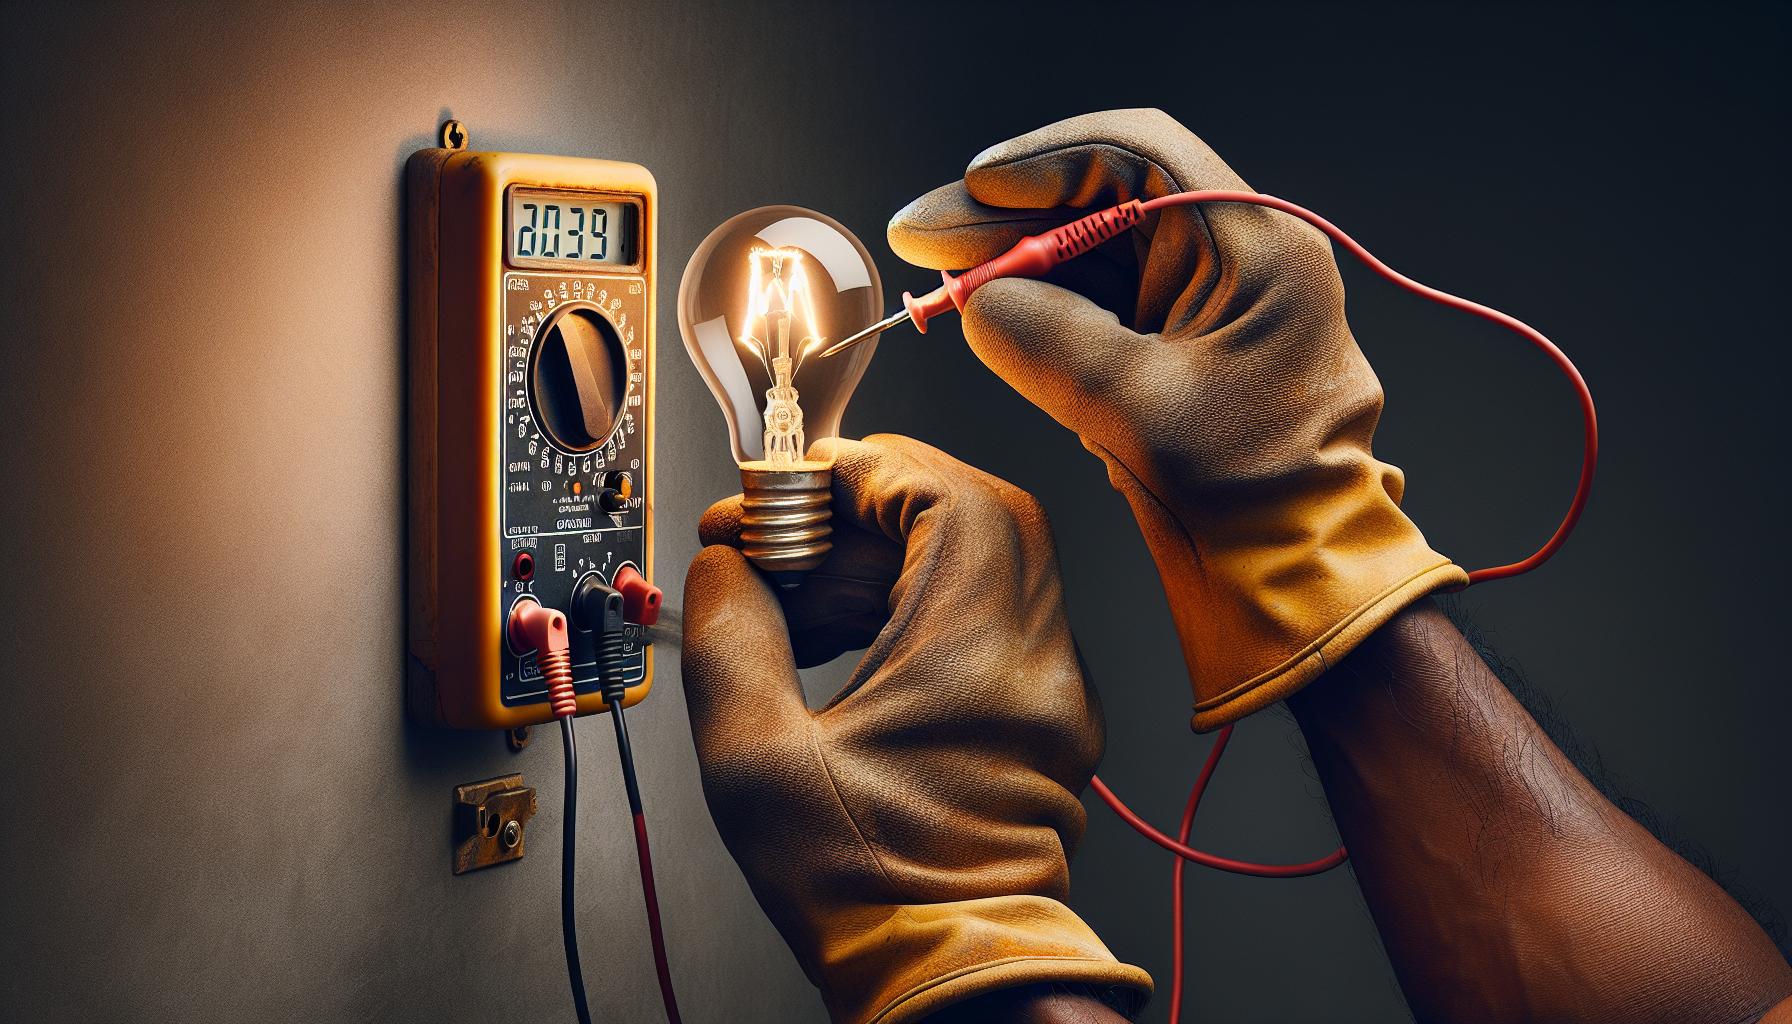
If you suspect your light bulb is not working due to an electrical issue, a multimeter can come to the rescue. Set your multimeter to the ohms setting and touch one probe to the bottom of the bulb and the other to the metal threading on the side. If the multimeter reading changes from infinity to some numerical value, it indicates that the bulb’s filament is intact, and therefore the bulb is good.
Quick Check with a Lamp or Socket Tester
For those who prefer a faster check, a lamp or socket tester is perfect. Simply screw the bulb into the tester; if it lights up, you can be confident that your bulb is in working order.
Remember to handle light bulbs gently to avoid damage and ensure accurate testing. By keeping these tools handy, you’ll be well-prepared to determine the condition of your light bulbs without hassle. Whether you’re troubleshooting a flickering lamp or conducting regular home maintenance, these simple steps will keep your lighting in prime condition.
Step-by-step guide to checking if a light bulb is good
« Do I Have to Replace Light Bulbs Before Moving Out? Essential Tips & Etiquette
What Is the Lightest Light Bulb? Discover the Future of Eco-Friendly Lighting »
When you suspect a light bulb’s gone kaput, don’t rush to toss it—testing bulbs is your handy trick to avoid waste and save bucks. Gear up with your tester and let’s illuminate the steps you’ll want to follow.
First things first, cut the power to the fixture if it’s not already out. Safety’s your top priority here, so wear gloves to prevent any accidental jolts or cuts from a potentially broken bulb.
For an initial check, simply examine the filament. For old-school incandescent bulbs, if the filament is broken or looks blackened, you’ve likely found your culprit. In the case of CFLs or LEDs, peep for any discolorations or dimming that doesn’t align with their usual performance.
Using a Non-Contact Voltage Tester
Grab your non-contact voltage tester and approach the socket. Hover the tester near the bulb’s base; a live circuit will set the tester beeping or flashing—a surefire sign that your bulb stands a chance.
Testing with a Multimeter
If the voltage tester shows no life, whip out your multimeter. Set it to the ohms setting (the Greek letter Ω), and touch one probe to the base of the bulb and another to the side. A good bulb will display a low resistance value. On the flip side, infinite resistance spells the end of the bulb’s career.
Using a Lamp or Socket Tester
Got a lamp or socket tester? It’s time to shine. Plug the bulb into the tester; lights on—good news, lights out—bad news. No equivocation here—these gadgets provide straightforward answers.
Keep in mind that CFLs and LEDs might require specialized testers due to their different operating principles. Make sure your gear matches your bulbs.
Remember, patience is key in DIY. Be meticulous and give each bulb the thorough scrutiny it deserves. Testing light bulbs may sound trivial, but it’s these little details that keep your abode glowing with warmth and reliability.
Signs that indicate a light bulb is bad
Wading through the myriad types of light bulbs in your home, you might come across a few that leave you questioning their health. Knowing these telltale signs can save you time and effort before reaching for the testers.
First off, flickering can be a dead giveaway. If a bulb is flickering sporadically, it’s often at the end of its lifespan. Although a faulty connection can also cause flickering, if you’ve ruled that out, the light bulb itself is likely the culprit.
Dimming is another symptom to watch out for. Over time, some bulbs, especially incandescents, can lose their brightness. If you notice that a room isn’t as well-lit as it used to be, it could be time to replace the bulb.
Here are more signs to look for:
- Discolored bulb or light: If the glass appears blackened or the light color has changed, this suggests the bulb is on its way out.
- Strange sounds: Buzzing or humming sounds from a bulb indicate internal issues.
- Bulb heats up quickly: Excessive heat points to high resistance within the bulb, which is unsustainable.
Let’s not forget the visible damage. Cracks, chips, or broken filaments inside the bulb imply it’s compromised. Even if it still lights up, it’s a safety risk and needs to go.
If you’re dealing with a smart bulb, issues can stem from connectivity rather than the bulb’s physical condition. Delays in response or inability to connect to your network should prompt you to troubleshoot the software side as well.
Remember, these signs are your early warnings. Paying attention can prevent the inconvenience of suddenly finding yourself in the dark. Always keep spares at hand, and when a bulb does indeed turn out to be bad, take the opportunity to upgrade to a more energy-efficient option, paving the way toward a greener household.
Tips for extending the life of a light bulb
Knowing how to check if a light bulb is good isn’t just about troubleshooting—it’s also about maintenance. If you’re as passionate about your home lighting as I am, you’ll love these tips for getting the most out of every bulb.
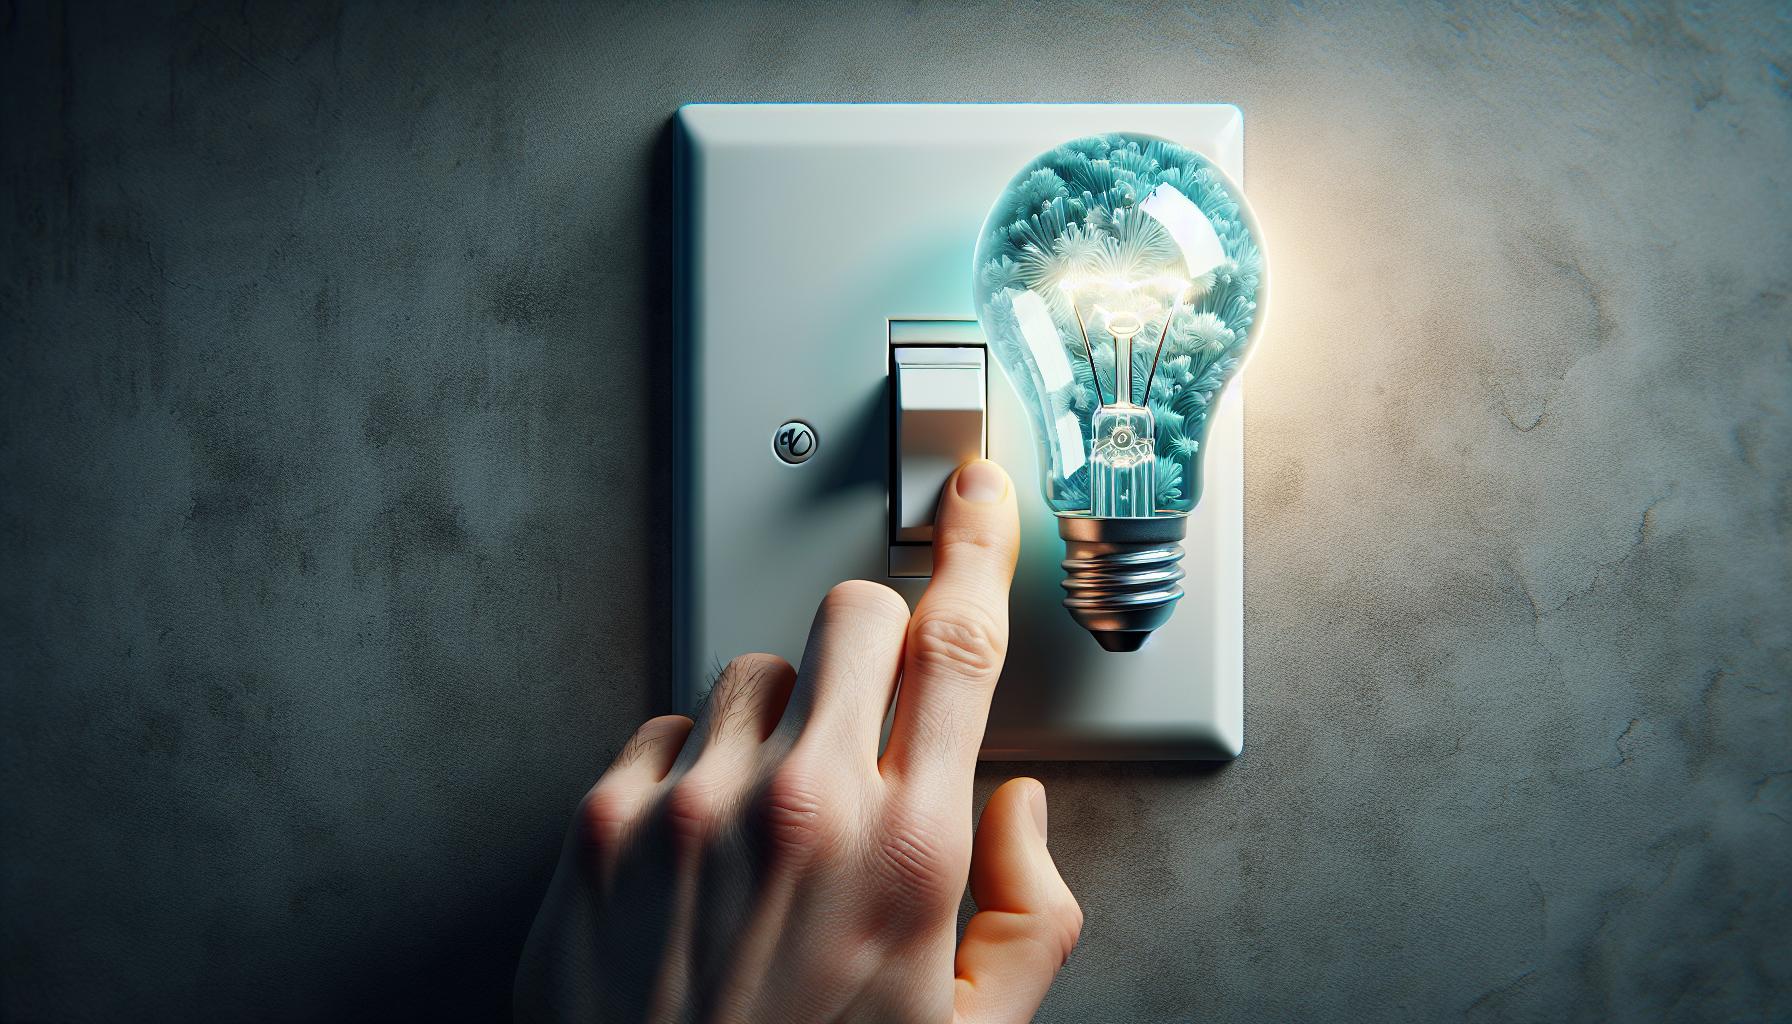
Turn Off Lights When Not in Use
It sounds obvious, but it’s often overlooked. Just by flipping the switch when you leave a room, you’re significantly extending the lifespan of your light bulbs. It’s a simple habit that packs a punch in longevity.
Use the Correct Wattage
Always check the lamp or fixture for the maximum recommended wattage and stick to it. Using a bulb that exceeds this wattage can lead to overheating, which not only poses a safety risk but also shortens the bulb’s lifespan.
Install Dimmer Switches
Dimmers are great for setting the mood, but they’re also fantastic for extending bulb life. By running lights at lower power, you reduce energy consumption and the stress on the bulb’s filaments, especially for incandescent and halogen bulbs.
Keep Fixtures Clean
Dirt and dust can actually cause your bulbs to heat up more than they should. Keep fixtures and bulbs clean for optimal performance and longevity. Just ensure that the power is off and the bulbs are cool before cleaning.
Avoid Frequent Switching
Constantly turning lights on and off can shorten the life of a bulb, primarily for fluorescents and CFLs. If you’ll be coming back into a room shortly, it might be worth leaving the light on.
Opt for LED Bulbs
Led bulbs are known for their long lifespan. They’re more resistant to on-off cycling and generally run cooler than other types of bulbs, which contributes to their durability.
Remember, extending the life of your light bulbs isn’t just better for your wallet; it’s also better for the environment, reducing waste and energy consumption. By following these steps, you’ll ensure that your lights shine bright for many evenings to come.
Conclusion
You’ve now got the know-how to test your light bulbs and ensure they’re in tip-top shape. Remember, staying on top of their condition is key to a well-lit and happy home. Keep those spare bulbs handy and follow the maintenance tips to extend their life. With a little care and attention, you’ll keep the lights on without a hitch. Happy testing!
Frequently Asked Questions
How can I tell if a light bulb is still good?
To check if a light bulb is still good, use a non-contact voltage tester, multimeter, or a lamp/socket tester. Follow the manufacturer’s instructions for these tools to determine the bulb’s condition effectively.
What safety precautions should I take when testing a light bulb?
Always ensure the power is turned off before handling the bulb. Use appropriate tools such as a non-contact voltage tester to ensure the socket isn’t live, and wear protective gloves if necessary.
Are there special testers for different types of bulbs?
Yes, different types of bulbs, like fluorescent or LED, may require specialized testers. Refer to the bulb manufacturer’s guidelines for the recommended testing method.
What are the signs that a light bulb is bad?
Signs of a bad light bulb include flickering, dimming, discoloration, odd sounds, excessive heat, and visible damage like cracks or black spots.
Can a smart bulb’s issues be related to connectivity?
Yes, smart bulb issues can often stem from connectivity problems. Check your Wi-Fi connection and app settings if the bulb itself doesn’t appear physically damaged or dysfunctional.
What tips are recommended for extending the life of a light bulb?
To extend a light bulb’s life, turn off lights when not in use, use the correct bulb wattage, install dimmer switches, keep fixtures clean, avoid frequent on-and-off switching, and consider switching to LED bulbs for longer longevity.