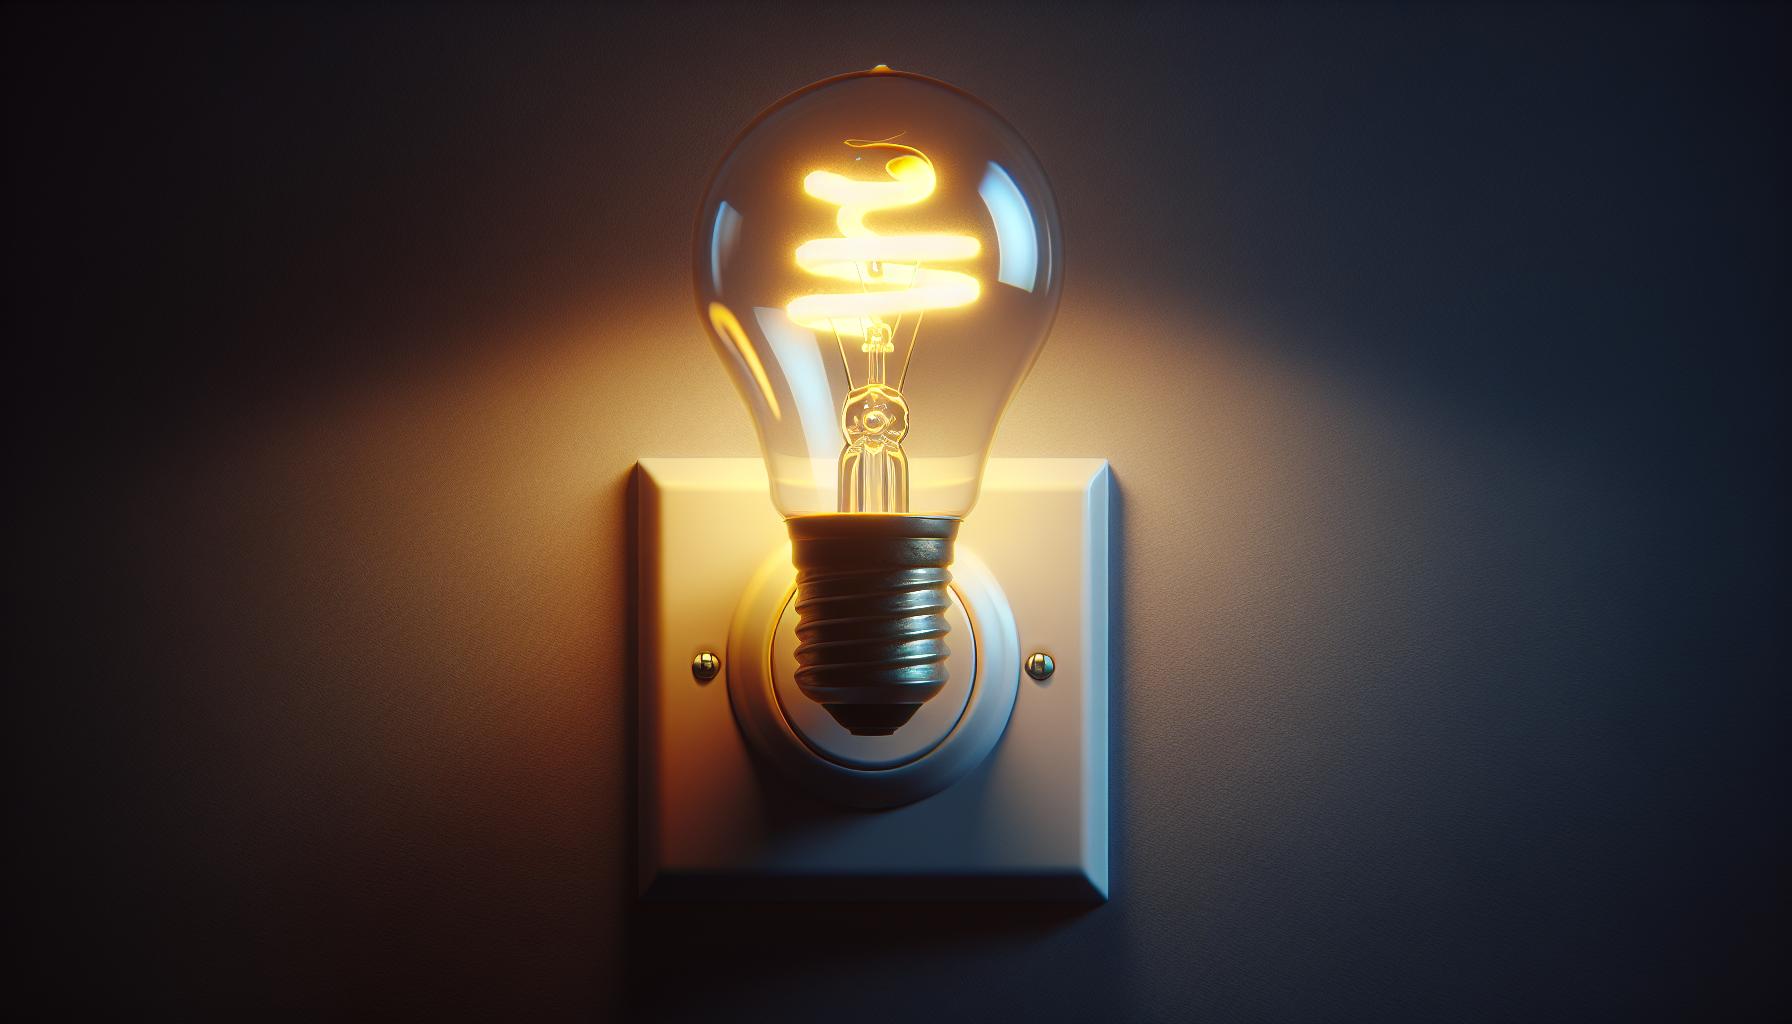
Ever found yourself flicking the light switch on and off, wondering if it’s the bulb or your electricity playing tricks on you? You’re not alone. Figuring out if a light bulb has given up the ghost doesn’t have to be a shot in the dark.

You’ll be relieved to know there are a few telltale signs that can save you from the flicker frustration. Let’s shed some light on how to tell if that bulb needs changing or if it’s time to call an electrician.
Checking for a Dim Bulb
When you’re faced with a bulb that’s not performing as it should, it’s essential to figure out whether it’s simply a case of a dim bulb or something more. A dim bulb can be quite a hassle, particularly if it’s in an area where you require strong, consistent light. Here’s how to check for this common issue.
First, observe the light output from the bulb. A healthy bulb should emit a bright and steady light. If the light output has decreased over time, there’s a good chance that the bulb is nearing the end of its lifespan. Keep an eye on how it lights up; inconsistencies could be a dead giveaway.
Next, consider the age of the bulb. Bulbs have an expected lifetime, often listed on the packaging. If yours has been shining for a while, check the hours of use against the manufacturer’s rating. This could tell you whether it’s simply a case of an old bulb that’s due for replacement.
Switch the suspected dim bulb with another bulb from a different fixture that you know is working well. This is an easy way to determine if the dimness is due to the bulb or an external factor, such as the fixture or wiring. If the second bulb also appears dim, the cause may be elsewhere. However, if only the original bulb is dim, then it’s likely the culprit.
Keep in mind that some energy-saving bulbs, such as CFLs and LEDs, can dim over time due to regular use. This is normal, but they should still last longer than traditional incandescent bulbs. Look for signs of wear or damage such as dark spots on the bulb or an audible buzzing sound when lit, as these can be indicators that the bulb is on its last leg.
Lastly, genuinely evaluate the environment where the bulb is located. If it’s subject to temperature extremes or high humidity, these conditions could affect the bulb’s performance. Also, check if the dimness correlates with usage patterns; bulbs in high-traffic areas may wear out faster.
By keeping tabs on these factors, you’ll be well-equipped to identify a dim bulb and take the necessary actions to ensure your space is once again bright and welcoming. Remember, lighting is an integral part of your home’s ambiance and functionality, and maintaining it should be high on your DIY priority list.
Looking for Flickering
Flickering lights can be more than just a nuisance—they might be signaling that your light bulb is on its way out. When you notice a constant or intermittent flicker, it’s time to play detective and get to the root of the issue.
Start by considering the Type of Bulb you’re dealing with. LEDs and fluorescent lights are more prone to flickering than incandescents. With LEDs, a common culprit could be incompatibility with dimmer switches. You’ll want to ensure your dimmer is LED-compatible to prevent that strobe effect that can be such an eyesore. For fluorescent lights, a flicker often precedes the end of its lifespan, especially when it’s cold.
Loose Bulbs could also be to blame. A simple tightening might just do the trick, so give that bulb a gentle twist to ensure it’s secured in its socket. But don’t stop there—check for a loose connection within the light fixture itself, which can cause intermittent flickering.
Consider the Voltage in your home as well. Undervoltage or surges can lead to flickering. If other electronics in your home are acting up, it might be time to call in a professional to take a look at your electrical system.
Let’s not forget environmental factors. Vibrations from heavy traffic or large appliances running nearby can cause the filament inside a bulb to shake and flicker. Does the flickering coincide with the spin cycle of your washing machine? Then you’ve got a good idea of where to start troubleshooting.
« Do I Need Special Light Bulbs for Outdoor Fixtures? Light Up Your Space Right
What Light Bulbs Have Mercury in Them? Safe Disposal Guide Revealed »
Keep a close eye on how the flickering behaves. Is it constant or does it come and go? This pattern can help you pinpoint whether it’s an issue with the bulb or something deeper within your home’s wiring.
Remember that flickering doesn’t always spell doom for your bulb, but it’s definitely a sign that deserves attention. With a bit of investigation, you’ll illuminate the truth behind the blinks and flashes, keeping your home bright and flicker-free.
Examining the Bulb’s Age

Knowing a light bulb’s age can be a critical factor in determining whether it’s simply time to replace it or if there’s a deeper electrical concern. Light bulbs, much like any household item, have a lifespan that, when reached, signals they’re on their last leg.
Incandescent bulbs, which are less common now due to energy efficiency standards, generally last between 750 to 2,000 hours. On the other hand, CFLs (compact fluorescent lamps) can last much longer, typically around 8,000 to 15,000 hours. LED bulbs, the newest player in the lighting game, boast an impressive lifespan of about 25,000 to 50,000 hours. To put this in perspective, if you use an LED light bulb for about three hours a day, it could last for nearly 45 years!
To assess the age of your bulb:
- Look for any printed dates or markings on the bulb or packaging if you still have it.
- Keep track of your bulb replacements in a home maintenance diary; noting the date of installation can save you from unnecessary troubleshooting in the future.
- Review your purchase receipts or email confirmations if you bought the bulbs online, as they may provide the purchase date and expected bulb lifespan.
If your bulb is flickering and it’s nearing the end of its life expectancy, the solution might be as simple as getting a new bulb. Don’t forget to check whether the type of bulb matches its intended use. Some bulbs are not designed for frequent on-off cycling and can wear out quicker if used inappropriately.
Knowing how long a bulb is meant to last also gives you insight into quality and performance. If your bulb flickers out before its time, it might be a sign of a defective bulb or a cue to explore the possibility of voltage fluctuations or other electrical issues. Keep an eye on how different bulbs perform in various sockets around your house to identify if the problem is isolated or systemic. Remember, lighting is not just about illumination; it’s an integral part of your home’s functionality and ambiance.
Checking for Physical Damage

When you’re trying to figure out whether a light bulb is on its last leg, visual inspection for physical damage can be quite revealing. Cracks, chips, or breaks on the bulb’s surface are clear indicators that it’s time for a replacement. Sometimes these flaws are subtle, so make sure you hold the bulb up to the light and examine it from all angles.
Not all signs of damage are immediately visible. It’s important to check for dark spots as well, particularly at the top of the bulb, which could suggest that the filament inside is toast. This is especially common in incandescent bulbs, where the thin wire filament can easily break, causing these characteristic dark smudges.
For fluorescent bulbs, look for dark discoloration at the ends of the tube. This is typically a sign that the bulb is running out of the mercury vapor it needs to light up, meaning it won’t be efficient anymore. With more robust LED bulbs, you’d be on the lookout for any damage on the diode itself – although these are hardy little things, they can succumb to wear and tear over time.
Bulb bases should also be checked thoroughly. If you notice rust or corrosion, there’s a good chance moisture has gotten in and you’ll be facing connection issues. Corrosion can impede electrical contact between the bulb and its socket, leading to flickering or failure to light up altogether.
You wouldn’t want to overlook the importance of a gentle touch either. Gently shake the bulb — if you hear a rattling sound, it’s probably a sign that the internals are loosened or damaged, which can happen if a bulb has been dropped or knocked about.
Safety should always be your priority. Ensure you’ve turned off the power source before conducting these inspections, and handle the bulbs carefully to prevent personal injury or further damage to the bulbs.
By keeping an eye out for these physical signs, you can take the guesswork out of determining the health of your light bulbs and maintain a bright and safe environment in your home.
Other Troubleshooting Tips
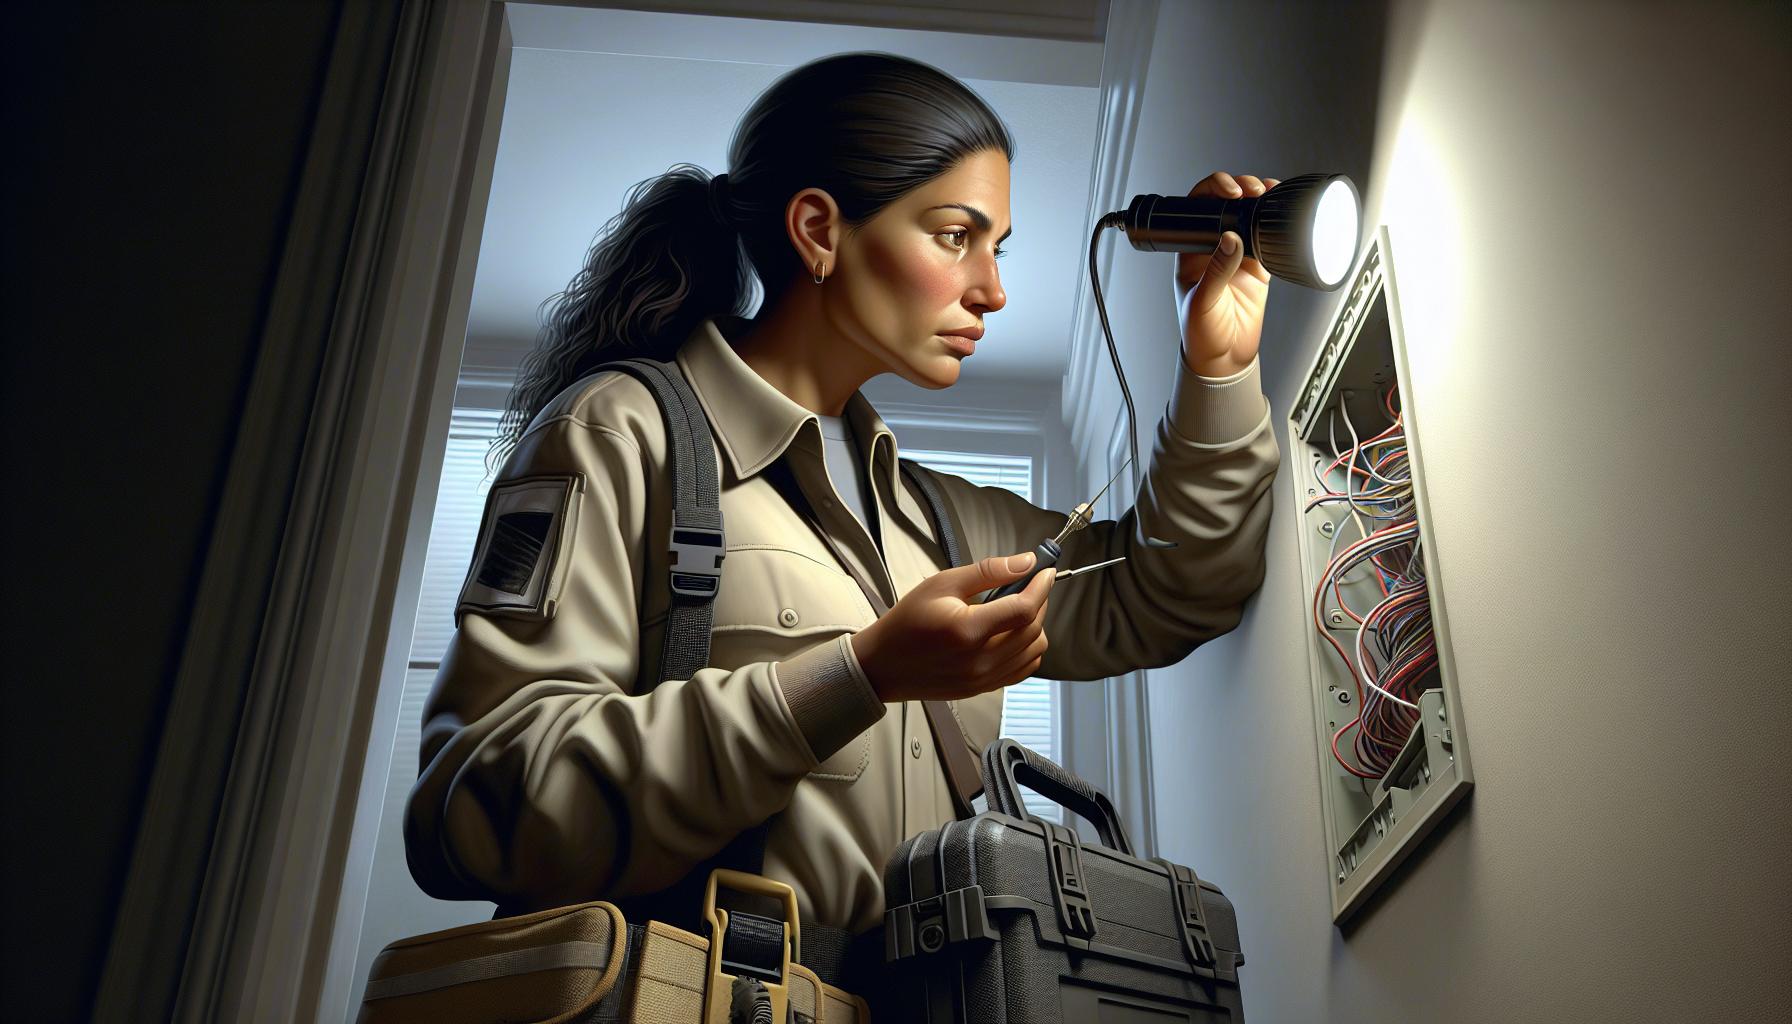
If you’ve tried the previous suggestions and your bulbs are still giving you trouble, don’t worry—there are more ways to diagnose the issue. As a light bulb connoisseur who delights in the brilliance of well-lit spaces, you know that persistence is key.
Examine the Light Fixture itself. Sometimes, the problem isn’t with the bulb but with the fixture. Check for any signs of damage, such as faulty wiring or worn-out sockets that may cause poor connections. Inspecting these can save you the hassle of unnecessary bulb replacements.
Dimmer Switch Compatibility is another area that’s often overlooked. If your fixture uses a dimmer, ensure that your bulbs are dimmable. Non-dimmable bulbs can exhibit all sorts of odd behaviors when paired with a dimmer switch, including flickering or failing entirely.
Have a look at your Circuit Breaker Panel as well. It’s possible that the issue is not with the bulb or the fixture but a tripped breaker or a faulty circuit. This is particularly true if you’re experiencing problems with other electrical devices in the same area of your home.
Remember to Test Your Bulbs in a different fixture, as well. If it works fine elsewhere, the trouble lies with the original fixture or socket.
- Keep the following tips in mind while troubleshooting:
Your quest for illumination might be tinted with trials, but it’s part of the journey to achieving the perfect ambiance for your home. As you apply these troubleshooting tips, you’ll effectively unravel the mystery behind your light bulb woes. Your passion for DIY projects will arm you with the patience and knowledge to light up every corner of your home precisely the way you desire.
Conclusion
You’ve got the tools to pinpoint whether it’s just a bad bulb or something more. Remember, persistence is key in troubleshooting your lighting issues. By following the steps you’ve learned, you’ll maintain that perfect ambiance in your home. Stay safe and light up your space with confidence!
Frequently Asked Questions
What could be causing my light bulb to dim?
Loose bulbs or connections, voltage fluctuations, incompatible dimmer switches, environmental factors, and physical damage to the bulb can cause dimming.
How can I tell if a flickering light bulb is a serious electrical issue?
Flickering may be a sign of a serious electrical issue if it’s persistent, affects multiple fixtures, or is accompanied by other electrical problems. Consulting a professional is recommended.
Why is it important to check the type of bulb when troubleshooting lighting issues?
Different types of bulbs have unique characteristics and may be compatible with specific fixtures or dimmer switches, affecting their performance.
What should I do if my light bulbs are consistently dim?
Check the bulb’s connection, ensure compatibility with the dimmer switch, examine the voltage levels, and look for physical damage. Test the bulb in another fixture to isolate the problem.
How can I safely troubleshoot a lighting issue?
Turn off power from the circuit breaker before inspecting electrical fixtures, and follow the manufacturer’s guidelines when handling bulbs and electrical components.
Can environmental factors affect the brightness of my lights?
Yes, factors like fluctuating temperatures, humidity, or vibrations can affect bulb performance and cause dimming.
What if the light bulb and fixture are in good condition, but issues persist?
Inspect your circuit breaker panel for any tripped breakers or signs of electrical faults, which may indicate a deeper electrical issue. Seek professional help if necessary.