Replacing light bulbs in high places can be a daunting task, especially when they’re situated in difficult-to-reach locations like vaulted ceilings or above staircases. The necessity for this arises not just in residential homes but also in commercial and public spaces where safety and functionality are paramount. The key to a successful and safe replacement lies in the understanding of the right tools and methods required for the job. Whether it’s the choice of a reliable ladder, the use of extension tools, or knowing when to seek professional help, ensuring that you’re fully prepared is crucial.

Safety should always be your top concern when dealing with electrical fixtures and elevated positions. Preparing the area by clearing any obstacles and ensuring the power supply is switched off before beginning are essential steps to prevent accidents. Investment in proper equipment cannot be overlooked, as it not only provides stability and ease during the replacement process but also ensures that the task is carried out efficiently without risking your well-being. Additionally, knowing the type of bulb and the fixture it will be seated in is significant to avoid repeated trips up and down.
Key Takeaways
- Use the correct equipment to reach high light fixtures safely.
- Turn off the power supply before replacing bulbs to ensure safety.
- Understand the bulb type and fixture for an efficient replacement.
Understanding the Basics
When you’re gearing up to replace light bulbs in high places within your home or workspace, it’s essential to understand the types of bulbs you’ll encounter and the specific tools and equipment needed for a safe and effective change.
Types of Bulbs
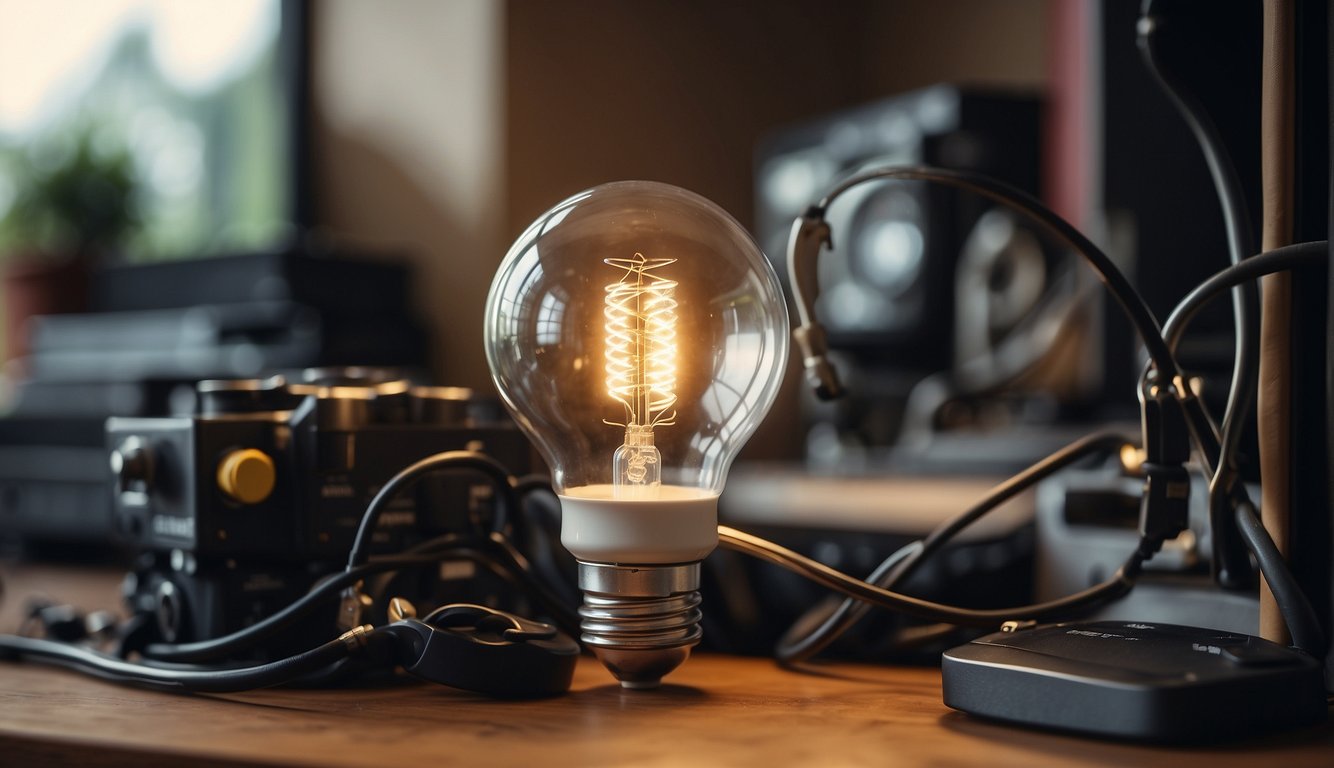
In high places, you’ll commonly find two types of bulbs: standard incandescent bulbs and energy-efficient options like LED or CFL. It’s important to know which type of bulb you need because the base and wattage may vary. Remember that some high ceiling fixtures use specialty bulbs, so always check the fixture or the old bulb for specifications before purchasing a replacement.
Tools and Equipment
To safely change a bulb in a high place, you must have the right tools and equipment:
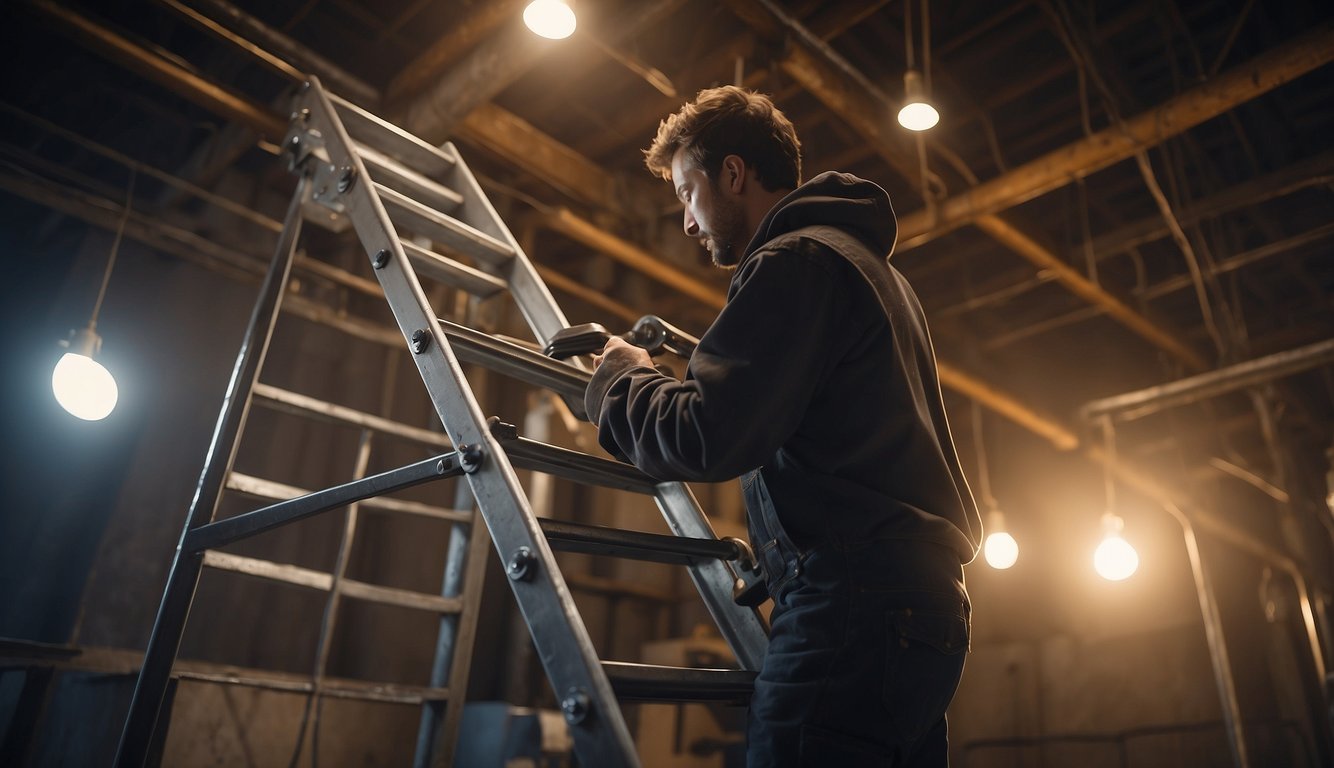
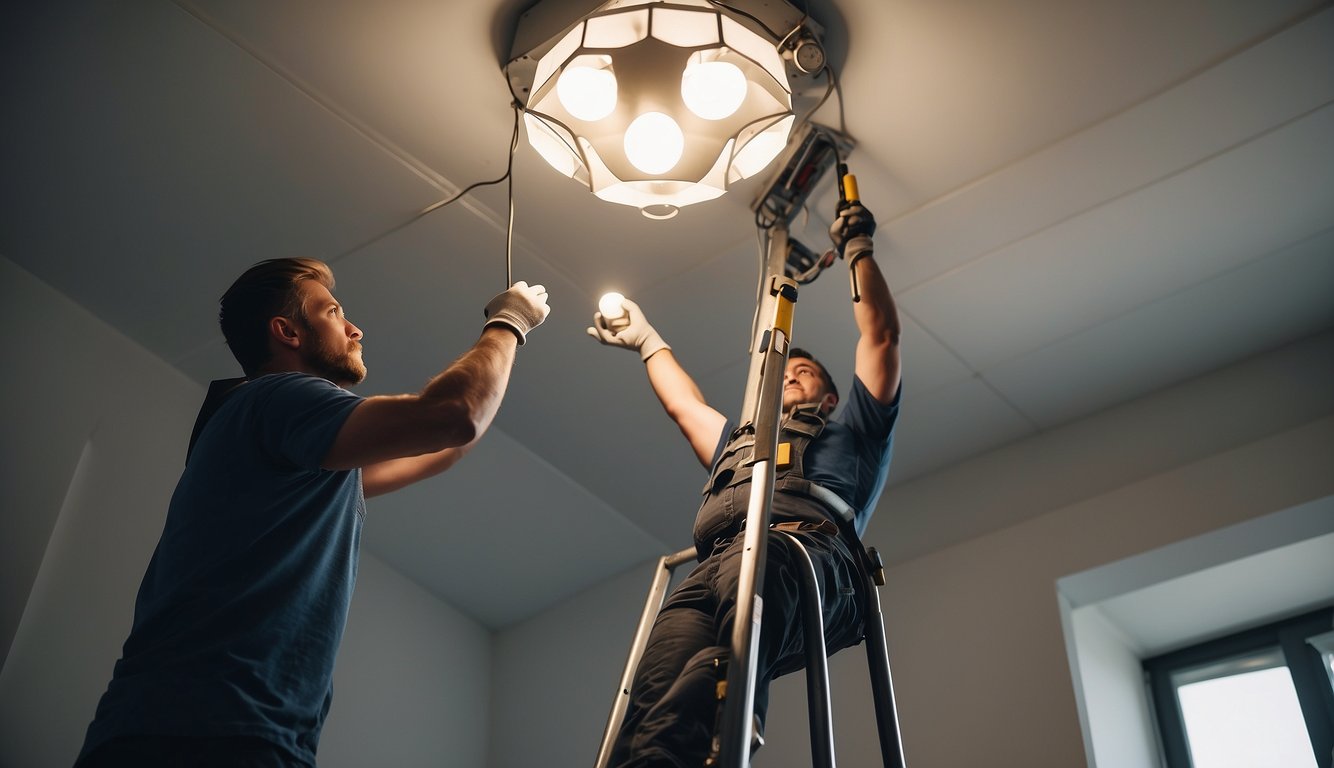
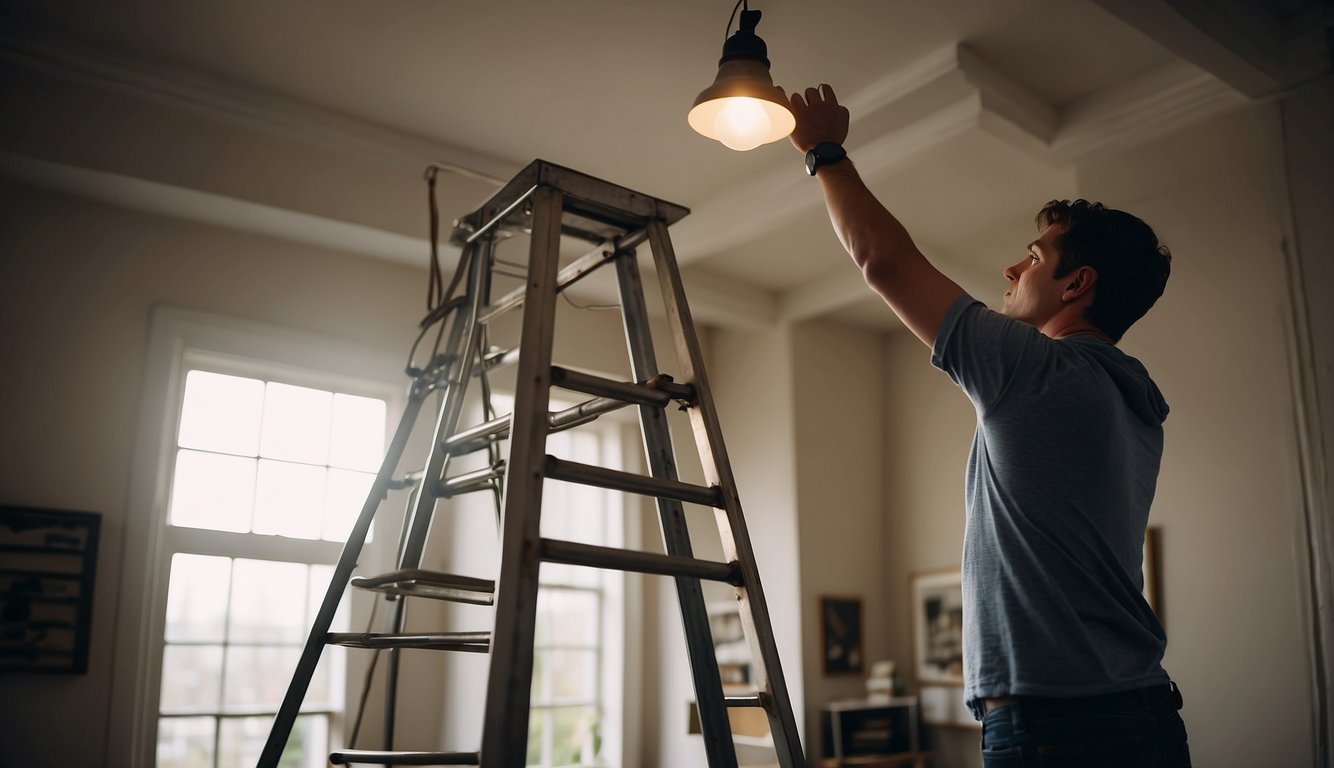
- Ladder: A sturdy ladder is non-negotiable. Ensure it’s tall enough for you to comfortably reach the bulb without stretching. If it’s a really high area, you might consider a step ladder that’s designed for stability at greater heights.
- Bulb Changer: If the ceiling is too high for a ladder, a bulb changer on a telescopic pole might be your best bet. Pick a lightweight but sturdy pole that can extend to the required height.
- Safety Equipment: Always prioritize your safety by wearing a helmet and ensuring the ladder is placed on a stable surface. If you’re not confident, it’s best to seek professional help.
Safety First
When dealing with high ceilings and light bulb replacement, your safety is paramount. This section will guide you through the essential preparation and precautions needed, along with how to handle electricity safely to prevent accidents.
Preparation and Precautions
Before attempting to change a light bulb in a high place, make sure to equip yourself with the right tools. A reliable ladder with non-conductive properties, such as one made of fiberglass, is a good choice. It’s important not to underestimate the risks involved; falls from height can be dangerous.
- Wear proper footwear with a grip to prevent slips.
- Use a sturdy ladder that reaches the required height comfortably.
- Always have someone spotting the ladder, ensuring it remains stable while you work.
Handling Electricity
Electricity poses a significant risk if not managed correctly. Turning off the power at the circuit breaker is a crucial step to avoid the potential fire hazard that comes with electrical work.
- Turn off the power: Ensure the power supply to the light fixture is off.
- Confirm power is off: Use a non-contact voltage tester to confirm.
- Wear protective gear: Donning rubber gloves provides an extra layer of protection against electrical shock.
Following these safety steps will greatly reduce your risk of injury. Keep in mind that safety always takes precedence over convenience.
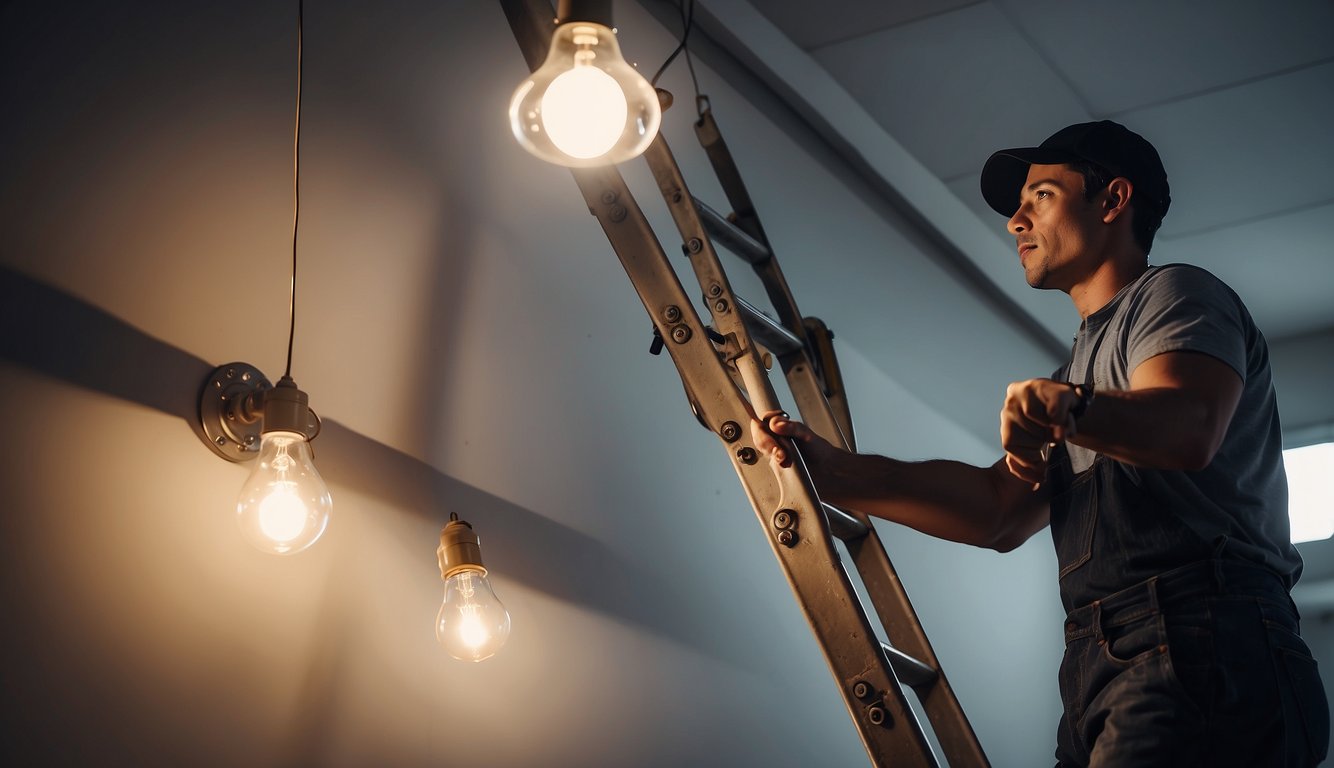
Choosing the Right Ladder
When you’re faced with the challenge of changing light bulbs in high places, selecting the right ladder is crucial for ensuring your safety and making the task easier.
Ladder Types
There are several ladder types to choose from depending on your specific needs:
- Step ladder: Best for reach within 4 to 6 feet higher than your arm’s length; often used for domestic tasks.
- Extension ladder: Ideal for reaching high ceilings; it extends to provide a tall ladder suitable for higher locations.
- Multipurpose ladder: Can be converted between a step ladder, an extension ladder, and sometimes even into scaffolding.
- Telescoping ladder: Compact for storage, it extends step by step to a variety of heights.
« Tips for Changing Light Bulb: A Quick and Safe Guide
Free Light Bulbs from Entergy: Brighten Your Home Economically! »
Choosing an appropriate high ceiling ladder involves evaluating the task and the height you need to safely reach your light bulbs.
Height and Stability
Your ladder must be tall enough to comfortably reach your workspace:
- For safety: Ensure the ladder extends at least 3 feet over the height you’re trying to reach.
- For stability: Look for ladders with wide bases or stabilizer bars.
If you need to reach a spot that’s more than a simple ladder’s height, a scaffold may be the safer option, providing a stable platform to work from. Remember to always ensure the stability before climbing, and never stretch beyond a comfortable reach when you’re on the ladder.
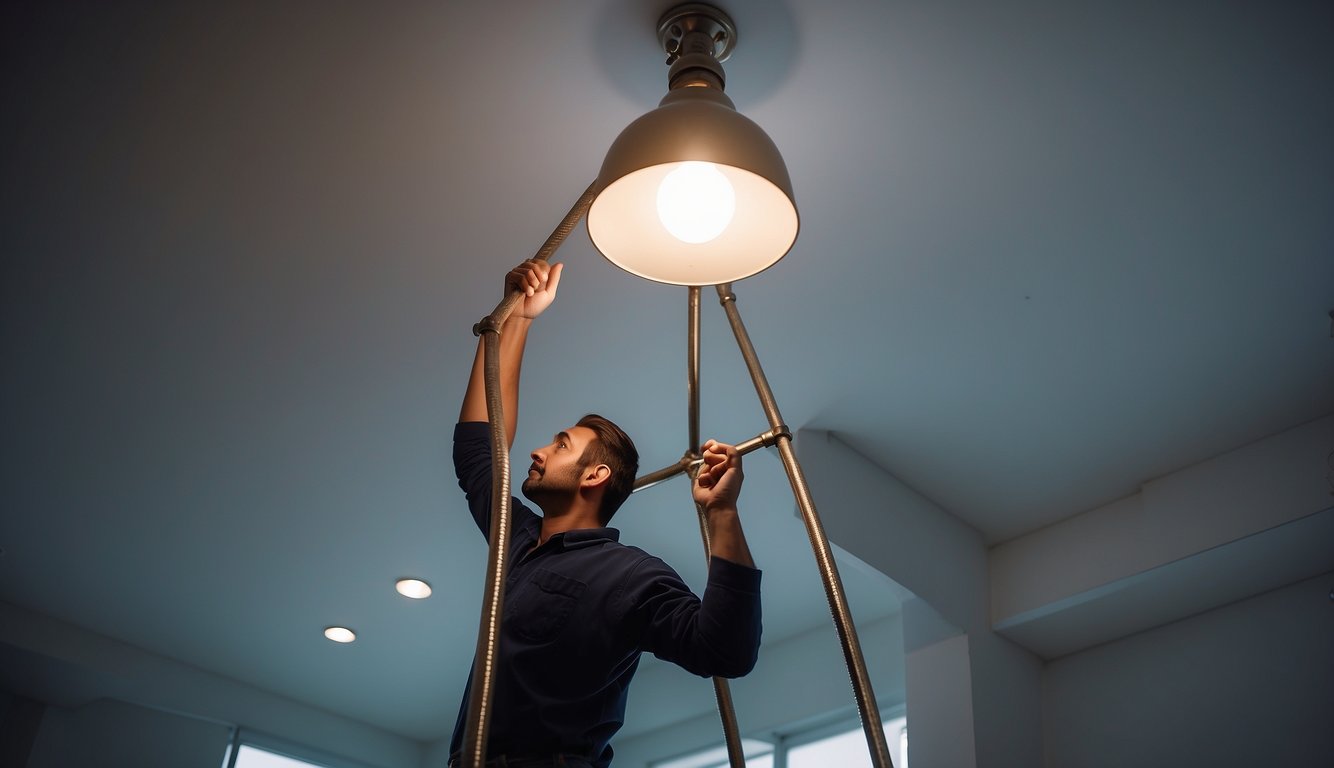
The Process of Changing Bulbs
Changing bulbs in high places can be challenging. However, with the right tools and technique, you can replace them safely and efficiently.
https://www.youtube.com/watch?v=BzcikClf1Yk&embed=true
Step-by-Step Guide
- Safety First: Before you start, ensure the power source to the bulb is turned off to prevent electric shock.
- Gather Your Tools: You’ll typically need a sturdy ladder, a bulb grabber, and perhaps gloves for a better grip.
- Position the Ladder: Place your ladder so that you are able to reach the bulb easily without stretching. Your ladder should be stable on the ground.
- Removing the Old Bulb: Use your bulb grabber to loosen the bulb by turning it counterclockwise, then pull it downward to remove.
- Installing the New Bulb: With the new bulb attached to the bulb grabber, insert it into the socket and twist clockwise until secure.
- Check Your Work: Turn the power back on and switch the light on to ensure your new bulb works properly.
Removing Broken Bulbs
If you encounter a broken bulb, wearing gloves is essential to protect your hands from sharp edges. If the bulb is shattered and only the base remains:
- Switch Off Power: Always start by turning off the electricity to that fixture.
- Use a Potato: A common household method is to use half a potato. Push the soft side into the broken base and twist counterclockwise to unscrew it. This method allows you to avoid direct contact with jagged glass.
Special Considerations
When replacing light bulbs in high places, your safety and the right equipment are paramount. Consider the type of fixture and the height of the ceiling to choose the best method for replacement.
High Ceilings
For any ceiling above the standard 8 to 9 feet, such as ceilings 12 feet high or more, ladders and extension poles are commonly used. Ensure the ladder you choose is stable and reaches at least 3 feet above the height of the bulb to replace it safely. If you’re using an extension pole, it should have the appropriate suction cup attachment to grip and twist the bulb.
- Tools for High Ceilings:
- Ladder: Sturdy, with sufficient height
- Extension Pole: Long enough, with a suction cup attachment
Chandeliers and Recessed Lighting
With chandeliers, you’ll need to be cautious due to their design and how they hang. Always switch off the power before attempting to change any bulbs. For recessed lighting, the challenge lies in reaching the light fixture without damaging the surrounding area. Use a pole with a suction cup designed for recessed lighting to prevent scratches and to handle bulbs efficiently.
- Approach for Chandeliers and Recessed Lighting:
- Chandeliers: Turn off power, carefully access each bulb
- Recessed Lighting: Use a pole with a specialized suction cup attachment
When to Call a Professional
When dealing with light fixtures in high ceilings or complicated installations, it’s often safer and more efficient to seek professional help.
Electrician’s Role
If your high ceiling light bulb is situated more than 20 feet above the ground or if you notice flickering, buzzing noises, or dimness, it’s best to contact an electrician. Electricians possess the necessary ladders, tools, and experience to safely make the change. Moreover, they can assess if there’s an underlying electrical issue that needs addressing, such as faulty wiring.
To change a light bulb in a location that’s difficult to reach, hiring a professional like The Bulb Guys may save you time and prevent potential accidents.
Consulting with an Architect
In certain cases, especially when the design of your home involves high or inaccessible lighting, consulting an architect may be necessary. An architect can provide guidance on the installation of fixtures that allow for easier bulb replacement in the future, such as recommending lighting systems with remote-controlled capabilities.
When the structure of your home complicates bulb replacement, such as with specialty light fixtures or integrated lighting designs, an architect’s insight can ensure that any changes made are both functional and in harmony with your home’s aesthetic. It may involve the selection of specific tools or modifications suggested by professionals like Home Inspection Geeks, who understand the intersection of design and utility.
Advanced Tools and Aids
When you’re ready to tackle those hard-to-reach light bulbs, having the right tools can make the job both easy and safe. Let’s explore some advanced tools that can help you replace bulbs in high places with minimal hassle.
Bulb Changing Poles
Bulb changing poles, or light bulb changers, are an essential aid for safely replacing bulbs without the need for a ladder. These poles come in various lengths, some reaching 20ft or more, allowing you to keep your feet on the ground. They usually feature adjustable heads that can fit different bulb shapes and sizes. For example, some changers have suction cups for flat bulbs, while others have prongs for gripping round bulbs more effectively.
Pros:
- Increases reach
- Minimizes fall risks
- Can be used for different bulb types
Cons:
- Requires some dexterity to maneuver
- Not all poles work with all ceiling heights or bulb types
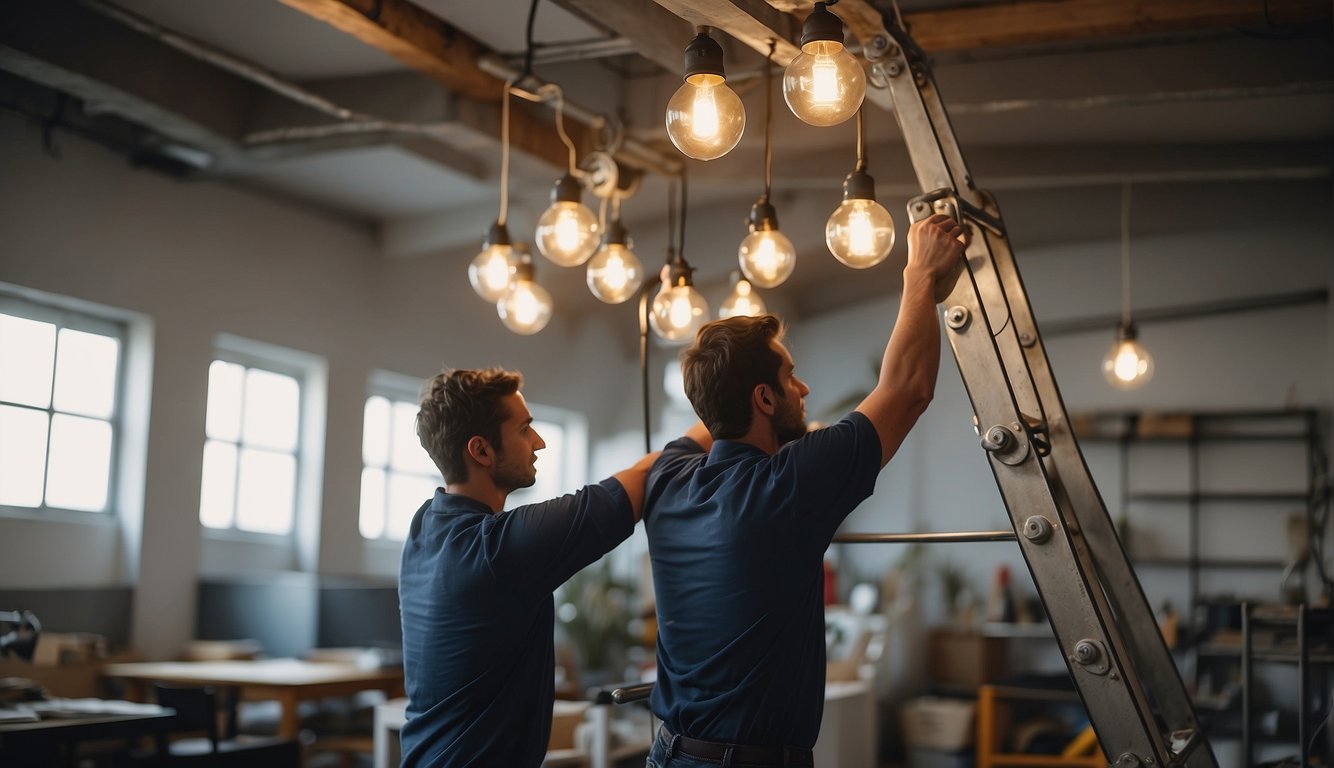
Platform and Scaffold Systems
When you have multiple bulbs to change in a high ceiling or an area with difficult access, using a scaffold or platform system might be the answer. These systems provide a sturdy, level surface for you to stand on, allowing a more stable base especially when changing multiple bulbs. For high and vaulted ceilings, a motorized platform might be available, making the task simpler and quicker.
Advantages:
- Stability and safety for extended periods
- Ideal for commercial or industrial settings
- Suitable for complex projects beyond just changing bulbs
Drawbacks:
- Takes time to set up
- Typically more expensive than other options
- Requires storage space when not in use
Remember, while these tools can greatly assist you, always prioritize safety by following manufacturers’ instructions and using protective equipment when necessary.
Choosing Bulbs
https://www.youtube.com/watch?v=TAQmW8a5RqU&embed=true
When you’re looking to replace light bulbs in high places, it’s important to consider both the wattage for energy consumption and efficiency, as well as the type of bulb that will best suit your needs. LED options have become widely popular due to their longevity and energy savings.
Wattage and Efficiency
Wattage refers to the amount of energy a light bulb uses. Historically, higher wattage meant a brighter bulb, but with the advent of energy-efficient lighting, such as LED bulbs, this is no longer the case. You should look for bulbs that provide the desired brightness (measured in lumens) without consuming a high amount of energy. For high ceilings, it’s particularly important to choose bulbs that won’t require frequent replacements, thereby lowering your energy consumption and saving you both time and money in the long run.
LED Options
LED options are ideal for high places because they last longer and use less energy than traditional incandescent bulbs. While standard LED light bulbs are versatile for common fixtures, specialty bulbs like candelabra and chandelier bulbs are available if your fixture calls for a more decorative or unique shape. LED bulbs come in a range of brightness levels and temperatures, allowing you to achieve the perfect ambiance for your space. Remember to check the base size, like E27 or E14, to ensure the new bulb fits your fixture.
Light Fixtures and Attachments
https://www.youtube.com/watch?v=P1–ItreK0c&embed=true
When tackling the task of changing light bulbs in high ceilings, it’s important to consider the type of light fixture and the specific attachments needed for safety and efficiency.
Ceiling Fans
Ceiling fans often have lights that require a delicate touch when replacing bulbs due to their dual function and movement. Using a telescopic pole with a bulb gripper attachment can help you reach and securely change bulbs without the need for a ladder.
- For globed fans: Ensure you first remove the globe safely, often secured by screws or a twist-off mechanism, before you attempt to replace the bulb.
- For open bulb fans: You can directly use the bulb changer attachment to unscrew the old bulb and screw in the new one. Be sure to steady the fan blades to avoid damage.
Unique Fixtures
Chandeliers and other unique fixtures can pose a challenge due to their intricate designs and hard-to-reach bulbs. Approach these with tools that cater to their specific needs.
Suction cup kits: Ideal for smooth bulb surfaces typically found in chandeliers. Make sure your telescopic pole is extended to the appropriate length before you start.
Claw-style changers: Best for odd-shaped bulbs that can’t be gripped by suction.
Remember to always turn off the power to your light fixture before attempting any bulb changes. Safeguard your floors and furniture below against possible falling debris.
- For heavy glass shades: It’s essential to use a sturdy ladder and have a spotter for additional safety. Consider this especially for changing bulbs in intricate chandeliers.
- Fixture height: Assessing the height of the ceiling and selecting the right length of your pole is crucial.
By understanding the light fixture type and which attachments are best suited for each, you can replace bulbs in high places both safely and efficiently. Remember, the right tools make all the difference.
Maintaining Your Equipment
https://www.youtube.com/watch?v=KcVc-WmMOOY&embed=true
When it comes to replacing light bulbs in high places, maintaining your equipment is crucial for both safety and efficiency. Proper care ensures that your tools are always ready when you need them.
Ladder Care
Inspection: Before each use, thoroughly check your ladder for any signs of wear or damage. Look for cracks, loose parts, or corrosion. Make sure all locks and hinges function properly.
Cleanliness: Keep the ladder clean and free from any debris, oils, or slippery substances. Wipe down the rails and steps regularly to avoid slippage.
Storage: Store your ladder in a cool, dry place to prevent any weathering or rust. Avoid hanging heavy objects on the ladder during storage, as this may warp the frame over time.
Accessory Storage
Gloves and Bulb Grabber:
- Store your gloves and bulb grabber in a designated spot where they will stay clean, dry, and ready for use.
- Conduct routine checks on these accessories for any signs of degradation or malfunction.
Equipment Organization:
- Organize your equipment in a manner that allows for easy access. Use hooks or bins to keep bulb grabbers and gloves separate from other tools.
- Label the storage areas, so you can quickly find the right equipment for the job at hand.
DIY Tips and Tricks
https://www.youtube.com/watch?v=fAS0lgBKMAM&embed=true
Changing light bulbs in high places doesn’t have to be a daunting task. With the right approach and tools, you can do it safely and efficiently.
Alternative Bulb Removal Methods
For those hard-to-reach bulbs, a grabber tool can be a game-changer. It’s like an extension of your hand that securely grips and unscrews the bulb without the need for a ladder. Alternatively, if you’re dealing with a smooth-surfaced bulb, consider using a suction cup apparatus. This handy device can attach to the bulb, allowing you to control it from the ground. Just press the suction cup onto the bulb and twist – it’s that simple.
Grabber Tool:
- Pros: Provides a good grip, adjustable length.
- Cons: May not work on all bulb shapes.
Suction Cup:
- Pros: Strong adherence to smooth-surfaced bulbs.
- Cons: Effective only on certain types of bulbs.
Homeowner Considerations
As a homeowner, you need to consider the safety and appropriateness of the tools you choose. For wooden fixtures or delicate lighting, you want to ensure that the bulb changing tool you use won’t damage the surroundings. When selecting a grabber or suction cup, look for features that protect your fixtures, such as padded grips or rubber suction areas. Remember, the right tool not only prevents accidents but also helps maintain the integrity of your home’s aesthetics.