Ever found yourself staring at a broken light bulb, wondering how to tackle the tiny shards without turning your hand into a pincushion? It’s a common dilemma, but don’t worry, you’re not alone. Dealing with broken bulbs can be tricky, but with the right approach, you’ll have it out in no time.

You might think it’ll take a toolbox full of gadgets to get rid of that shattered bulb, but you’ll be surprised at how simple it can be. Ready to light up your know-how and keep those fingers safe? Let’s get started on a bright solution to that broken bulb problem.
Why it’s important to properly dispose of broken light bulbs
As someone who’s passionate about DIY projects and lighting, you’re likely no stranger to the occasional broken bulb. But when this happens, it’s crucial to handle the situation with care. Broken light bulbs can pose several risks, not just to you but to your environment as well.
First off, many light bulbs contain potentially harmful substances, such as mercury, which is present in compact fluorescent lamps (CFLs). If not disposed of correctly, these substances can leak into the environment and contaminate it, posing a threat to wildlife and water sources. Proper disposal ensures these materials don’t harm our ecosystem.
Next, consider the safety of your household. Broken glass from light bulbs can be sharp and dangerous. If left improperly cleaned up or disposed of, someone might inadvertently step on a shard and get injured. Especially if you have kids or pets, it’s your responsibility to make sure your home remains a safe space.
Furthermore, there’s the recycling aspect. While not all parts of a broken light bulb can be recycled, many components can be. By correctly disposing of broken light bulbs, you’re ensuring that recyclable materials don’t end up in landfills where they take up space and contribute nothing back to the environment.
To keep things on track, remember to:
- Check local disposal regulations for light bulbs
- Separate recyclable components if possible
- Use appropriate containers for broken shards to prevent harm
Handling broken light bulbs might not be anyone’s favorite chore, but your diligence ensures you’re doing your part for the planet and keeping your home safe. Your expertise in home DIY and lighting should come with the wisdom that goes beyond installation and maintenance. It’s about ensuring that the lifecycle of every bulb in your home is respected, right up until its proper disposal.
Safety first: steps to take before removing a broken light bulb

Before you tackle the task of removing that busted bulb, it’s essential to prioritize safety. As someone who’s both DIY-savvy and a lighting aficionado, I’ve seen my share of tricky situations. But with the right prep, you’ll handle it like a pro.
Turn off the power at the circuit breaker or light switch to the area with the broken bulb. This step is non-negotiable to prevent any risk of electrical shock. There’s nothing more important than your safety.
Grab some protective gear. You’ll need:
- Gloves to shield your hands from sharp edges
- Safety glasses to protect your eyes from any small flying glass particles
It’s better to wear old clothing as well, since you don’t want tiny glass shards sticking to your favorite shirt. After all, even a tiny splinter can cause a big problem.
Clear the area around the broken bulb. You don’t want to step on any remnants of glass, nor do you want them embedded in your carpet or hardwood floors. Sweep up what you can see, but remember, some pieces are going to be too small to spot with the naked eye.
If you’re dealing with a broken CFL or another type of fluorescent bulb, open a window to ventilate the room for at least 15 minutes. These bulbs contain a small amount of mercury, and while it’s a tiny amount, airing out the room is a wise precaution.
« How to Get Rid of Light Bulbs UK: The Ultimate Disposal Guide
Are Full Spectrum Light Bulbs Good for You? Unlock the Pros and Cons »
Once you’ve set the scene for a safe removal, you’re ready to move on to the actual taking-out process. Remember, even though you’re well-protected and the power’s off, remain cautious. It’s the attention to these details that helps ensure you can continue to enjoy your DIY projects and lighting endeavors, incident-free.
Tools you’ll need to safely remove a broken light bulb
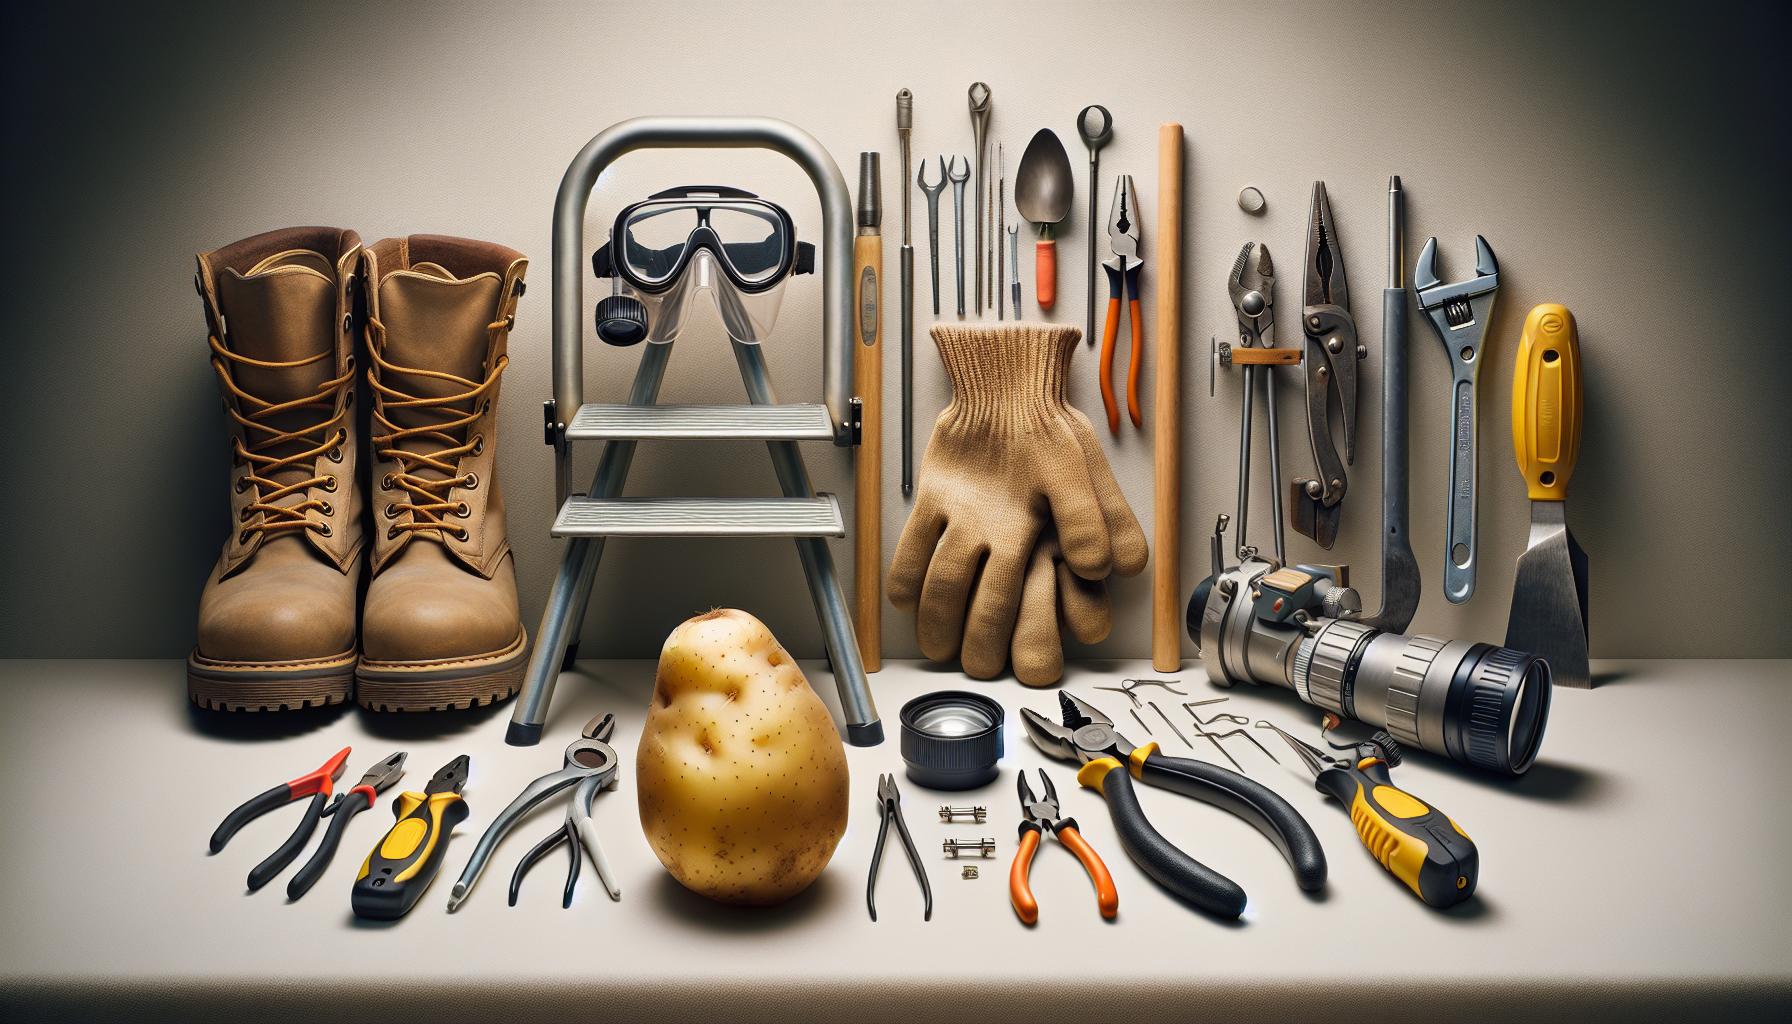
Before diving headfirst into your DIY project, it’s crucial to gather the right tools. Removing a broken light bulb without the appropriate equipment is not just a hassle; it’s a safety hazard. To get started, you’ll need a few specific items that’ll help you tackle the job with confidence.
First and foremost, grab a pair of heavy-duty gloves. These will protect your hands from sharp edges. Opt for gloves with a good grip to ensure you can handle pieces without slipping. You don’t want to add insult to injury by dropping what’s left of the bulb or slicing your skin.
Next, eye protection is non-negotiable. Whether it’s safety goggles or glasses, make sure they fit snugly to shield your eyes from any tiny glass fragments that could spring loose. Remember, your eyes are as precious as the vintage lamp you’re trying to fix.
For the actual removal, a pair of needle-nose pliers will be your best friend, especially if the base of the bulb is still in the socket. They allow you to carefully twist out the remains without putting your fingers at risk. If dealing with a bulb shattered to bits, a stiff piece of cardboard or heavy-duty tape can help collect the remnants.
You may also need:
- A flashlight – to help you see any small shards or the fixture details.
- A sturdy step stool or ladder – if the light fixture is out of reach. Ensuring it’s stable is critical for preventing falls.
And for an often-underestimated yet brilliant tool, consider a potato. Yes, you read that right. In a pinch, a large potato can act as a crude yet effective means for removing a broken bulb base. You’ll just need to press the cut side into the socket and twist gently.
Equipped with these tools, you’ll be set to tackle the removal of those pesky broken bulbs. Remember, thorough preparation leads to safer, more efficient work – and gets those lights shining bright again in no time.
Step-by-step guide to removing a broken light bulb

Now that you’ve taken all the necessary precautions, you’re ready to tackle the task of removing the broken bulb. Your safety gear should be on, and the power should be shut off. Let’s get into the details.
First things first, create a stable base. If the broken bulb is in a ceiling fixture, set up your step stool or ladder. Ensure it’s on a flat surface so you don’t wobble or lean unsafely while reaching up.
Next, with your heavy-duty gloves on, grasp the base of the bulb. Try to twist it gently counterclockwise. If the bulb isn’t budging, that’s where your needle-nose pliers come in. Open the pliers and insert the tips into the base of the bulb. Now, you’ll want to twist. Remember to go slowly to maintain control and prevent any further breakage.
In the event your broken bulb refuses to cooperate and the base remains obstinately in place, rely on the humble spud – yes, a potato! Cut the potato in half and gently press one piece onto the bulb’s broken end. Now you have a makeshift handle. Twist counterclockwise until the remnants of the bulb come loose. The potato will grip the jagged edges, giving you a bit more leverage.
Once the remains of the bulb are out, carefully dispose of all the pieces. Consider using an old cardboard box or several layers of newspaper to gather up the shards and remnants. Seal them away and label the container, so everyone knows it contains sharp objects.
Finally, return to your workspace and clean any remaining glass. A vacuum cleaner can be handy here to ensure all small particles are picked up. Double-check the area once you’re done; it’s easy to overlook those tiny pieces that could cause trouble later.
Remember, lighting projects are a journey – every light brings warmth and character to your home. Your diligence ensures each fixture’s longevity as well as your own safety. With the broken bulb now just a memory, you’re free to choose the next bright addition to your home’s ambiance.
How to clean up broken glass and debris from a broken light bulb
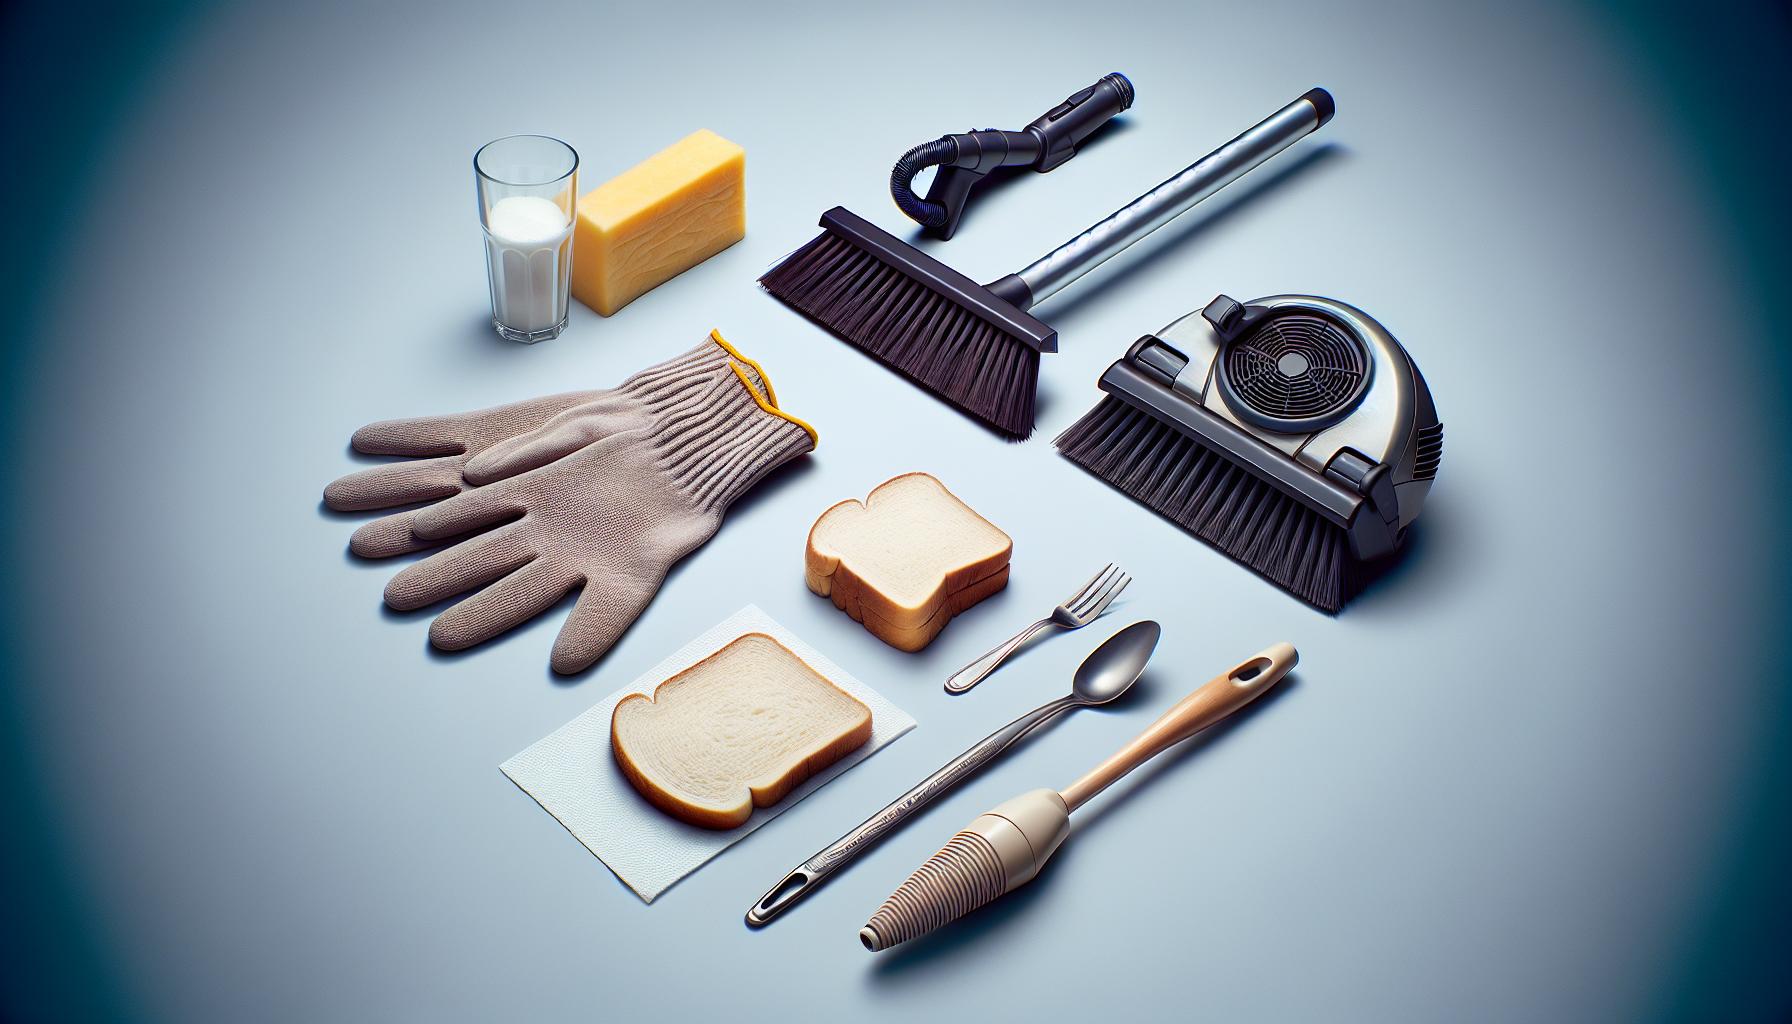
Cleaning up after a light bulb has shattered may seem daunting, but safety is paramount. Begin with clearing the area, ensuring that pets and children are out of reach. Before you proceed, make sure you’re wearing sturdy gloves to protect your hands from sharp edges.
Next, gather the larger pieces of glass. Use a broom and dustpan, and be meticulous. It’s often the smaller shards that are easily overlooked and can cause injury later on.
For those minuscule pieces that refuse to be swept up, a slice of bread or a damp paper towel can work wonders. The soft surface acts like a magnet, picking up tiny fragments without risking your fingers. Simply press it gently over the area where the glass broke and watch the shards stick to it.
When you’ve managed to collect all the visible pieces, consider using a vacuum cleaner for any remaining, almost invisible debris. Switch to a nozzle attachment for better precision, especially around where the bulb broke. This helps ensure that even the tiniest pieces don’t go unnoticed.
Once you’re satisfied that you’ve picked up all the glass, dispose of it appropriately. Remember that broken glass cannot be recycled with regular glass items, as it poses a hazard. Safety dictates that you should wrap the broken pieces in something durable, like newspaper or an old towel, and then place them in a sealed bag or a box. Label it as broken glass to alert sanitation workers.
Finally, wipe down the surface around the light fixture. You’ll want to eliminate any lingering dust or debris that could affect your lighting projects in the future. A clean workspace is a safe one, and when it comes to lights, a safe installation is the best kind.
Eco-friendly ways to dispose of broken light bulbs
After you’ve handled the broken light bulb safely and cleaned up the immediate mess, it’s time to think about the environment. Broken bulbs shouldn’t just be tossed into the trash—certain types contain materials that can be harmful if not disposed of correctly.
For instance, fluorescent bulbs, including those curly compact fluorescent lamps (CFLs), contain a small amount of mercury. Mercury is a potent neurotoxin that’s particularly damaging to children and unborn babies. To avoid any potential harm, it’s essential you dispose of these bulbs in a way that won’t release mercury into the environment.
Here’s what you should do:
- Locate a recycling center: Many hardware and home improvement stores offer recycling services for CFLs and other bulbs. Use resources like Earth911.com to find a recycling center near you.
- Use original packaging: If possible, place the broken bulb in its original packaging or another secure container to prevent further breakage and contain any hazardous materials.
- Hazardous waste facilities: For bulbs that can’t be recycled at stores, check for local hazardous waste collection events or facilities that accept these items.
LED bulbs are another story. They don’t contain mercury, but they do have metals and electronic parts that shouldn’t end up in a landfill. Recycling IS possible for LED bulbs, and it’s the best way to ensure the parts get reused or disposed of safely.
- Manufacturer take-back programs: Some LED bulb manufacturers offer take-back services, so look into those options.
- Community collection drives: Keep an eye on community boards or websites for electronic waste collection days, which often include LED bulb disposal.
Once you have your bulbs packaged and ready for disposal, check your local government or waste management service for specific guidelines. They might have certain days for hazardous waste collection or drop-off sites where you can bring your bulbs.
Remember, when it comes to light bulb disposal, there’s a right way to do it. You’re not just clearing up a mess; you’re also taking an important step to protecting our planet. Each bulb you recycle is one less item that could cause harm to our environment.
Conclusion
You’ve now got all the tools you need to tackle that broken light bulb without a hitch. Remember, safety first—protect yourself and then proceed with the cleanup. When it’s time to say goodbye to those fragments, do your part for the planet by choosing the right disposal method. Whether it’s a trip to the recycling center or a local collection drive, you’re making a difference. And don’t forget to check what your community recommends; staying informed means staying responsible. Here’s to bright, safe, and eco-friendly solutions in your home!
Frequently Asked Questions
How do you safely remove a broken light bulb?
To remove a broken light bulb, first ensure the power is turned off. Use gloves to protect your hands and, if available, use needle-nose pliers to twist out the base of the bulb counterclockwise. Proceed with caution to avoid injury.
What is the best way to clean up broken glass from a light bulb?
Sweep up larger pieces of glass with a broom, then use heavy-duty tape to pick up smaller shards. As an alternative, a damp paper towel can help capture tiny pieces of glass. Always wear protective gloves during cleanup.
How should you dispose of broken light bulbs that contain mercury?
Broken bulbs containing mercury should be taken to a recycling center or hazardous waste facility for proper disposal. Do not dispose of these in regular household trash to prevent environmental contamination.
Can LED bulbs be recycled?
Yes, LED bulbs can be recycled. Many manufacturers have take-back programs, and some communities offer collection drives. Check with your local recycling guidelines for specific disposal options.
What should you follow when disposing of light bulbs to protect the environment?
Always follow local government guidelines for light bulb disposal. These regulations are in place to protect the environmental integrity and public safety regarding waste management and recycling efforts.


