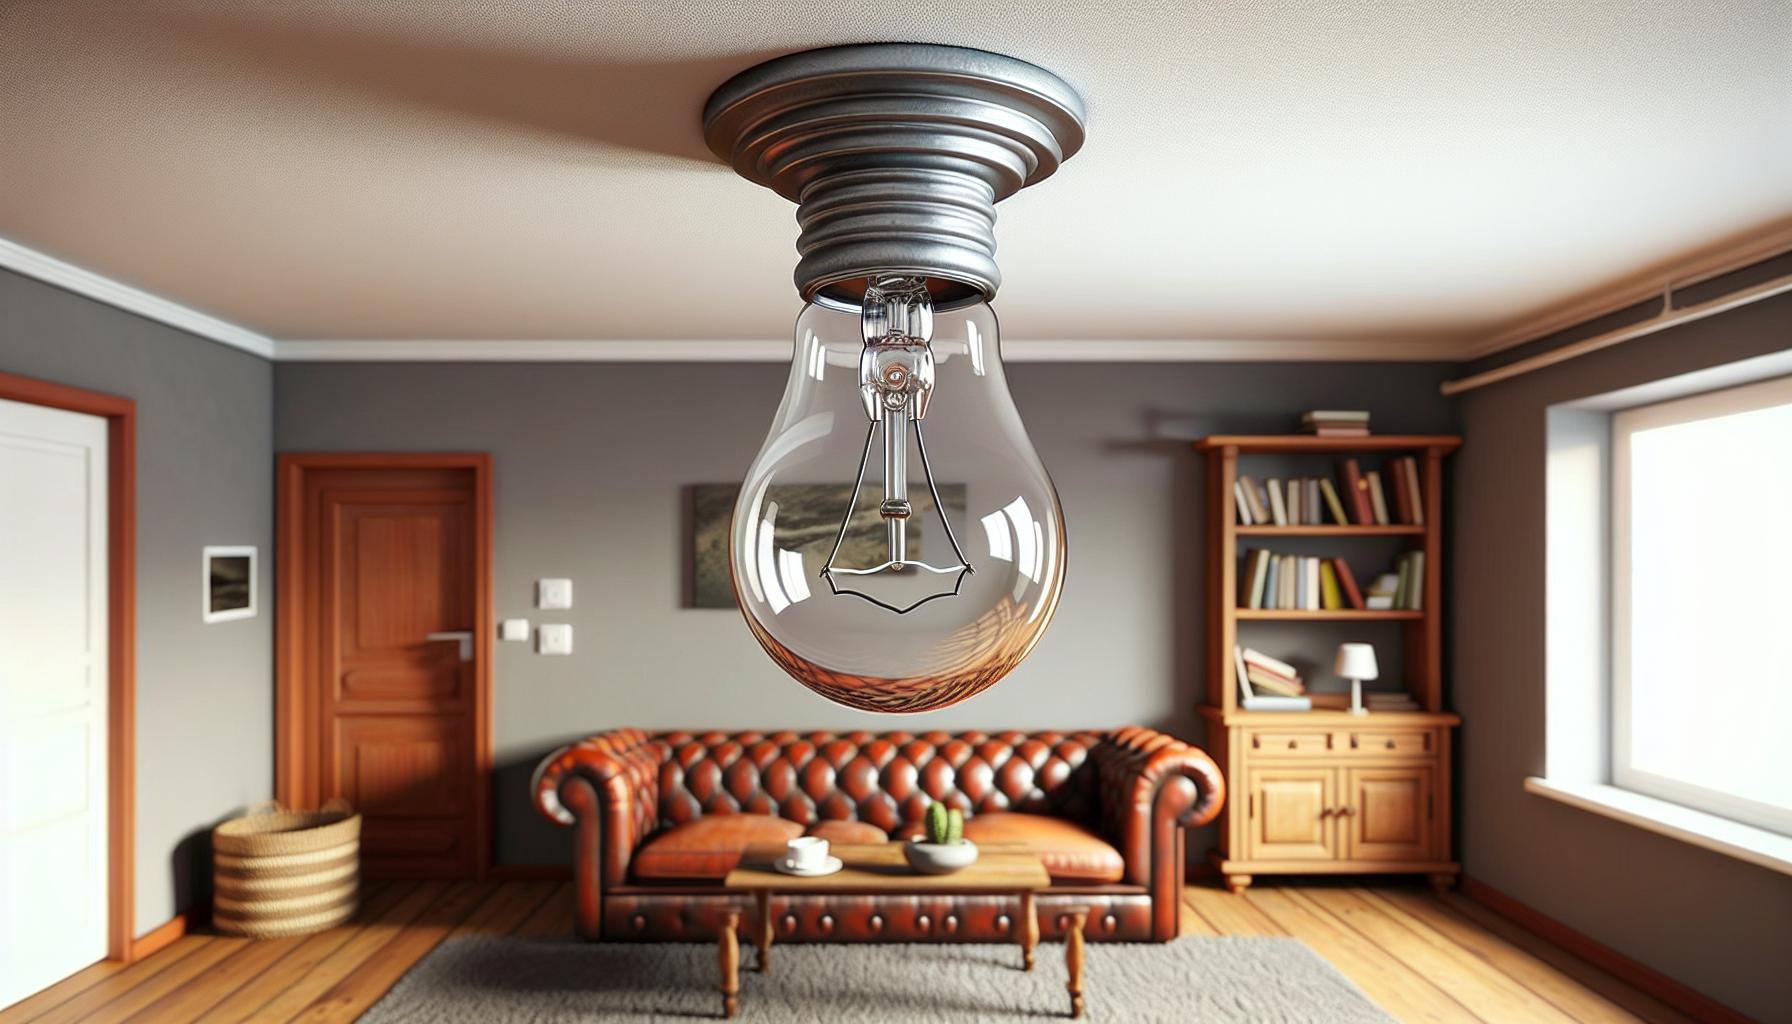
Ever walked into a room expecting a burst of light but got a lackluster glow instead? You’re not alone. Many of us have faced the puzzling scenario of a dim light bulb, leaving us squinting and scratching our heads. It’s a common issue, but what’s behind that disappointing dullness?

Before you resign yourself to a life of dimly lit rooms, it’s worth diving into the possible causes. From power issues to the age of your bulb, there are a handful of reasons your lights aren’t shining as bright as they could be. Let’s shed some light on this dim bulb dilemma and get your space glowing again.
Incorrect Bulb Wattage
In your journey to brighten up your space, it’s crucial to ensure that the light bulb wattage matches the specifications of your lighting fixture. Oftentimes, using a bulb with lower wattage than what’s recommended can result in a dimmer ambiance than you were hoping for.
Imagine a bulb like a performer, and your fixture as the stage—it’s essential for the performer to match the stage’s settings. Similarly, when the bulb’s power is too low for the fixture, it’s like watching a play with the main spotlight only half-lit. Your room doesn’t get the brilliance it deserves, and your bulb doesn’t get to shine at its full potential.
Always check the fixture’s max wattage, typically found on a label or sticker near the socket. This is the top wattage that fixture can safely handle without overheating. Here’s a little cheat sheet:
- Ceiling fixtures often support 60-75 watts.
- Table lamps generally accommodate 25-60 watts.
- Outdoor lighting varies but can usually take 40-75 watts.
Using the correct wattage ensures that your fixture and bulb are in harmony, providing the best lighting for your space. Moreover, the right wattage can prevent potential hazards while also maximizing your bulb’s lifespan.
Consider LED Bulbs: If you’re experiencing dim lighting with correct wattage, switching to LED bulbs can be a bright idea. They’re designed to provide more lumens per watt, meaning they shine brighter without increasing energy consumption.
Remember the golden rule of lighting: it’s not just about the bulb but also ensuring it’s the perfect partner for your fixture. With a bit of attention to those labels and specifications, you’ll not only save energy but also cast the ideal glow in your home.
Dimmer Switch Issues
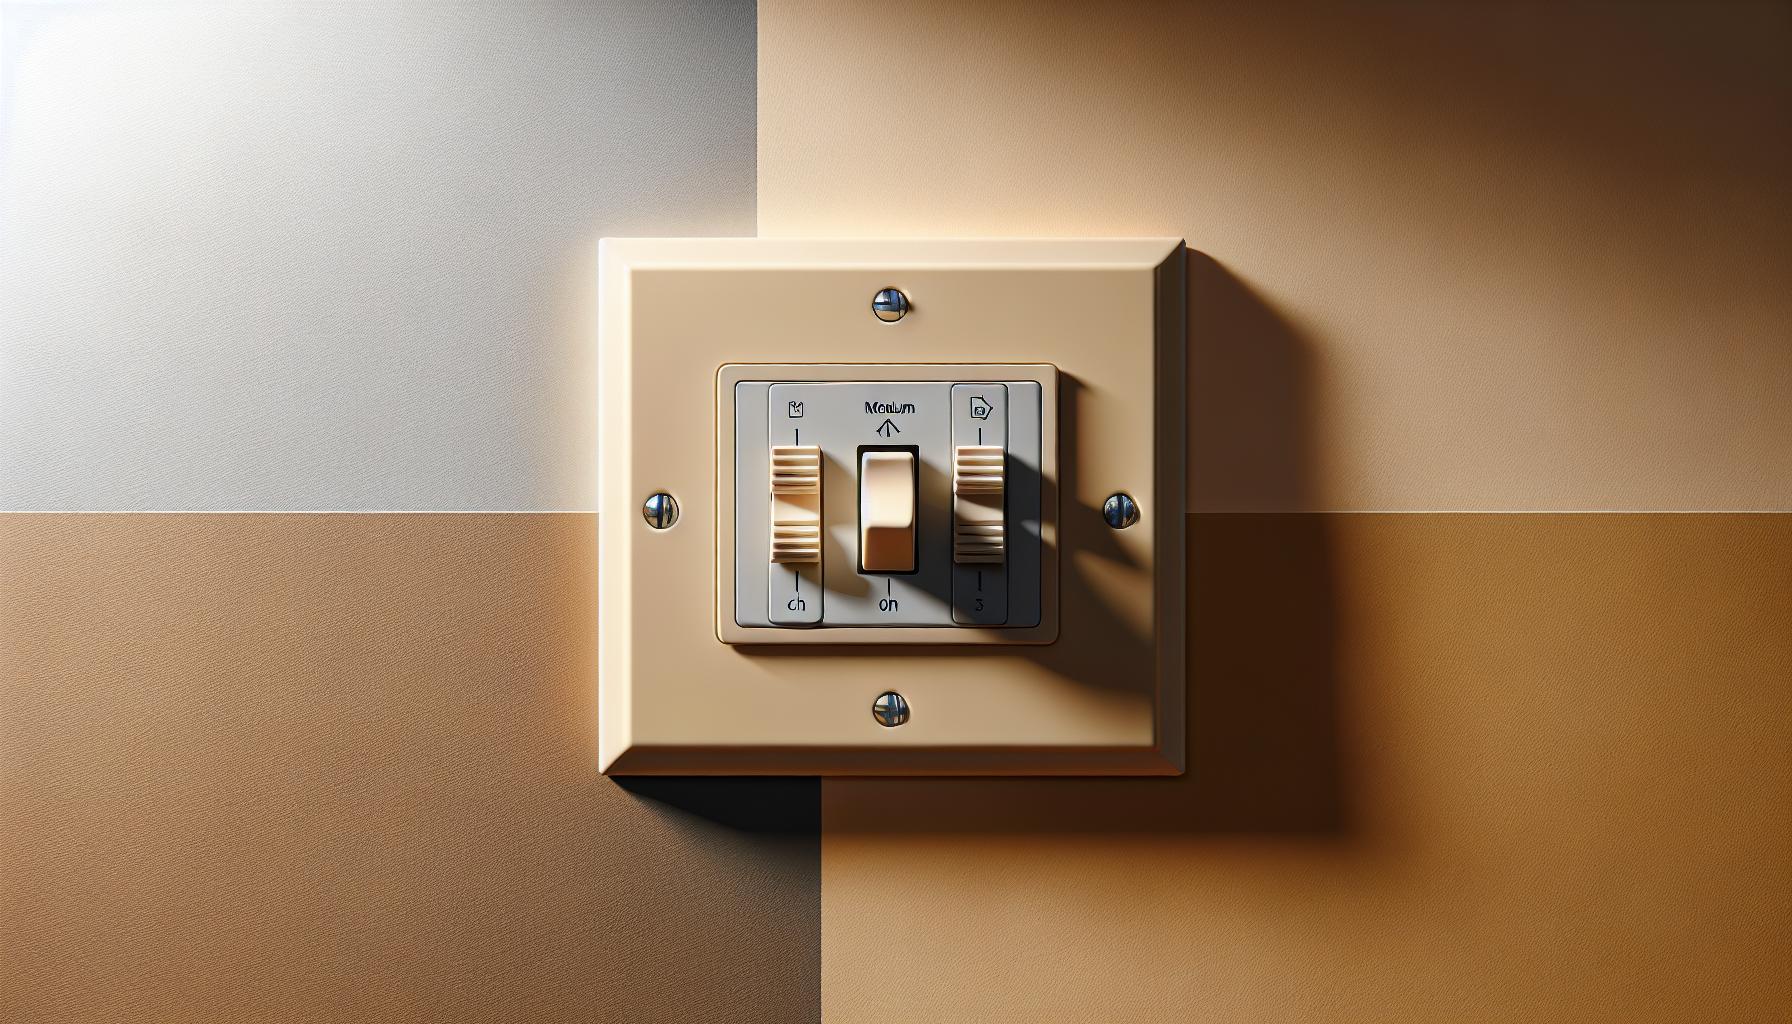
Sometimes the culprit behind your dim lighting woes is a component that you might overlook: the dimmer switch. As a tried-and-tested accessory in home lighting, dimmer switches allow you to adjust the light intensity to your liking. But when they’re not functioning correctly, they can be the reason your bulbs aren’t shining as brightly as they should.
Think of your dimmer switch as the remote control for your light bulb’s performance. If it’s outdated or incompatible with your current bulbs, especially if you’ve upgraded to LEDs, performance issues are bound to crop up. LED bulbs require a specific type of dimmer switch designed to handle low electrical loads, so pairing them with an old dimmer switch geared for incandescents will likely result in flickering or reduced brightness.
If you’ve ever wondered why one bulb in a fixture is dimmer than the others, it could be due to a wiring issue with the dimmer switch. Over time, wires can loosen or corrode, leading to poor electrical connections and inconsistent lighting.
Here are a few signs that may suggest your dimmer switch is to blame for dim lights:
- Inconsistent Brightness: If light levels fluctuate without any adjustments on your part, the dimmer switch might be failing.
- Buzzing Sounds: Dimmer switches that emit a buzzing noise can indicate an internal problem.
- Overheating: If the switch is unusually warm to the touch, it’s potentially handling more current than it’s designed for.
To tackle this issue, you’ll want to ensure your dimmer switches are compatible with your bulbs. If compatibility is confirmed and issues persist, it may be time to consult with an electrician to inspect the wiring and functionality of the switches themselves. Remember, working with electrical components can be dangerous, so don’t hesitate to call in a professional when in doubt.
Upgrading to modern dimmer switches can not only solve dimness issues but also bring a more contemporary feel to your lighting control, enhancing both functionality and aesthetic appeal in your spaces.
Loose or Faulty Connection
« How Long Do Light Bulbs Last in Storage: Tips to Maximize Lifespan
What Light Bulbs Contain Mercury: Safely Handle and Dispose Hazardous Bulbs »
One often overlooked culprit behind a dim light bulb is a loose or faulty connection. It’s a common scenario; you’ve double-checked the bulb wattage and confirmed your dimmer switch is up to par. Yet, your bulb’s still not shining as brightly as it should. It could very well be an issue with the connection, and here’s why.
Inside your light fixture, the bulb connects to a socket, typically featuring metal tabs at the bottom. These tabs create a bridge for electricity to flow to your bulb. If the connection’s loose, the electricity can’t flow optimally, leading to a dimmer light. To check if this is the issue, make sure the power’s turned off, and gently adjust the metal tab upwards to ensure a tighter connection with the bulb.
Sometimes, the fault lies within the wiring itself. Old or damaged wiring might not be able to conduct electricity efficiently, which – you guessed it – results in a lackluster bulb. This sort of issue is more severe and may require professional help.
- Turn power off before investigating
- Adjust metal tab in socket for a better fit
- Consider aging or damaged wires as a potential cause
Another potential issue could manifest in the form of a faulty light switch. With frequent use, switches can wear out, causing a weaker flow of electricity to your light fixture. If you’re comfortable with basic DIY tasks, switching out a light switch is fairly straightforward. But if there’s any doubt in your mind, it’s always best to consult an electrician.
Remember, dealing with electricity can be dangerous when you’re not adequately equipped or informed. Safety first—always ensure that the power is off before tampering with electrical components, and if you’re in over your head, it’s time to call in the pros. Your home’s lighting is part and parcel of the ambiance and functionality of your space; it’s worth getting it right.
High Resistance in the Circuit

When you face an issue with dim lights, one culprit to consider is high resistance within the electrical circuit. Resistance, in layman’s terms, is a measure of the difficulty an electric current faces to pass through a conductor. For your light bulbs, the resistance should be just right to allow them to shine bright. Yet, if there’s higher-than-normal resistance somewhere in the circuit, it can cause the bulb to glow feebly.
To give you an idea, imagine if your bloodstream had to battle against a higher blood pressure to get through – it would slow down, right? Similarly, when there’s more resistance in the electrical wires, the flow of electricity slows, resulting in dim lighting. This high resistance can stem from several factors:
- Corroded wires: Over time, wires can corrode, especially in areas with high humidity, leading to poor conductivity.
- Undersized wires: Electrical wires come in various thicknesses, or ‘gauges.’ Using a gauge that’s too small for the current can increase resistance.
- Lengthy wiring: The longer the wire, the more resistance it presents. Electricity loses strength as it travels along, just like how a hose with a longer path can weaken water flow.
Here’s a quick tip: assess if lamps further from the power source are dimmer than those closer. It’s a tell-tale sign of resistance issues related to wire length or size.
If your DIY spirit is itching to fix this, you’ve got a couple of options. Tightening all connections and ensuring your wiring is up to code can significantly reduce resistance. However, remember that dealing with wiring isn’t a beginner’s playground. It’s crucial that you respect electricity’s power, and if you’re not certain about what you’re doing, it’s always safer to call a pro.
So, you check the switch, bulb, and connections, but that pesky light is still dim? It’s time to delve deeper. Investigating your home’s electrical resistance is a key step. Getting hands-on with a multimeter can help pinpoint where that resistance is too high. Just be sure to switch off the power before you start testing, to prevent a shocking experience, literally.
Bulb Reaching the End of its Lifespan
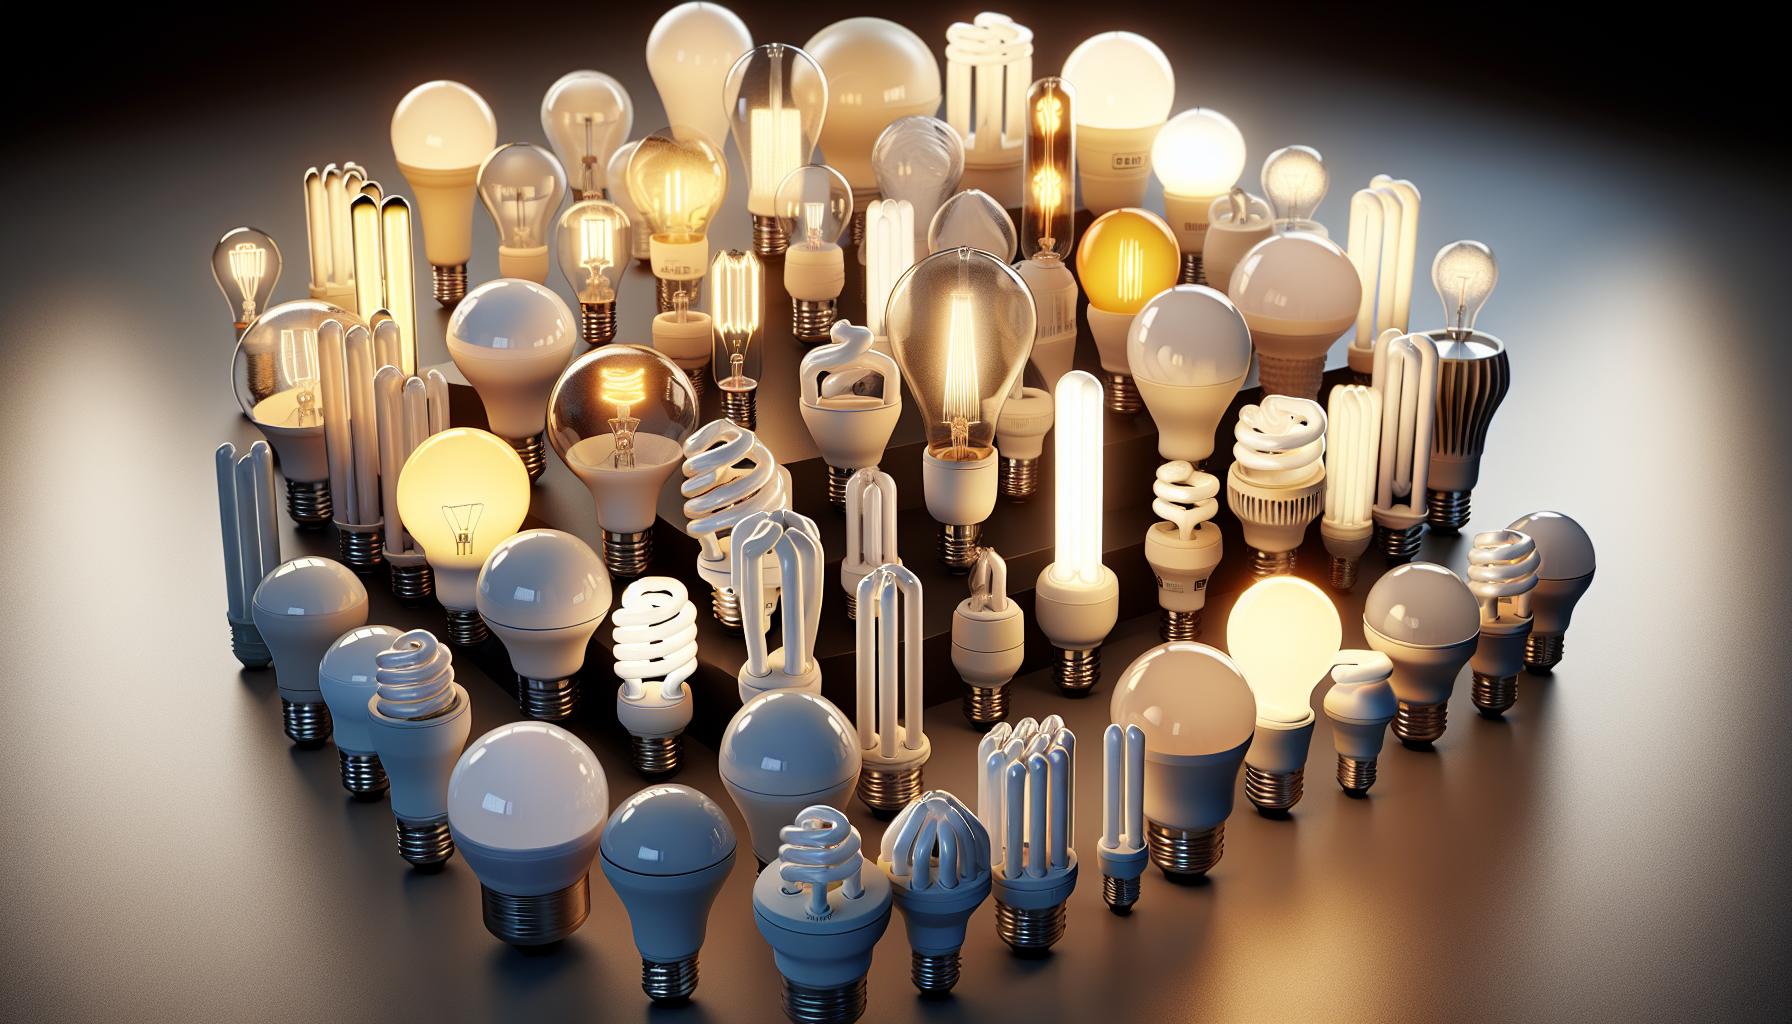
Much like any hardworking gadget in your home, light bulbs don’t last forever. Every bulb has a lifespan, typically noted on the packaging or in the product description. As a lighting aficionado with a knack for home DIY, you’re likely aware that an incandescent bulb lasts about 1,000 hours. Meanwhile, CFLs can give you 8,000 hours of light, and LEDs boast an impressive usage time of around 25,000 hours.
Understanding Lifespan Ratings
Lifespan ratings aren’t guarantees but averages. Factors like voltage fluctuations, frequent switching on and off, and even the bulb’s operating temperature can affect longevity. To get a rough idea of how long your bulb should be shining, let’s break down the numbers:
| Bulb Type | Average Lifespan (hours) |
|---|---|
| Incandescent | 1,000 |
| CFL | 8,000 |
| LED | 25,000 |
Aside from keeping these figures in mind, you should also pay attention to the tell-tale signs of a bulb’s pending retirement. Dimming is often a precursor to the final flicker. And if you’ve noticed that your light isn’t as bright as it used to be, it could very well be on its last legs.
Proactive Replacement Strategy
One proactive approach is to replace bulbs before they reach the end of their lifespan. This strategy is especially helpful in hard-to-reach fixtures or when consistent light quality is essential. However, this doesn’t mean you should toss a bulb at the first sign of dimming. It’s wise to check the more common issues, like high resistance in the circuit or a malfunctioning dimmer switch, before pronouncing the bulb dead.
In your home lighting endeavors, consider marking the installation date on the bulb’s base with a permanent marker. This simple DIY hack will help you track its age, making it easier to identify if it’s genuinely time for a bulb change or if there’s another gremlin in the works causing the dimness. And remember, while multimeters and troubleshooting can be thrilling for the DIY spirit, safety is paramount—always disconnect power before tinkering with electrical components.
Conclusion
So you’ve explored the common culprits behind your dim light bulb. Remember, it’s not just about the bulb itself but also the electrical journey it takes to brighten your space. Whether it’s the resistance from worn or improper wiring or simply the natural decline of your bulb’s luminosity, you now have the insight to troubleshoot effectively. Don’t forget the handy tip of marking the installation date to keep track of your bulb’s age. And above all, safety first—never hesitate to call in a pro when in doubt. Here’s to a brighter, well-lit home!
Frequently Asked Questions
What could cause a light bulb to emit dim light?
Dim lighting can be caused by a variety of factors, including high resistance due to corroded wires, undersized wires, or lengthy wiring. It may also indicate a bulb reaching the end of its lifespan.
How can I tell if high resistance is making my lights dim?
If lamps further from the power source are dimmer, this may be a sign of resistance issues related to wire length or size. It’s advisable to check and tighten all connections and ensure the wiring meets electrical codes.
Should I replace a dim light bulb immediately?
Not necessarily. Before replacing, consider checking for high resistance in the circuit, malfunctioning dimmer switches, or other issues. Remember that dimming can be an early sign that a bulb is reaching its end of life.
How do I track the lifespan of my light bulbs?
Mark the installation date on the base of the bulb. This allows for easy tracking of its age and can help determine if it is due for a replacement based on average lifespan ratings.
Is it safe to examine and fix electrical components by myself?
For safety, always disconnect power before working with electrical components. If you’re unsure about handling any electrical repairs or assessments, it is crucial to call a professional to ensure safety and proper handling.


