Oh no, you’ve just heard that dreaded crunch of a light bulb breaking in its socket! Before you panic, it’s important to know that while it’s a bit tricky, it’s definitely a fixable situation. You’re not alone; it happens to the best of us.

First things first, don’t go reaching for the remnants just yet. Safety is key, and there’s a right way to handle this little hiccup. Let’s walk through the steps you’ll need to take to safely remove a broken bulb from its socket without any shocking experiences.
Assess the situation
When you’re faced with a light bulb that’s broken in its socket, the first step is to take a deep breath and assess the situation. Safety is paramount, so you need to evaluate the conditions before touching anything.
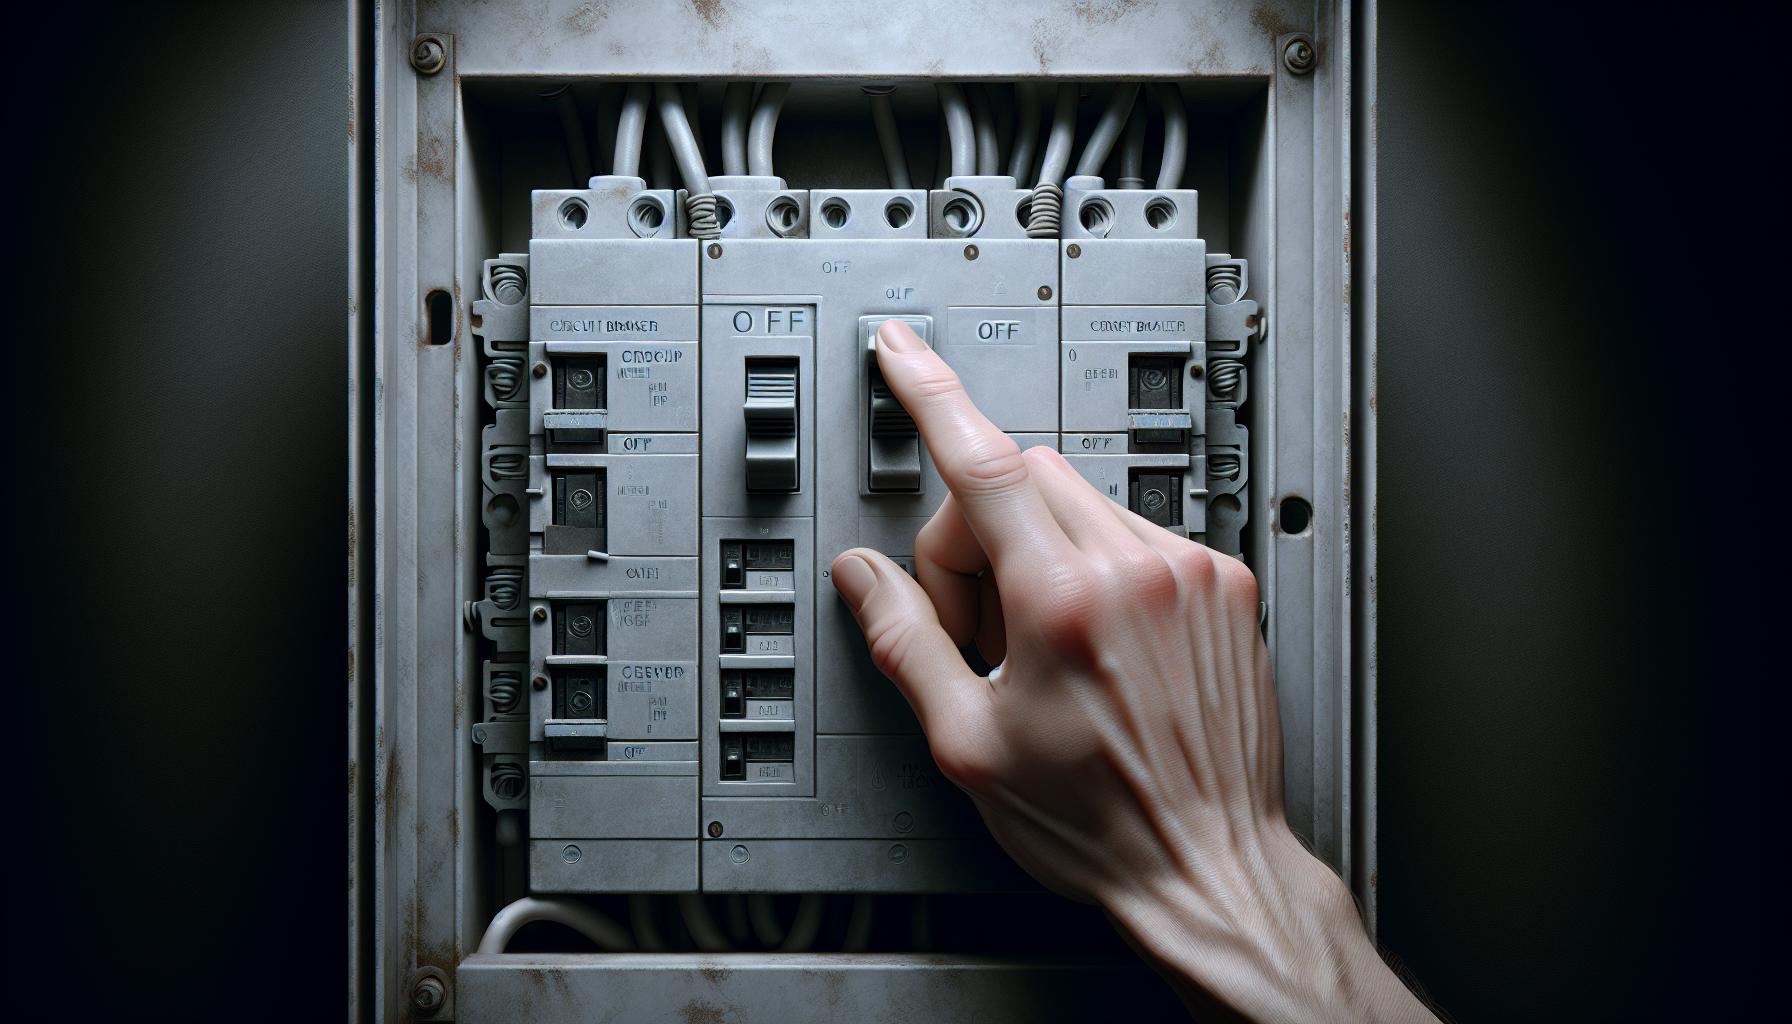
First, determine if the power is still on. If the switch is in the “on” position, flip it to “off”. However, the safest measure is to cut power to the circuit entirely. Head to your circuit breaker and switch off the electricity to the room where the mishap occurred. This simple move can prevent potential electric shock.
Next, scrutinize the area. Look for any signs of damaged wiring or flickering lights in nearby fixtures which might indicate a deeper electrical issue. If there’s evidence of such problems, it’s wise to call in a professional electrician.
Assuming there are no larger electrical concerns, prepare your workspace. Clear out any debris around the broken bulb and ensure you have a stable platform to work from if you need to reach the fixture. Consider wearing safety gloves and eye protection, as even tiny shards of glass can cause harm.
Remember to keep your workspace well-lit with an alternative light source. You don’t want to work in the dark!
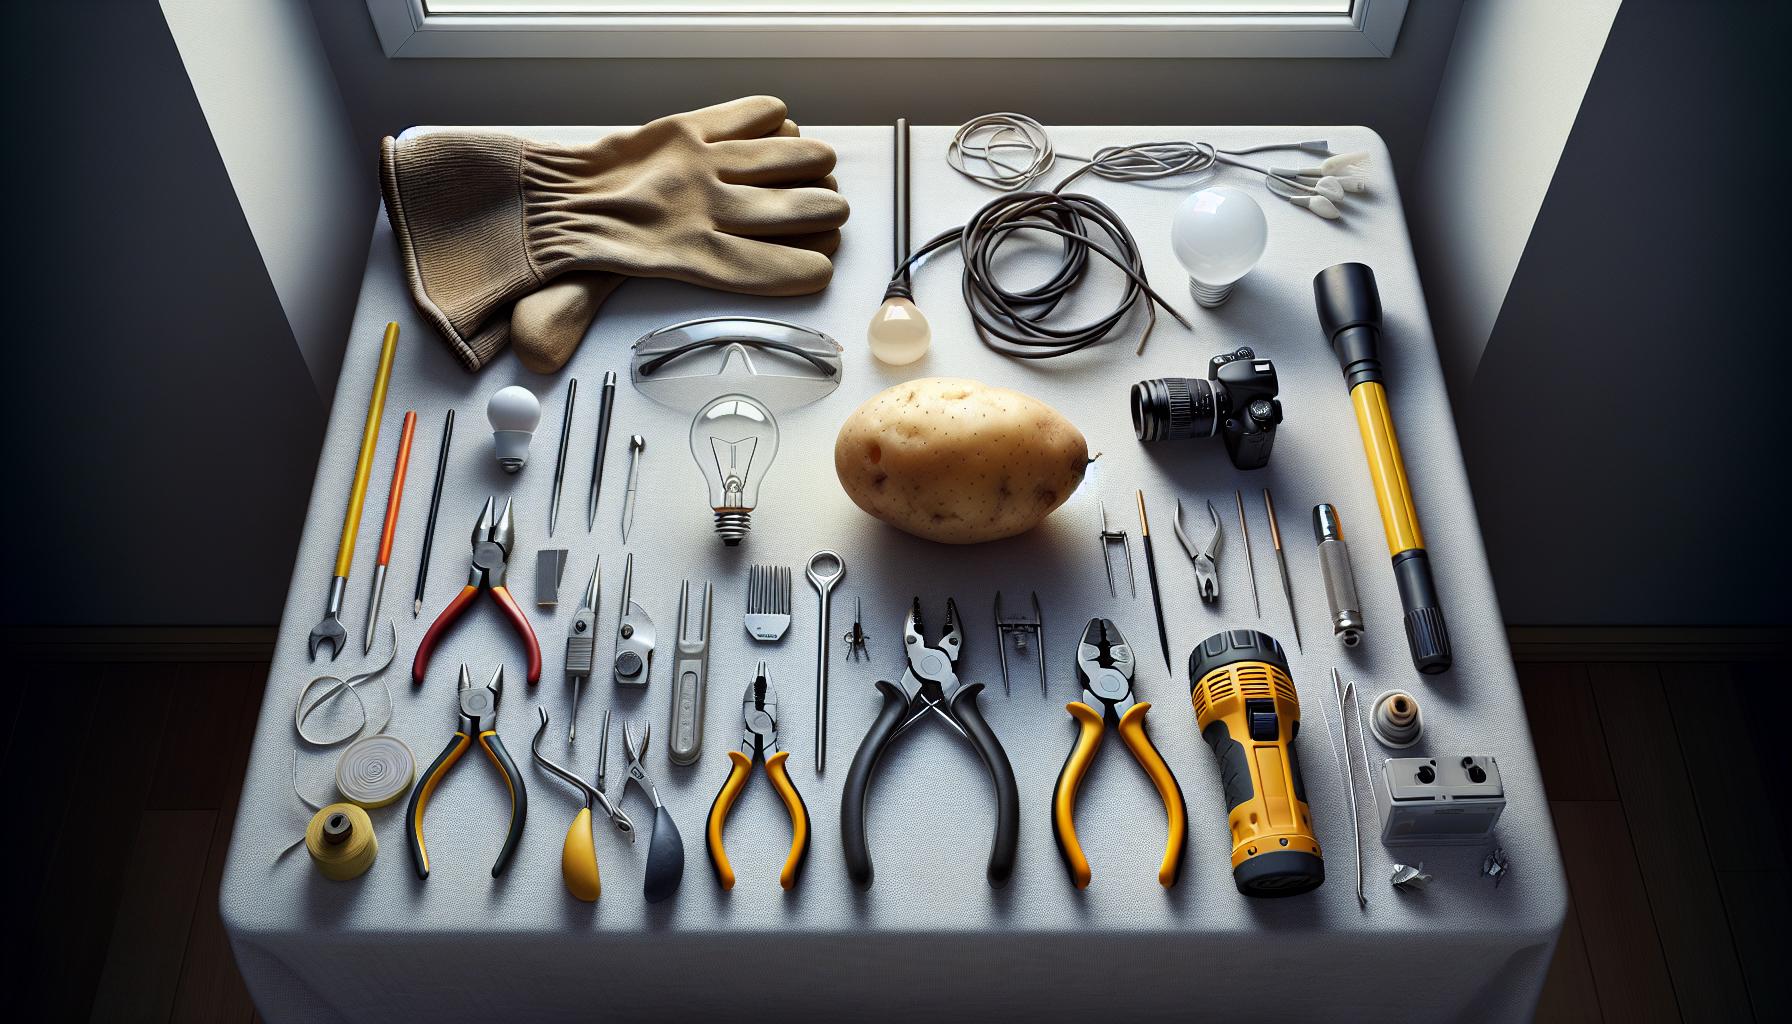
Lastly, assemble the tools you might need for the removal process. Depending on the breakage, you could use a pair of pliers, a potato, or a specialized bulb extractor. The tool selection may vary, but ensuring you have what you need within arm’s reach will make the process smoother.
Stay focused, and don’t rush. Rushing might increase the risk of an accident. The goal is to remove the broken bulb safely and efficiently, so take your time to set up properly and proceed with caution.
If at any point you feel unsure or unsafe handling the situation, don’t hesitate to seek professional help. The cost of bringing in a pro is negligible compared to the peace of mind knowing the job’s been done safely.
Gather the necessary tools
Before you even think about touching that broken bulb, you’ll want to make sure you’re geared up with the right tools. Like a painter with their brushes or a carpenter with their hammer, your success largely depends on having the proper equipment handy.
First and foremost, ensure you have protective gloves. They’ll be your first line of defense against any sharp edges. Thick gloves, like those made from leather or a sturdy synthetic, are perfect for the job. Next, grab a pair of nose pliers or a bulb extractor. These will help you get a good grip on the bulb’s base without putting your fingers at risk.
Here’s a quick rundown of what you’ll need:
- Protective gloves
- Nose pliers or bulb extractor
- Eyewear (safety glasses or goggles)
- Potato (yes, this old trick can work wonders)
- Flashlight (if working in a dim area)
Don’t underestimate how handy a flashlight can be. If the broken bulb has left you in the dark, a portable light source can make all the difference in seeing what you’re doing. Safety glasses or goggles are another must-have. They might not be the height of fashion, but they’ll protect your eyes from any tiny fragments of glass.
« What Light Bulbs Keep Bugs Away? Discover the Best Anti-Insect Options
What to Do If Your Light Bulb Exploded – Safe Cleanup Tips »
If you find yourself without a bulb extractor, fear not. A potato can serve as an unconventional but effective tool for removing the remains of the bulb. Simply slice it in half, press the flat side against the broken bulb, and gently turn.
With your tools assembled, you’re almost ready to tackle the task at hand. Just remember, the key to any successful DIY project is preparation and patience. Take your time to safely remove the broken bulb and you’ll have that socket cleared out in no time. And remember, if this feels out of your comfort zone, there’s no shame in calling in a professional. Their expertise can prove invaluable, and sometimes, it’s just the safer choice.
Turn off the power
Before you even think about touching the light fixture, you’ve got to make sure the power is off. It’s a critical step that can’t be overstated. Navigating your home’s electrical flow can be tricky, but for the safety of your DIY endeavor, getting this part right is essential.
Head over to your home’s circuit breaker or fuse box and locate the switch that corresponds to the area where the broken bulb is. If your breaker box isn’t labeled, now might be a good time to note which switches control which areas for future reference. Once you’ve identified the right switch, flip it to the “off” position. This will cut the power to the socket, reducing the risk of electrical shock or injury when you tackle the bulb removal.
For extra assurance, you can double-check that the power is indeed off. Take a non-contact voltage tester and bring it close to the bulb’s socket. If no beeps or lights signal from the tester, you’re good to go. But if it indicates there’s still voltage present, recheck your breaker box and confirm you’ve flipped the correct switch.
It’s also smart to inform everyone in the household what you’re up to. This way, no one accidentally flips the switch back on while you’re working. A helpful tip is to tape the breaker switch into the off position or leave a note as a reminder.
With the power securely off, you can now proceed with confidence. Keep in mind that if you’re not entirely comfortable with handling electricity, there’s no harm in calling in an electrician. After all, your safety is paramount, and you should never feel pressured to go beyond your comfort zone in DIY projects—light bulb changes included.
Remove any shards

Once you’ve ensured that you’ve got a clear workspace and the power is switched off, you’re ready to take on the task of removing any shards remaining in the socket. It’s crucial to approach this step with a great deal of caution to prevent injury.
First, don protective gloves. Thick work gloves or even a heavy piece of cloth can protect your hands from sharp edges. If available, wear safety glasses to safeguard your eyes from any potential glass dust or small fragments.
Next, you can use a range of tools to extract the broken pieces:
- Needle-nose pliers are ideal for twisting out larger fragments. Carefully insert the tip of the pliers into the socket and gently twist in the same direction you would to unscrew a bulb.
- For smaller pieces clinging to the edges, you can use tweezers or nose pliers to tease them out. This requires a steady hand and patience to ensure all pieces are removed.
- If the bulb has shattered leaving a sharp edge, you can press a potato cut in half against the remnants and turn counterclockwise. The soft flesh of the potato will grip the jagged edges, allowing you to unscrew what’s left of the bulb’s base.
Remember, even a minor slip can cause those broken pieces to puncture your skin. Keep your hands away from the direct path of the shards as you work. Dispose of the glass fragments immediately in a container that won’t be punctured, such as a thick cardboard box or a metal can.
In some cases, the metal base of the bulb may remain lodged in the socket. If it’s stubbornly stuck and you can’t get a good grip with pliers, consider using a screwdriver to help pry it loose. Always ensure the screwdriver does not touch any other metal parts to prevent electrical hazards.
Before moving on to check the socket for any residual debris, give the area a good once-over with a flashlight. Making sure you’ve meticulously cleared out all glass ensures the safety of the next steps in your DIY project.
Use a potato (or other non-conductive material)

When you face a light bulb disaster, a potato can be your unexpected hero. Not just for dinner, this starchy tuber is excellent for gripping and removing the sharp shards of a broken bulb. But why a potato? It’s insulating, which means it doesn’t conduct electricity, making it a safer option than anything metallic.
First, take a potato and cut it in half. Make sure the potato isn’t too soft; a ripe, firm one is your best bet for the job. Press the flat cut side strongly into the broken bulb’s base. The glass will embed itself into the potato’s flesh. Twist gently and turn counterclockwise, aligning with the typical thread direction of light bulb bases. The remains will latch onto the potato, coming out more easily and with less risk of you coming into contact with the sharp edges.
In case you’re fresh out of potatoes, other non-conductive materials like a bar of soap or a piece of rubber can also work wonders. With soap, you’d dampen the bar slightly and push it into the socket. With rubber, the grip is inherently good, so you simply push and twist.
Remember, the principle remains the same: a safe grip and a counter-clockwise turn. Ensure your selected non-conductive aid is dry and can be firmly held to prevent slipping.
After successfully removing the residue, the area should be thoroughly inspected to make sure no small pieces remain that could cause issues when inserting a new bulb. Use a flashlight to examine the recesses of the socket. Sometimes, fragments get lodged in the crevices and go unnoticed. Even the smallest piece can create a hot spot, leading to further problems down the road.
Handling such DIY projects requires a level of care and attention to detail. Broken light bulbs, as simple as they seem, pose a risk not only due to their potential to cut but also due to their ability to conduct electricity if mishandled. With the right methods and materials, anyone can safely rectify these light mishaps and shed some bright light back into the room.
Replace the bulb
Once you’ve safely removed the remnants of your broken bulb, you’re ready to insert a new one. Before doing anything else, ensure the power is still turned off. This isn’t just a matter of safety; it also prevents any unintentional short circuits or electrical issues that could arise from installing a bulb into an energized socket.
First off, you’ll want to select the right bulb for your fixture. Take into account the bulb’s wattage, shape, and base type. It’s not just about fitting the socket; it’s also about getting the desired brightness and warmth for your space. You might consider making the switch to an LED bulb. They last longer and are more energy-efficient than traditional incandescent bulbs.
Here’s how to fit the new bulb:
- Align the base of the bulb gently with the socket.
- Twist clockwise; you should feel it slot into place.
- Do not force the bulb — if it’s not sliding in easily, it may be the wrong type, or you may have to realign it.
After you’ve placed the new bulb, it’s a good time to wipe it down with a clean, dry cloth. You’d be surprised how much a fingerprint or a bit of dust can shorten the bulb’s lifespan.
Turn your power back on and test the new bulb. Flip your light switch and see if your efforts have been successful. If the bulb lights up, you’ve completed yet another home DIY project — nice work!
When it comes to lighting, the choices you make have a big impact. You’re not just replacing a bulb; you’re setting the tone for the room. Whether you’re aiming for a bright work environment or a cozy atmosphere, the right bulb makes all the difference. Keep in mind that a well-lit space is the intersection where efficiency meets comfort, and by undertaking these replacements yourself, you’re personalizing your home one light fixture at a time.
Conclusion
Now that you’ve tackled the challenge of a broken bulb, your space is bright and welcoming once again. Remember, the right lighting can transform the mood of any room, and it’s all in your hands. With each bulb you replace, you’re not just maintaining your home—you’re personalizing it. So go ahead, bask in the glow of your handiwork, and take pride in knowing that you’ve got this DIY project, and any others that come your way, totally under control.
Frequently Asked Questions
What should I do before attempting to remove a broken light bulb?
Ensure that you have turned off the power source to prevent electrical shock. Gather the necessary tools such as gloves, pliers, and eye protection before attempting the removal.
What are the steps to remove a broken light bulb from its socket?
First, ensure the power is off and you have your safety gear on. Use pliers to grip the metal base of the bulb and gently twist counterclockwise until the base dislodges from the socket.
How do I choose the right replacement bulb for my fixture?
Select a bulb that matches the fixture’s voltage, wattage, and base type. Consider the lighting needs of the room and whether an LED bulb would be the most efficient choice.
How do I install a new light bulb?
After selecting the appropriate bulb, align it with the socket and twist it clockwise until it is securely in place. Make sure not to overtighten.
Why should I wipe down the new bulb before using it?
Oils from your skin can shorten the lifespan of a bulb. Wipe down the new bulb with a clean cloth to ensure it remains free from oils and debris.
How does lighting affect the atmosphere of a room?
Lighting choices significantly impact the ambiance and mood of a room. Different colors and intensities can create various effects, so choose a bulb that complements the desired atmosphere.
Why is personalizing lighting choices important in home DIY projects?
Your lighting choices can reflect your personal style and enhance the overall aesthetic of your home. DIY projects offer a way to customize your living space to your preferences and needs.