You’re standing there, staring at the fixture where your light bulb used to be, now a casualty of an unexpected pop. It’s not just about being left in the dark; it’s the cleanup and the “what now?” that’s running through your mind. Don’t worry, you’ve got this!

First things first, let’s keep you safe. With a few smart moves, you’ll navigate through this little mishap like a pro. And hey, it’s a chance to learn something new, right? Let’s dive into the nitty-gritty of dealing with an exploded bulb and get that light shining bright once again.
Assess the Situation
When your light bulb explodes, your first instinct might be to jump into action. But hold on—safety first. Take a deep breath and assess the situation calmly. You’re going to be the maestro directing a cleanup symphony, and every maestro needs to understand their orchestra before waving the baton.
Check for Hazards. An exploded bulb can leave glass shards and possibly exposed filaments, all of which pose risks. Before you do anything, cut the power to the affected fixture. Ensure the switch is off or the lamp is unplugged to prevent any electrical hazards during cleanup.
Next, observe the spread. Did the glass scatter across the room or is it contained? If there’s a larger spread, you’ll want to keep everyone out of the room, including pets. Their curiosity could lead them into a prickly situation.
Prepare Your Tools. You’ll need the right gear to tackle the mess. Think of what you’ve got lying around that can act as your armor against the glass:
- Heavy-duty gloves
- Sturdy shoes (no flip-flops)
- A broom
- Paper or plastic bags for safe disposal
Remember, every DIY enthusiast knows that the right tools make a job easier and safer.
Vacuum Last. While it might be your go-to for cleanups, when it comes to glass, you’ll want to sweep before you vacuum. Small fragments can damage your vacuum cleaner or become lodged within, causing long-term problems. Sweep up the larger pieces, then gently use your vacuum’s hose attachment for the finer residue. Only vacuum after you’re confident that the larger threats have been eliminated.
As you methodically work through the cleanup process, stay alert. Tiny glass pieces can be elusive, and even professional DIY’ers know that vigilance is key when it comes to thorough cleanups.
Inspect the Socket. After cleanup, don’t forget to examine the light fixture socket. Sometimes the base of the light bulb can remain lodged in there. If that’s the case, make sure the power is still off, and use pliers to carefully remove any remaining pieces.
Turn Off Power
You’ve just witnessed a light bulb explosion, and now it’s time to proceed with caution. The very first thing you need to do before you touch anything is to turn off the power. You might think it’s safe because the bulb’s already out, but the fixture could still be live, creating an unsafe environment.
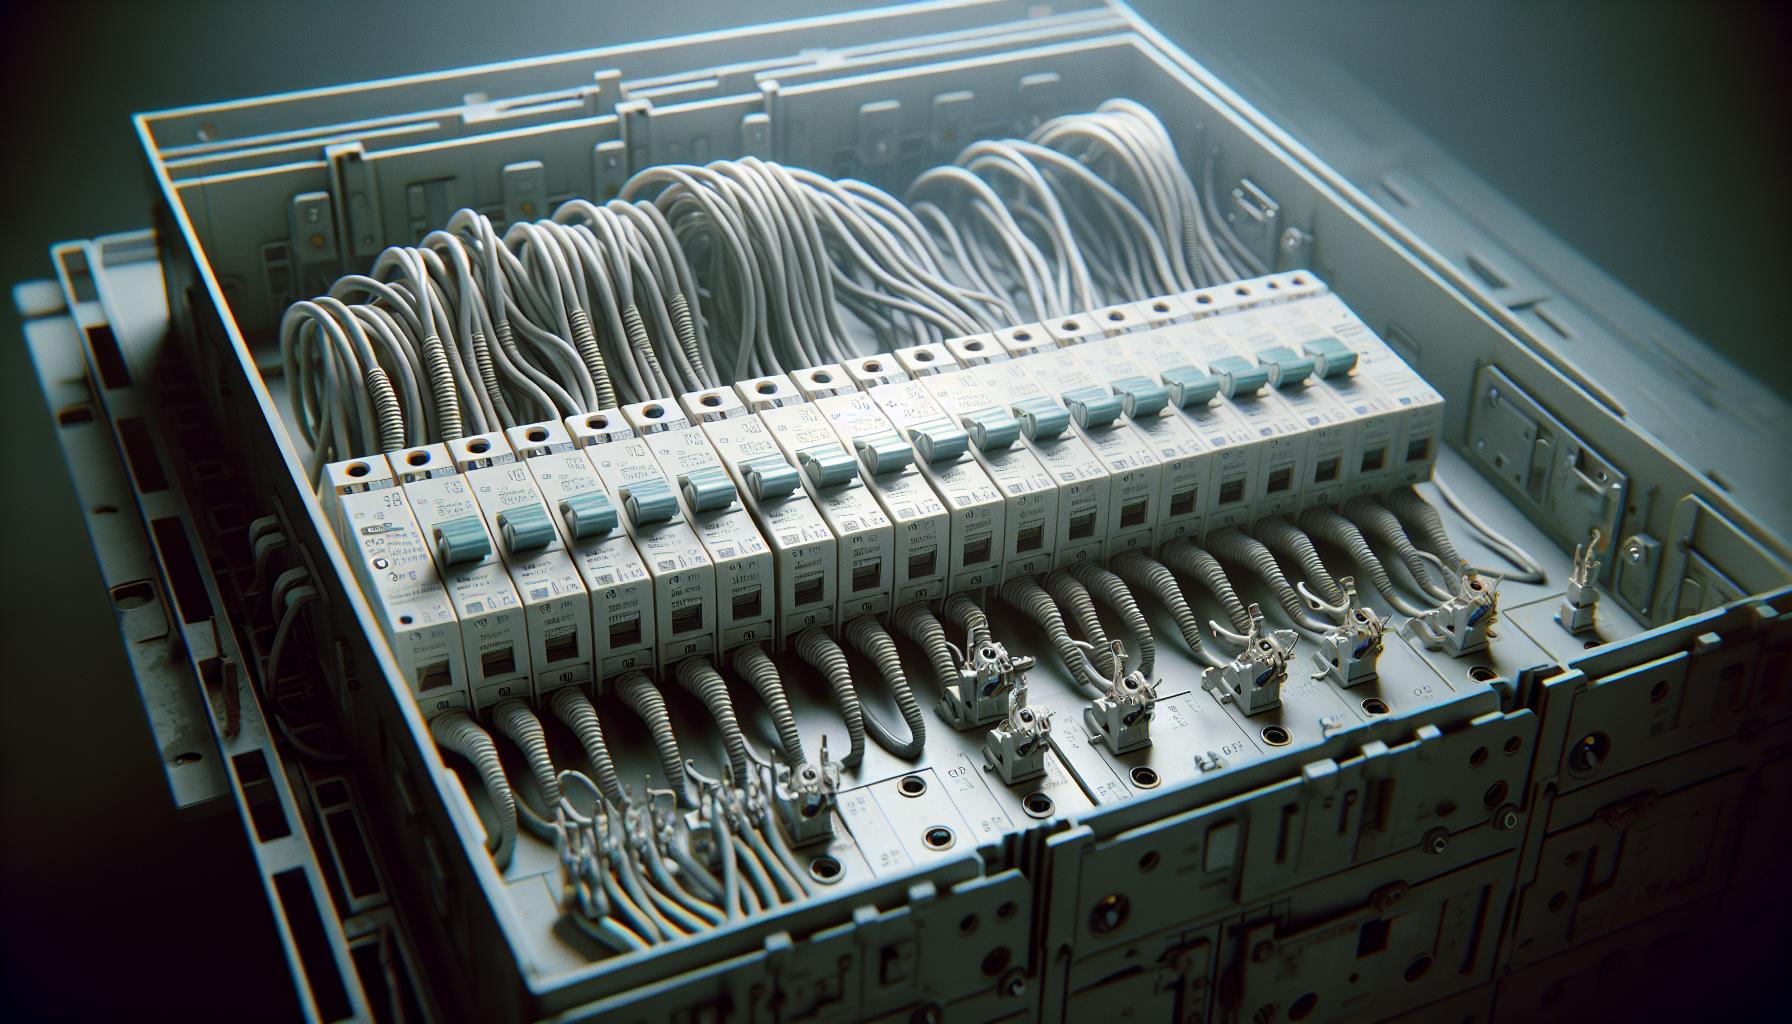
Head over to your breaker box, and flip the switch corresponding to the room where the mishap occurred. In case you’re not familiar with your breaker box setup, it’s wise to label the switches at an earlier time, so you’re prepared for incidents like this. Turning off the power will not only help prevent any electrical hazards but also allows you to handle the fixture without fear of getting shocked.
Even with the power off, it’s still smart to approach the damaged socket with respect. Use a non-conductive material, like a wooden stick or a pair of rubber-insulated pliers, to poke around and check if there are any loose pieces that need to be taken out.
« What to Do if Light Bulb Breaks in Socket: The Safe Removal Guide
Why Do Light Bulbs Make a Popping Sound? Unraveling the Sparking Truth »
Your light fixture itself needs a look-over as well. Look for signs of damage; these could be subtle, like discoloration, or obvious, like a broken fixture. This is crucial because if the fixture’s integrity is compromised, it might just be a matter of time before you’re dealing with another burst bulb or—even worse—an electrical fire.
Remember also to take a gander at other bulbs in the vicinity. Often, people forget that an explosion could have jarred neighboring bulbs, making them prone to future problems. Tighten them if they’re loose, but make sure you’re wearing your safety gloves. Better safe than sorry, right?
All in all, dealing with a light bulb explosion might throw a wrench in your day, but with the right steps, you can handle it like a pro. After ensuring the power’s off and the area’s safe, you’re ready to move on to cleaning up the mess. The process can be tedious, but patience is key. You want to ensure your space is safe and sound before you get back to daily life.
Put on Protective Gear
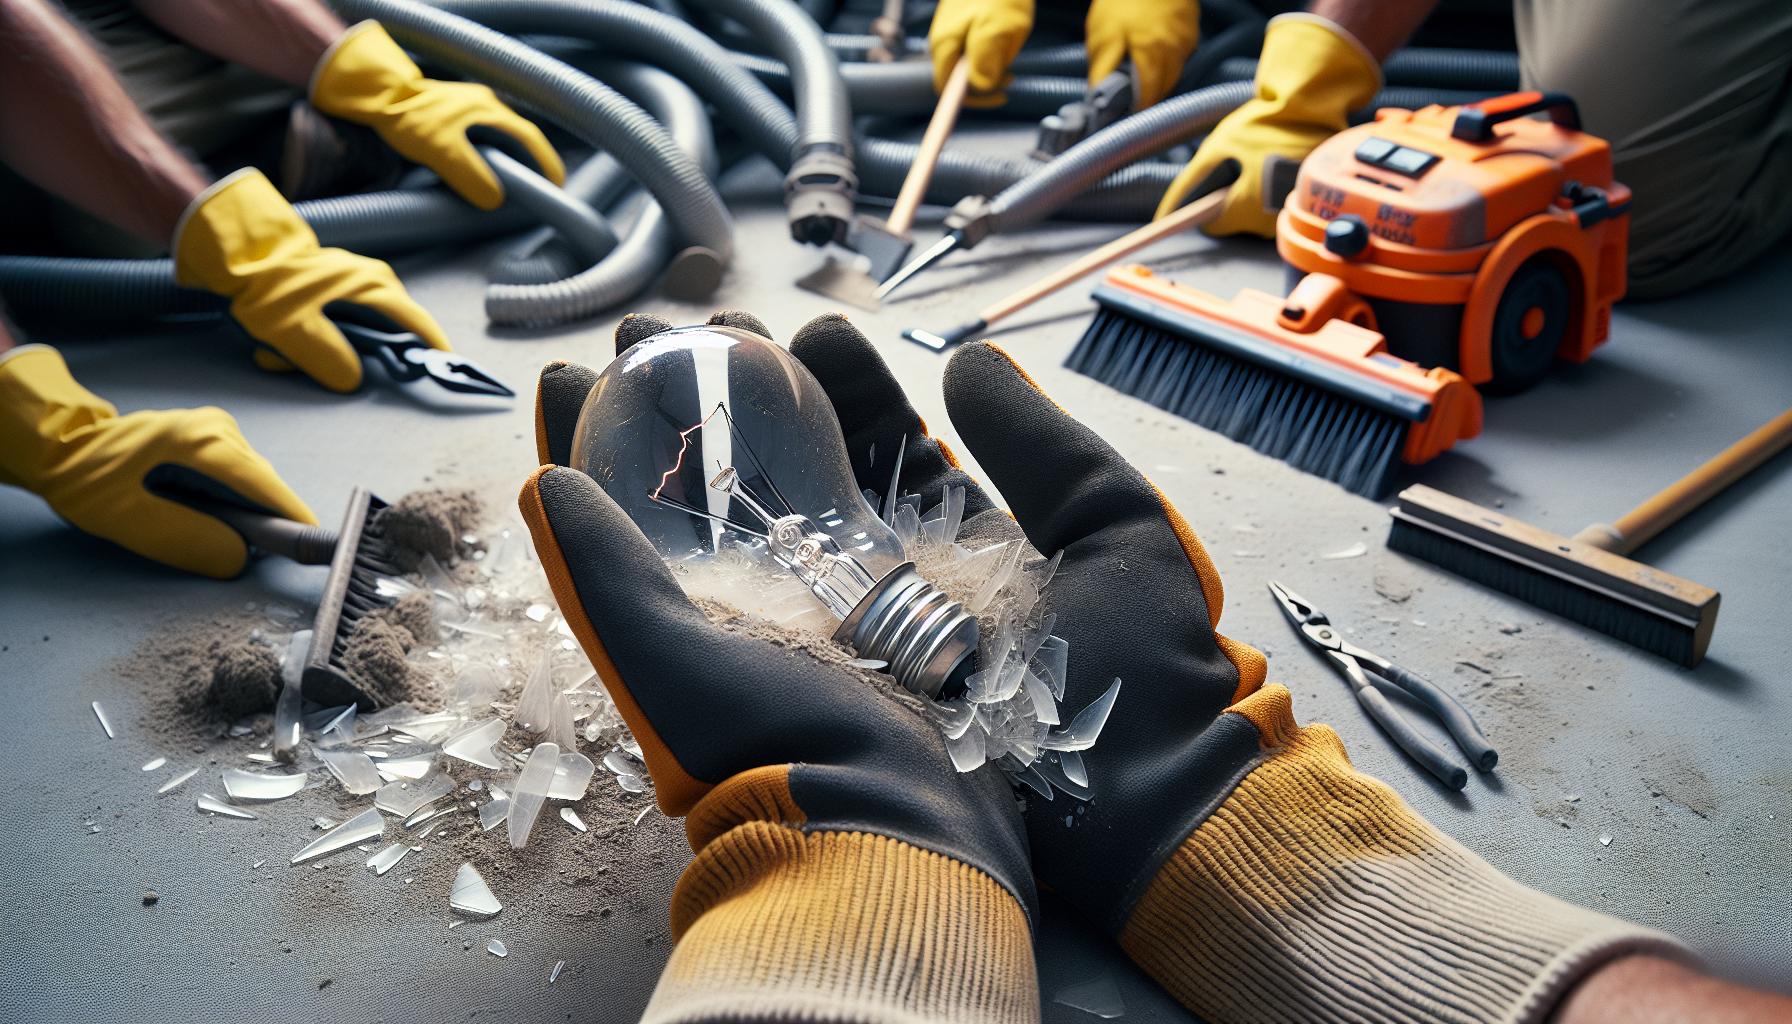
Before you dive into cleanup mode after a light bulb has exploded, it’s crucial to prioritize your safety. Glass fragments and debris can cause nasty injuries, so you need to armor up. Start with a pair of heavy-duty gloves — these aren’t just any gloves from the garden shed; look for those designed to protect against sharp objects.
Next, you’ll want to don sturdy shoes that cover your entire foot. It may seem like a small detail, but a pair of thick-soled boots can be the difference between a swift cleanup and a trip to the emergency room. No sandals or bare feet allowed – you don’t want any stray shards making an unpleasant introduction to your toes.
If the light bulb was in a ceiling fixture, consider wearing safety goggles to protect your eyes from falling glass. A bulb might shatter upwards, and the last thing you’d want is a piece of glass endangering your eyesight. Make sure your goggles fit well enough to prevent any particles from sneaking in.
Your protective gear is your first line of defense against the unexpected. With it on, you’re not just someone cleaning up; you’re more like a DIY warrior ready to tackle the hazards of home maintenance. Remember to move slowly and deliberately as you start the cleanup process.
Proper disposal is just as important as cleaning up. Have those paper or plastic bags on hand to securely encase the remains of your bulb. It’s much like handling evidence at a crime scene; you need to be meticulous and methodical to ensure that no glass is left behind.
Once you’re fully outfitted, take one last look around to assess any other potential risks. It’s easy to get fixated on the larger pieces of glass, but it’s the tiny, almost invisible slivers that often cause the most trouble. Keep your eyes peeled and your wits about you – your preparedness is key to a safe and successful cleanup.
Remove Any Glass Pieces
After dealing with the initial shock of a light bulb explosion, it’s time to focus on the tricky task of removing the glass pieces. Remember that even the smallest shard can be a potential hazard. Therefore, your first priority is to create a safe area to work in. Shut off the surrounding area to prevent family and pets from entering a potentially risky zone.
Once you have secured the area, start with the larger glass fragments. Pick these up with care, protecting your hands with heavy-duty gloves. Always begin from the outer perimeter of the debris field and work your way towards the explosion site. This methodical approach helps ensure you don’t miss any fragments.
For smaller glass pieces that can’t be easily picked up by hand:
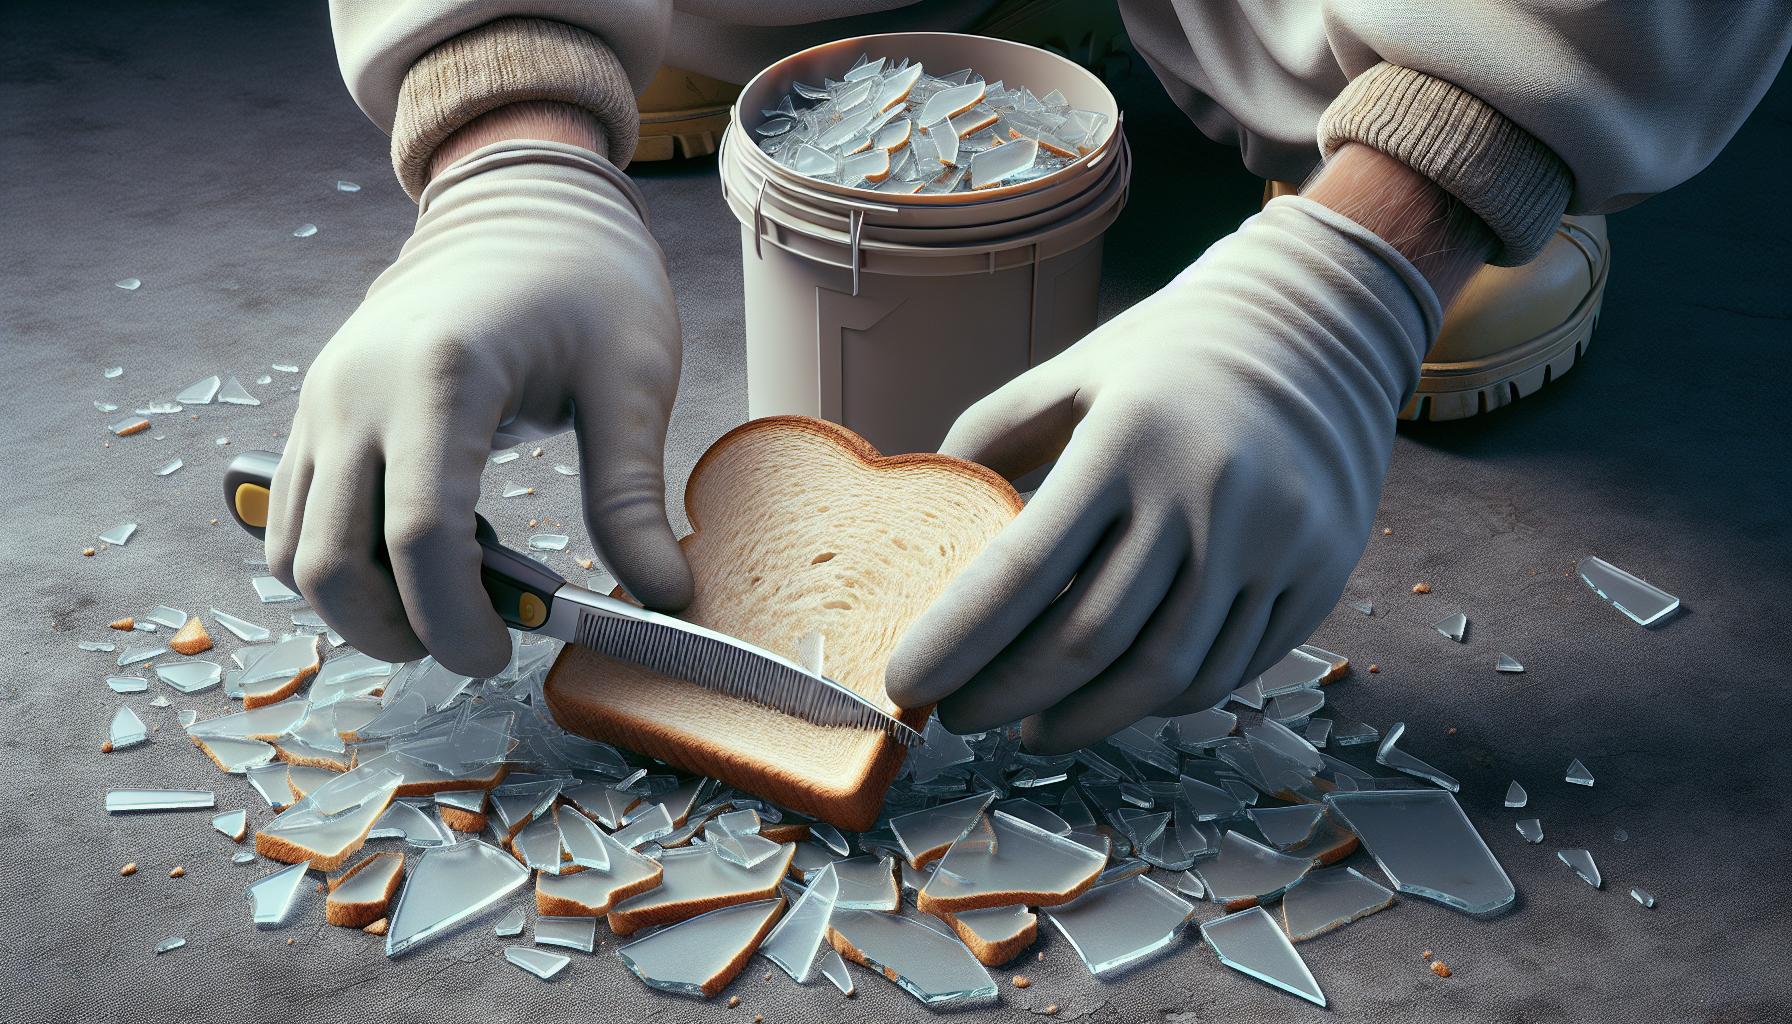
- Use a piece of bread to press down over the area; the soft consistency can capture tiny shards.
- Damp paper towels are another effective tool to collect fine glass dust.
- If you have a potato, you can cut it in half and use the cut side to pick up glass pieces.
Turn to your trusted vacuum cleaner to remove any lingering bits of glass from your floor or carpet. It’s crucial to use a vacuum with a hose attachment because you need to be precise. Maneuver the hose slowly over the impacted area and pay close attention to the nooks and crannies where glass could hide.
Remember that once you’ve finished vacuuming, you need to carefully dispose of the vacuum bag or empty the canister outside to avoid any glass from scattering back into your home. Dispose of the vacuum contents in a secure container to prevent injury when taking out the trash.
Finally, double-check your space. Inspect the immediate vicinity once more to make sure you’ve collected all the glass. Look under furniture and between cushions, using a flashlight if necessary to spot any reflective shine from missed pieces. Your diligence now will save you from potential harm later on.
Clean Up the Area
Once you’ve taken the necessary precautions with protective gear and you’ve cleared the area of any immediate danger, it’s time to get down to the nitty-gritty of cleanup. With sturdy shoes on your feet and heavy gloves shielding your hands, you’re ready to tackle the remnants of the exploded bulb.
Start by securing the perimeter. Make sure pets and people keep a safe distance from the space. You wouldn’t want anyone to step on stray shards. It’s like setting up your own little DIY workspace, only the project is ensuring your home’s safety.
Next, it’s time to focus on the larger pieces of glass. Carefully pick them up, one by one, and place them into a heavy-duty container. You could use a box lined with a trash bag or a bucket – anything that ensures the sharp edges won’t cut through.
For those tiny, nearly invisible pieces, creativity’s your best friend. Grab a slice of bread—yes, bread! Its soft, spongy texture makes it perfect for picking up fine glass fragments. Press it gently over the area and watch it work like a charm. Alternatively, a damp paper towel can do the trick. The moisture makes the glass stick, making cleanup a breeze.
If you’re dealing with carpeting or upholstery, a vacuum cleaner with a hose attachment is indispensable. Carefully go over the area, paying special attention to nooks and crannies. Make multiple passes – better safe than sorry.
After vacuuming, double-check your work. Inspect the area under furniture and between cushions. If you used any cloths or bread, remember to dispose of them properly, so no one accidentally comes into contact with glass later.
With a methodical approach and a dash of ingenuity, cleaning up after a light bulb explosion can be thorough and effective. Keep this up and your space will be back to normal in no time. Just don’t rush the process; take your time to ensure every last piece is accounted for. After all, in the world of DIY, patience often equates to success.
Dispose of the Debris Properly
After you’ve painstakingly collected every visible piece of glass from the scene of the explosion, you’ll need to ensure all the debris is disposed of properly. Remember, the shattered remains of your light bulb contain elements that might be hazardous if not handled correctly.
First off, don’t throw the bulb fragments in your regular trash. It’s essential to take responsibility for the environment and your own safety. Hence, place all larger pieces inside a sealed container; an old coffee can or a sturdy cardboard box will do the trick. For smaller glass particles that you’ve gathered with your bread or potato, transfer them carefully into a sealable plastic bag.
Once you’ve secured all the fragments, check for the proper disposal methods in your area. Many localities have waste management protocols in place specifically for glass and electronic components:
- Contact your local waste management service for guidance.
- Look for community hazardous waste collection days.
- Some hardware stores accept broken bulbs for recycling.
Don’t Forget the Packaging – keep the original light bulb packaging for instances like this. It’s the perfect containment for broken parts and ensures you don’t mix glass with other recyclables.
Also, when vacuuming finer shards, change the vacuum bag or empty and rinse the canister thoroughly after use. Glass slivers can remain hidden and potentially cause harm later on.
If you’re using LED or fluorescent bulbs, particularly CFLs (compact fluorescent lamps), be aware these contain small amounts of mercury. Follow the Environmental Protection Agency (EPA) guidelines for cleaning and disposal of fluorescent bulbs:
| Type of Bulb | Specific Disposal Considerations |
|---|---|
| Fluorescent | Handle with care, follow local regulations |
| LED | Recyclable, often accepted by retailers |
| Incandescent | Regular waste, if no glass recycling available |
Take these steps seriously, keeping in mind that you’re not just protecting yourself, but also those handling your trash, and the environment at large.
Choose a New Bulb
After you’ve dealt with the aftermath of a light bulb explosion and ensured the space is clean and safe, you’ll want to turn your attention to finding the perfect replacement. With an array of options available, selecting a new bulb might seem daunting, but it’s a great opportunity to upgrade your home’s illumination.
First, consider the lumens, not watts, to determine brightness. Lumens are the measure of light output, and more lumens mean a brighter bulb. Next, factor in the color temperature, which is measured in Kelvins (K). If you prefer a warm, cozy glow, aim for bulbs around 2700K, which cast a yellowish light akin to incandescent bulbs. For a whiter, more energetic feel, look for bulbs in the 5000K to 6500K range.
Here’s a quick reference on lumens:
| Purpose | Lumens |
|---|---|
| Reading | 400-850 Lumens |
| Hallway | 300-400 Lumens |
| Bathroom/Kitchen | 700-1700 Lumens |
When it comes to bulb type, LEDs are the reigning champs of efficiency and longevity. They use about 75% less energy and last 25 times longer than traditional incandescent bulbs. Plus, they’re available in a variety of shapes and sizes, ensuring you find one that fits your fixture perfectly.
Also, consider dimming capabilities if you want to adjust the ambiance. Not all LED bulbs are dimmable, so check the packaging or product description before you buy. If you have a smart home system, smart LED bulbs can offer a range of intensities and even colors, all adjustable from your smartphone.
Remember the Environment and your impact on it. If you’re replacing a bulb in an area that gets frequent use, choosing an Energy Star-rated bulb can lead to significant electricity savings over time.
Lastly, think about the shape and size of the bulb you need. Common options include:
- A-type (A19, A21): The classic bulb shape, great for general lighting.
- Globe (G25, G30): Ideal for bathroom vanities and decorative fixtures.
- Flood (BR30, BR40): Perfect for recessed lighting and outdoor fixtures.
Replace the Bulb
Once you’ve cleared away the debris of the old bulb, it’s time to choose a suitable replacement. Lighting technology has advanced leaps and bounds; you’ve got a plethora of options. But don’t let the variety intimidate you. Think of it as a chance to upgrade your space to be more energy-efficient and tailored to your needs.
Start with the lumens. Remember, it’s not about watts; lumens are where it’s at for brightness. Here’s a helpful guide to get you started:
| Purpose | Lumens |
|---|---|
| Reading | 450-800 lumens |
| Kitchen Table | 1,300-4,000 lumens |
| Bathroom | 1,700-8,000 lumens |
Next, consider the color temperature. Measured in Kelvins, this will affect the mood of the room. Lower Kelvins mean a warmer, yellower light, while higher Kelvins produce a cooler, bluer light.
- Warm White: 2,700–3,000 K
- Cool White: 3,500–4,100 K
- Daylight: 5,000–6,500 K
When it comes to bulb type, LEDs are your best bet for longevity and energy consumption. They use up to 75% less energy and last 25 times longer than incandescent bulbs. Plus, they’re available in various shapes and sizes to fit any fixture.
If you’ve got dimming switches, ensure the replacement bulb is dimmable. Not all LEDs have this capability, and using the wrong type can lead to flickering lights or a shortened lifespan of your bulb.
Finally, keep energy efficiency in mind. You’re savvy about saving on your energy bill and reducing your carbon footprint, so opt for an Energy Star-rated bulb. Beyond just the immediate savings, you’re participating in a global movement towards more sustainable living.
Remember those DIY projects you love? Choosing the right bulb can be part of that creativity. Whether you’re setting the ambiance in your living room or lighting up your workspace, investing a bit of thought into your selection process pays off in both aesthetics and functionality.
Test the New Bulb
Once you’ve selected a new bulb based on lumens, color temperature, and energy efficiency, it’s time to test it out. Before you screw the bulb into the socket, ensure the power switch is turned off. Safety first—you don’t want an electric shock on top of your exploded bulb cleanup!
Turn on the power once the bulb is secure in the socket. Observe how it illuminates the space. Ask yourself a few questions:
- Does the brightness meet your needs or is it too harsh?
- Is the color temperature comfortable, or does it create an unwelcome ambiance?
- How well does the bulb work with your dimmer switch, if you have one?
Evaluate the bulb’s performance in different conditions. If it’s dimmable, run through the full range of settings to ensure smooth operation. Remember, not all LED bulbs will dim as expected, so checking this feature is key if it’s important to your room’s functionality.
Here’s a quick troubleshooting guide if things don’t go as planned:
- Flickering or buzzing: These could be signs of a dimmer compatibility issue or faulty wiring. Try the bulb in a different socket to rule out the bulb itself.
- Uneven lighting: If light distribution isn’t as expected, check if the bulb’s design is meant for the fixture you’re using. Reflectors and lenses within the bulb can greatly impact light spread.
- Bulb doesn’t light up: This might be due to a dead bulb or a socket issue. Double-check if the socket is functioning with a bulb you know works.
Incorporating these steps into your replacement process ensures not only that safety measures are met but also that the bulb functions perfectly for your needs. After all, your home is your haven, and the right lighting can make all the difference in creating that cozy, welcoming atmosphere you cherish in your DIY projects.
Conclusion
Alright, you’ve got this! Dealing with an exploded light bulb might have been a bit startling but now you’re equipped to handle it like a pro. Remember to stay safe with your protective gear and give that broken bulb a proper send-off. When you’re picking out your shiny new replacement, keep those lumens and color temperatures in mind to create the perfect ambiance for your space. And don’t forget, LEDs are your friend for a long-lasting, energy-efficient glow. Once you’ve got everything installed, a quick test will ensure you’re back to basking in that cozy, well-lit environment you love. Here’s to brightening up your day, safely and smartly!
Frequently Asked Questions
What should you wear when cleaning up a broken light bulb?
Wear protective gloves to avoid cuts from glass shards and safety glasses to protect your eyes. If available, use a dust mask to prevent inhalation of fine particles.
How do you properly dispose of a broken light bulb?
Carefully collect all the pieces and debris, place them in a sealable container, and check with your local waste management for guidelines on proper disposal, as some bulbs may contain hazardous materials.
What factors should be considered when choosing a replacement bulb?
Consider lumens for brightness, color temperature for the light’s hue, the bulb type that fits your fixture, dimming capabilities if necessary, and energy efficiency for cost and environmental impact.
How many lumens are needed for different purposes?
General room lighting typically requires 800 lumens, task lighting needs about 1,100 lumens, and accent lighting can vary but is often lower, around 200-300 lumens.
Why are LED bulbs recommended?
LED bulbs are recommended due to their long lifespan, energy efficiency, and they emit less heat. This can save money on electric bills and frequent replacements.
What should you do if the new bulb doesn’t work?
Check if the bulb is securely screwed in, ensure the power supply is on, and double-check that the bulb type is compatible with your fixture. If problems persist, consult the bulb’s packaging or manufacturer support.


